Jenkins - In AWS
I had someone reach out for help with regarding jenkins in ec2. There are miriade of how to posts out there but none are super straightforward. In this post we will:
- Deploy an ec2 instance
- Leverage “userdata” to install jenkins
- Deploy a ALB to redirect port 80 to 8080
- Create the security groups that allow all ip’s to the ALB and only ALB as the origin to the ec2 instance.
- Create a target group that listens on port 80 or 443 but directs traffic to 808
The first question you might as is, why the ALB. I want SSL, yes I can install nginx, or use jenkins with ssl but this is alot more work. I want to manage my SSL certificate in ACM and simply apply it to the ALB.
This is a overview of what we will build:
” and click “Select”
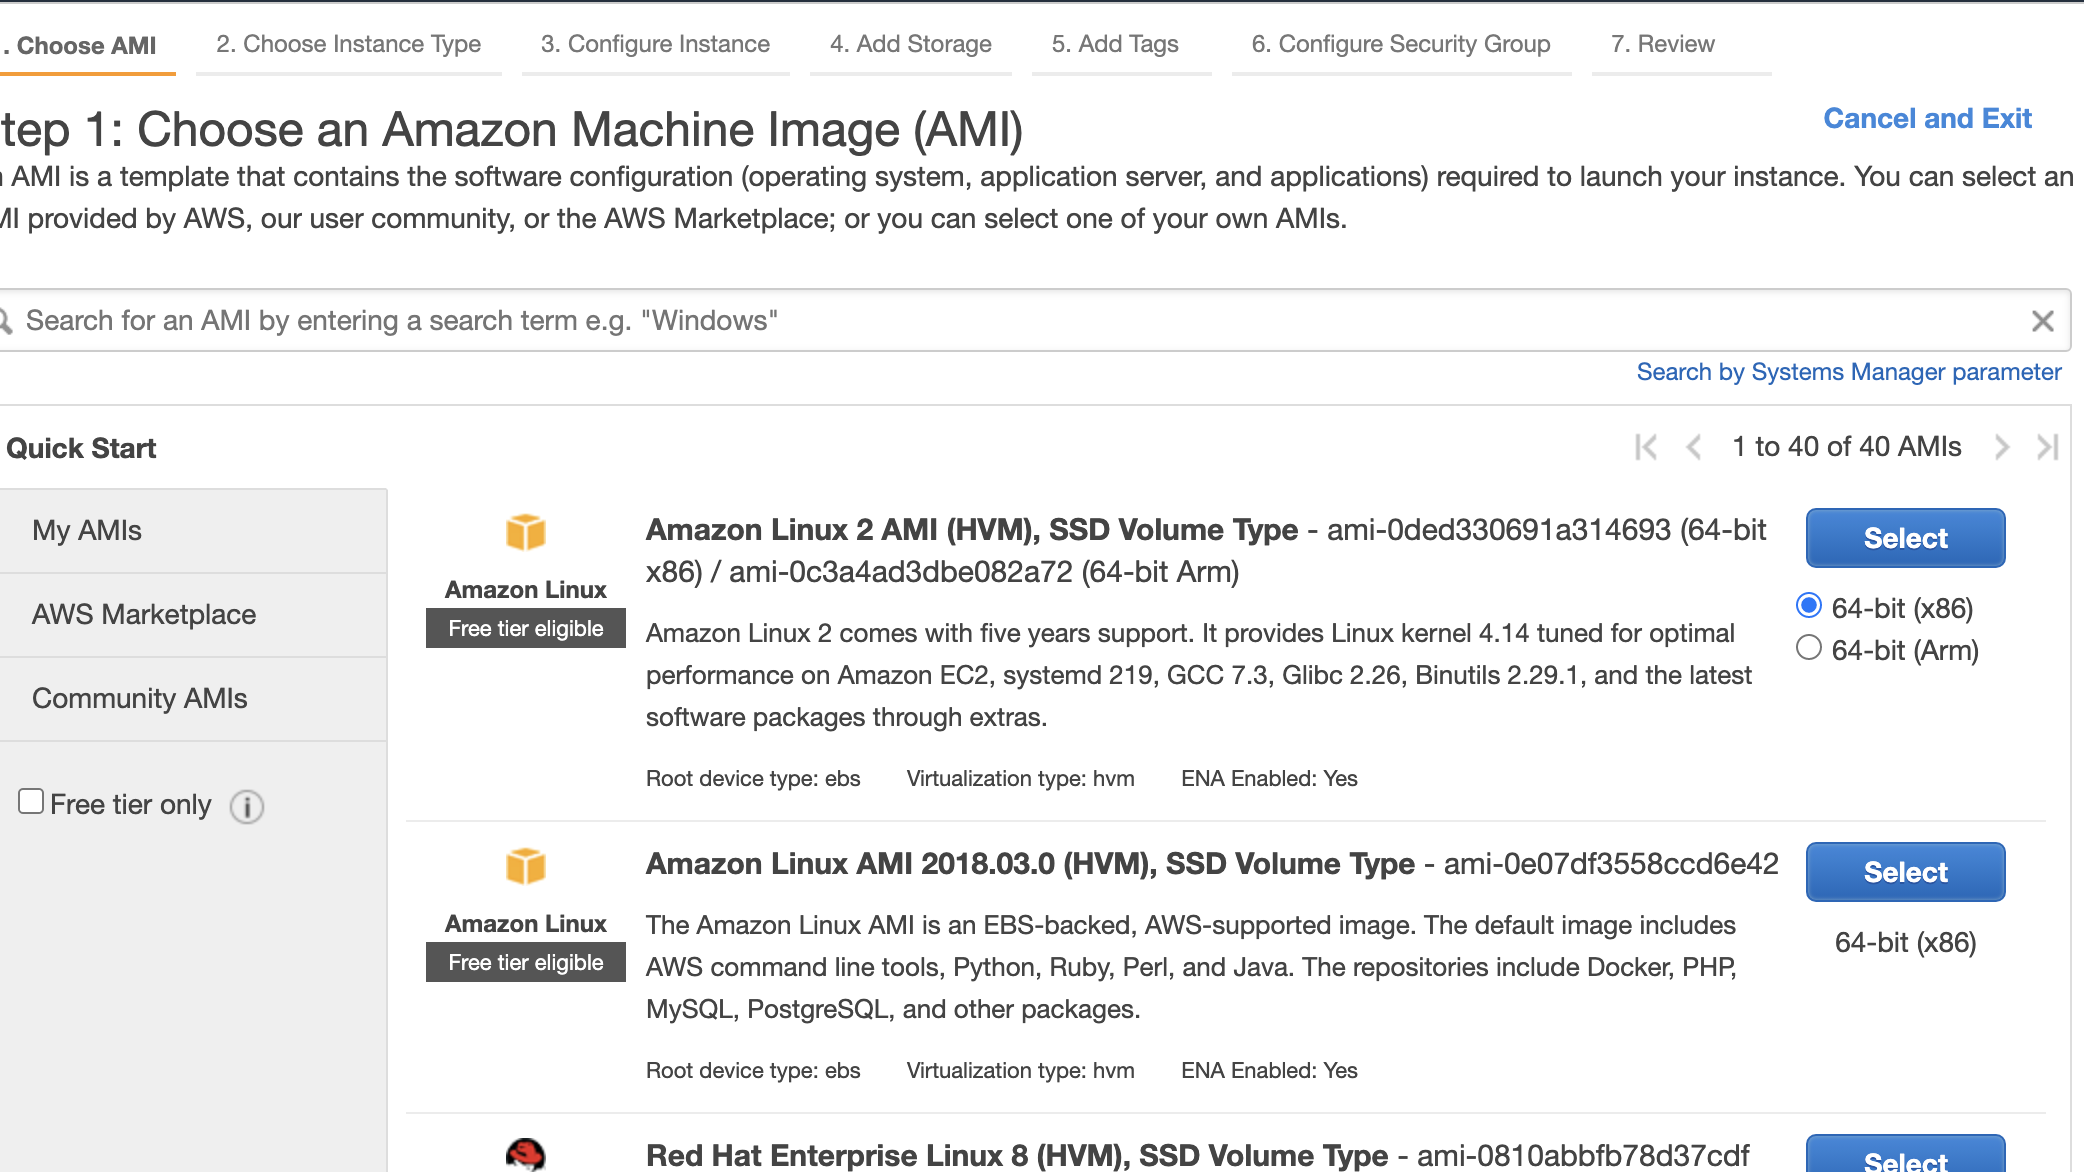
Jenkins will run happily on a t2.micro, this is also within the “Free tier”, select this and click “Next: Configure Instance Details”
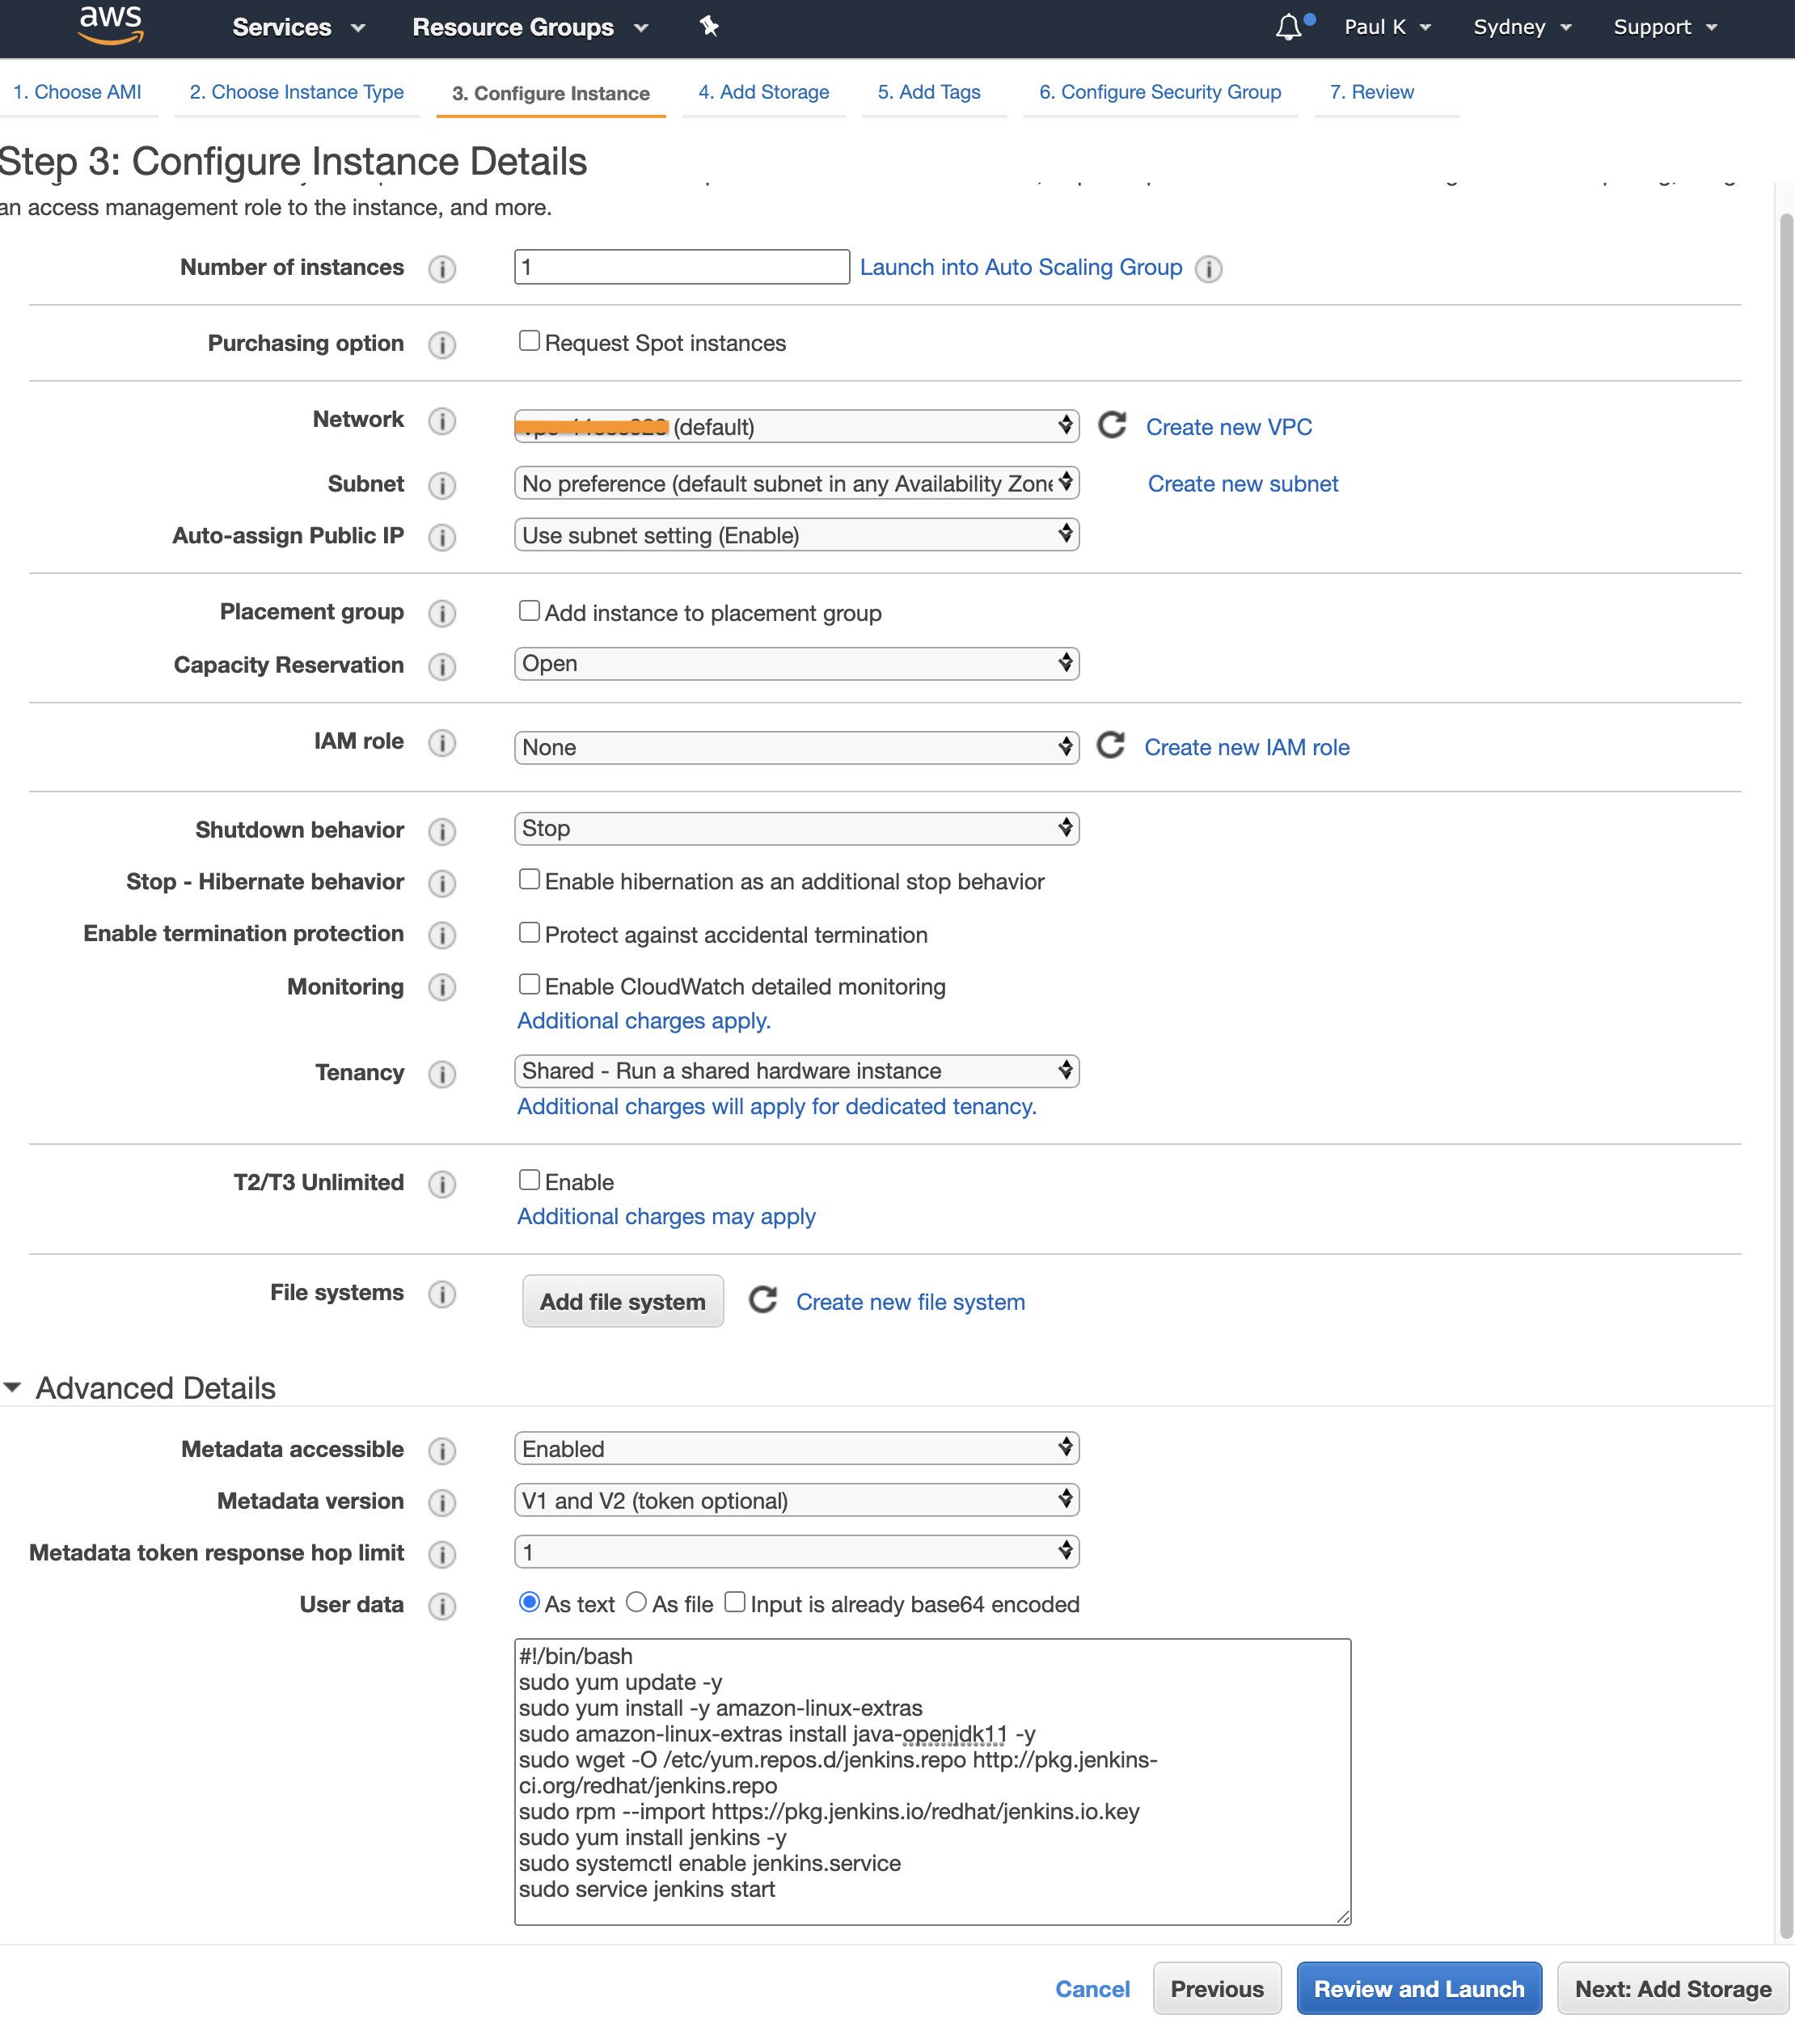
On this section we will deploy the instance into the “Default VPC”, into a public subnet. Typically I would deploy jenkins into a private subnet but then we would also need a NAT gateway to install Jenkins. So for this example it will be in a public subnet. Nothing else needs to change on this page other then the user data. Paste this in:
#!/bin/bash
sudo yum update -y
sudo yum install -y amazon-linux-extras
sudo amazon-linux-extras install java-openjdk11 -y
sudo wget -O /etc/yum.repos.d/jenkins.repo http://pkg.jenkins-ci.org/redhat/jenkins.repo
sudo rpm --import https://pkg.jenkins.io/redhat/jenkins.io.key
sudo yum install jenkins -y
sudo systemctl enable jenkins.service
sudo service jenkins start
This block of code/script will:
- add Amazon extras which makes some packages easy to install, the link will show what is avaliable.
- install openjdk 11
- add the jenkins yum repo and import the key required to trust this repo
- install jenkins
- enable jenkins to start on reboot
- start the jenkins service
This will all run without needing to ssh to the server. Click “Next: Add Storage”.
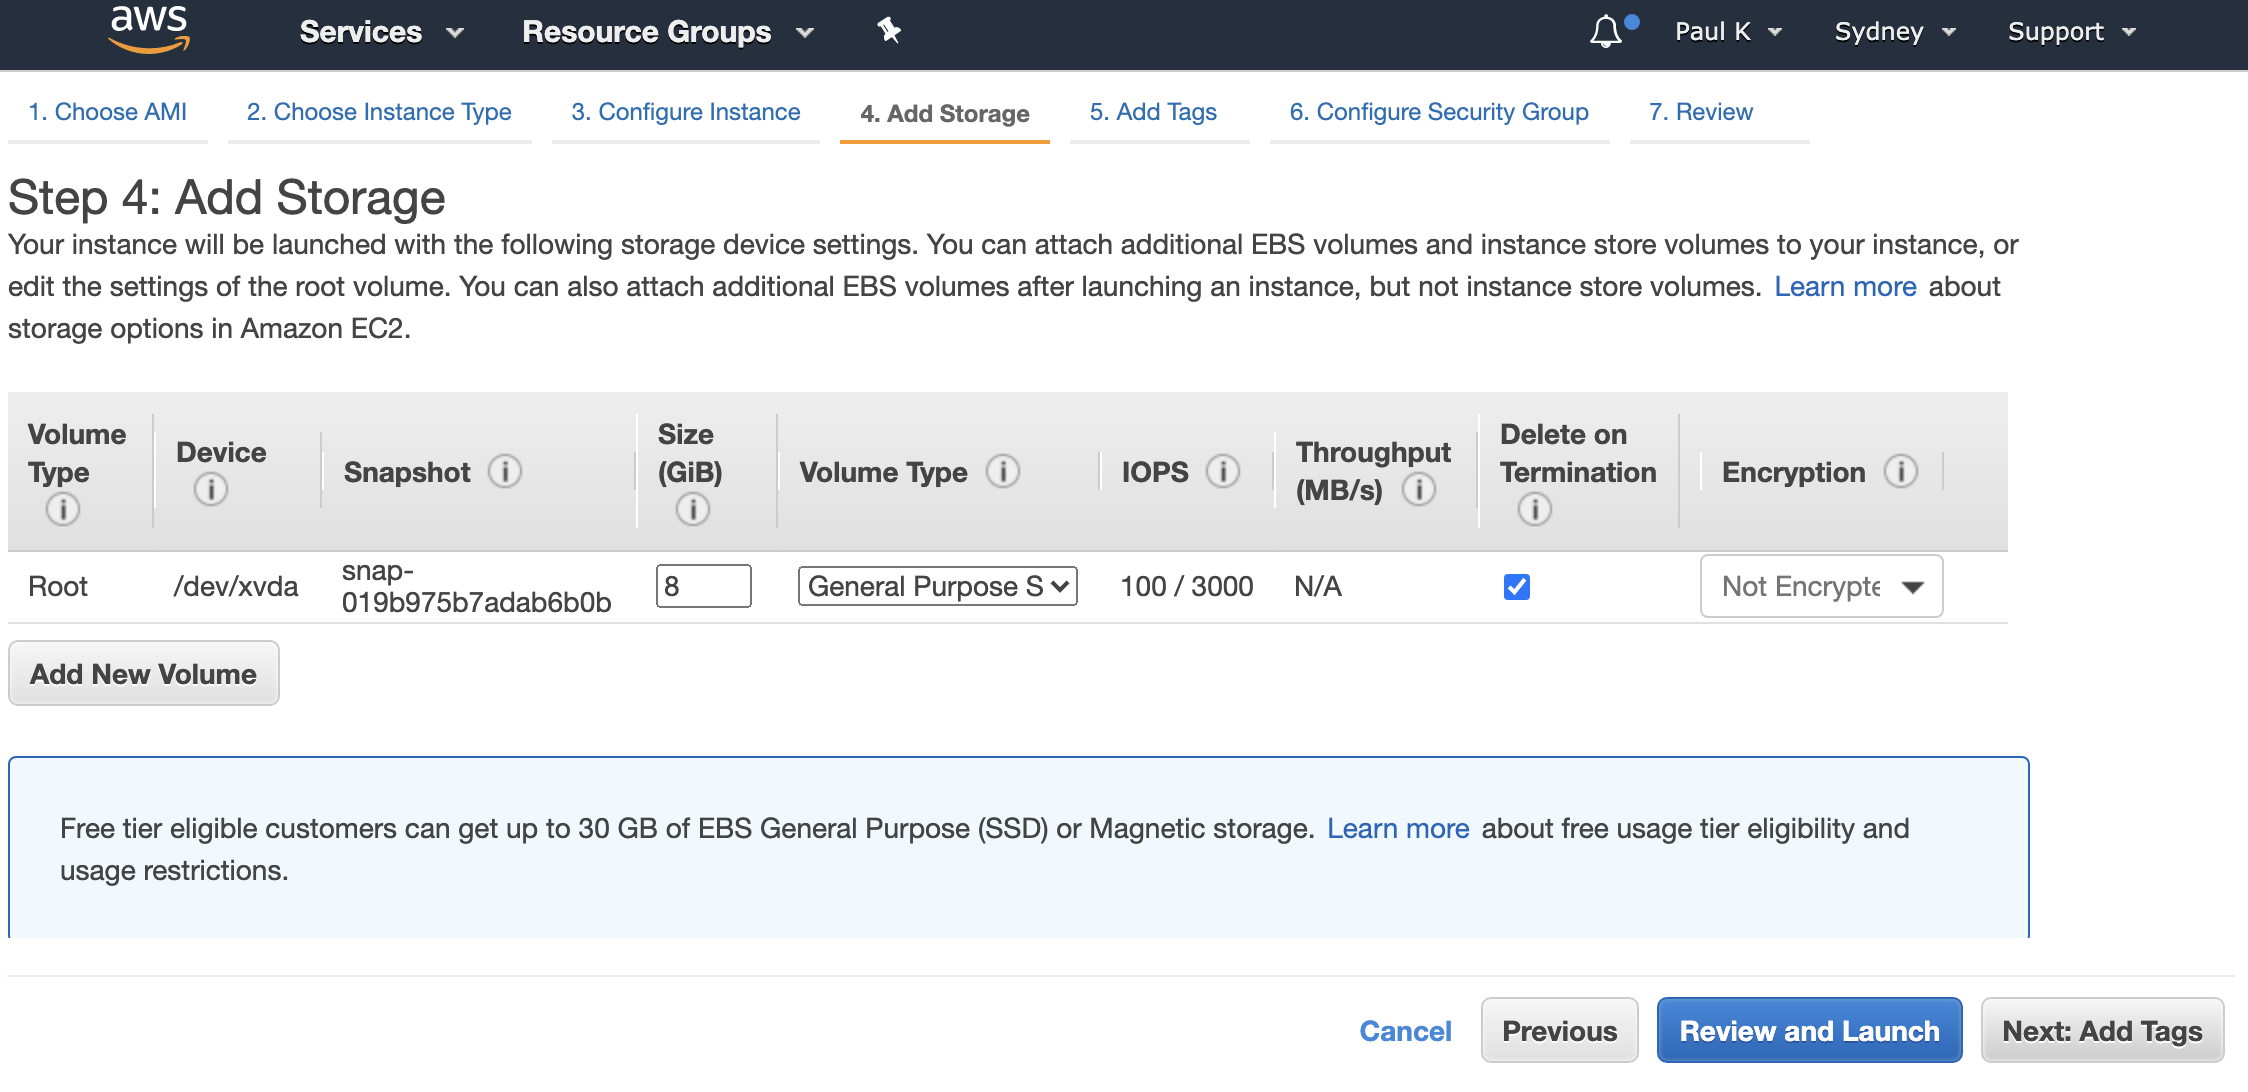
Unless you have large repos/builds 8GB should be fine, if you need more space allocate what you may need. Click “Next: Add tags”.
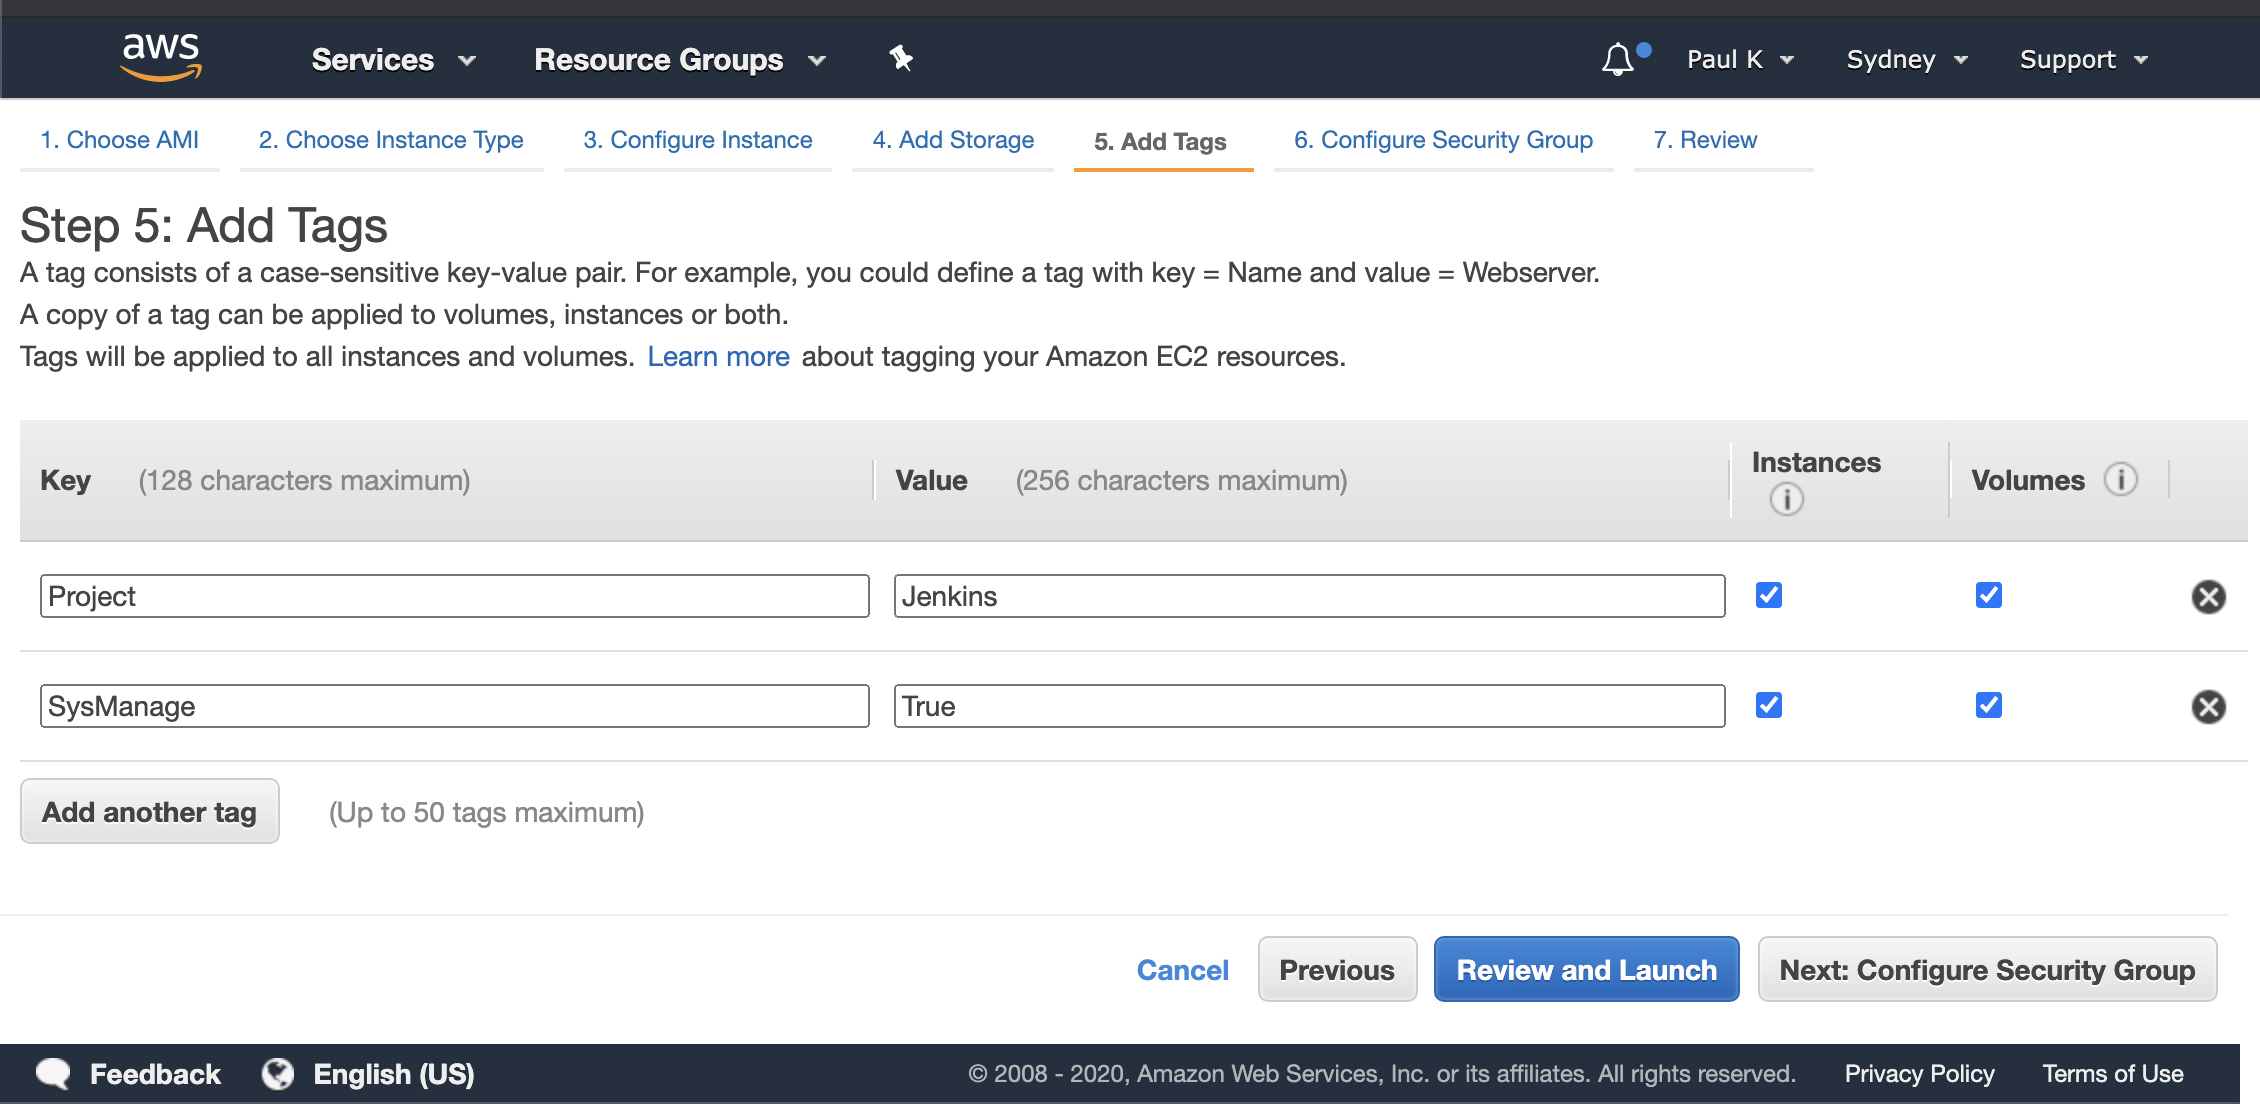
I like to add some tags so I can report on my projects and billing, this step is upto you. Once complete Click “Next: Configure Security Groups”.
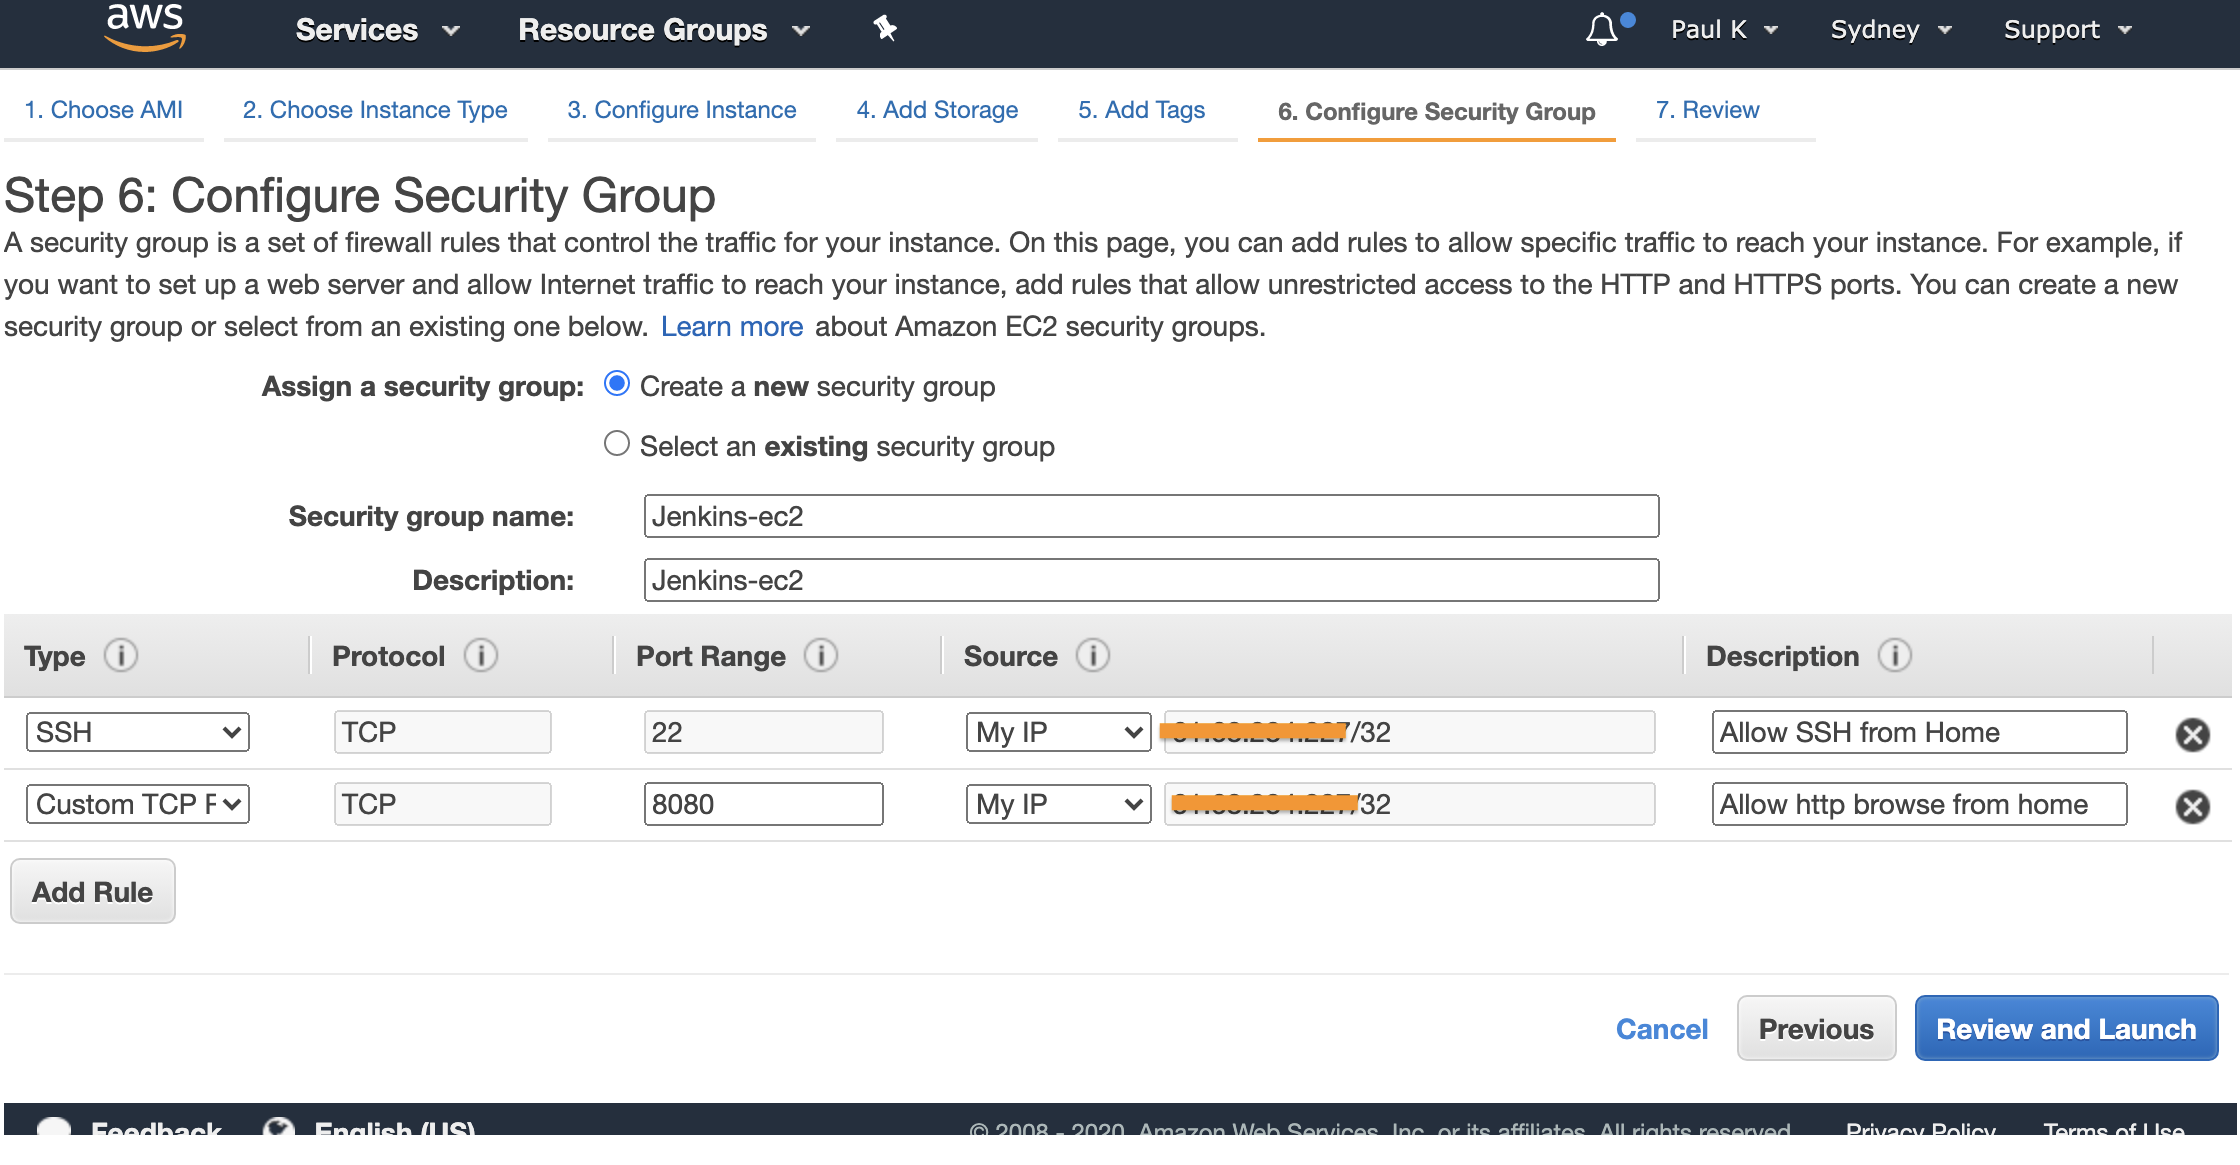
At this step we will allow ssh and port 8080 from “our” ip address. We will need to ssh to the instance to retrieve the default password. We could use session manager to accomplish this however that is not covered in this article. We will also allow port 8080 the port Jenkins listens on from our IP address, this is useful if we do not want to use a load balancer or ssl or simply are ok with using port 8080. We will alter its security group later to allow the load balancer to forward traffic to the instance.
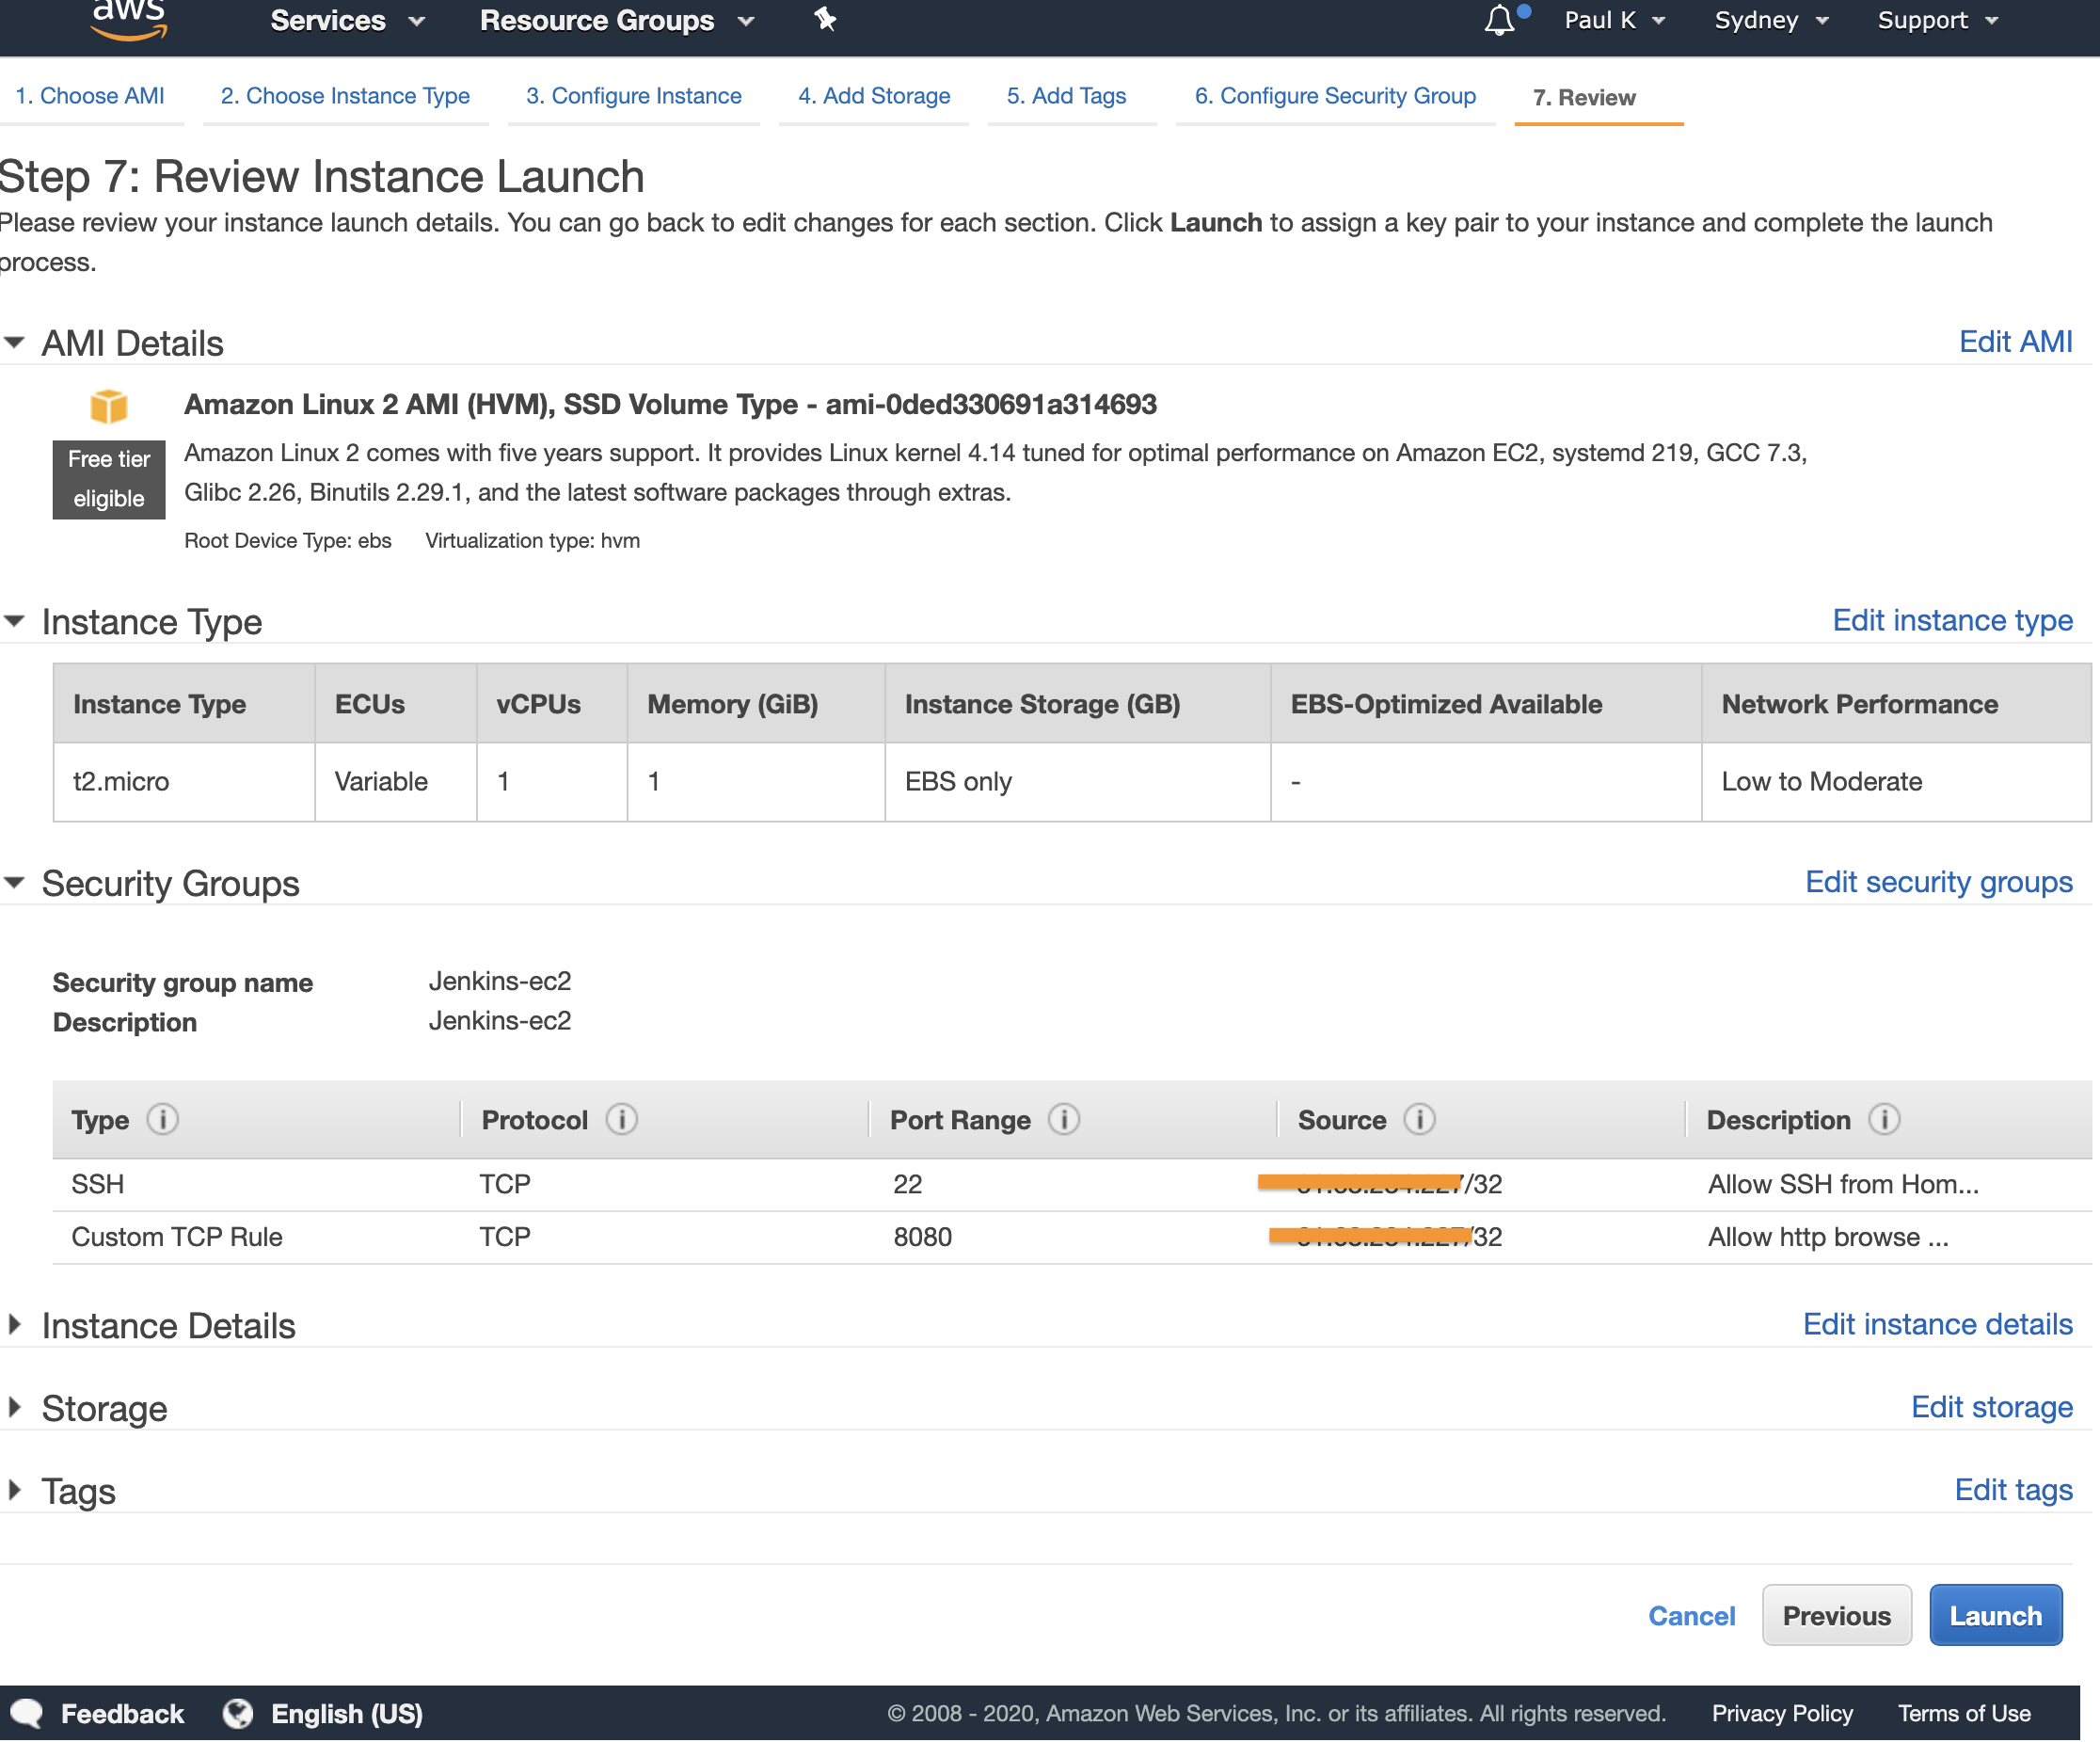
Review the changes and click “Launch”
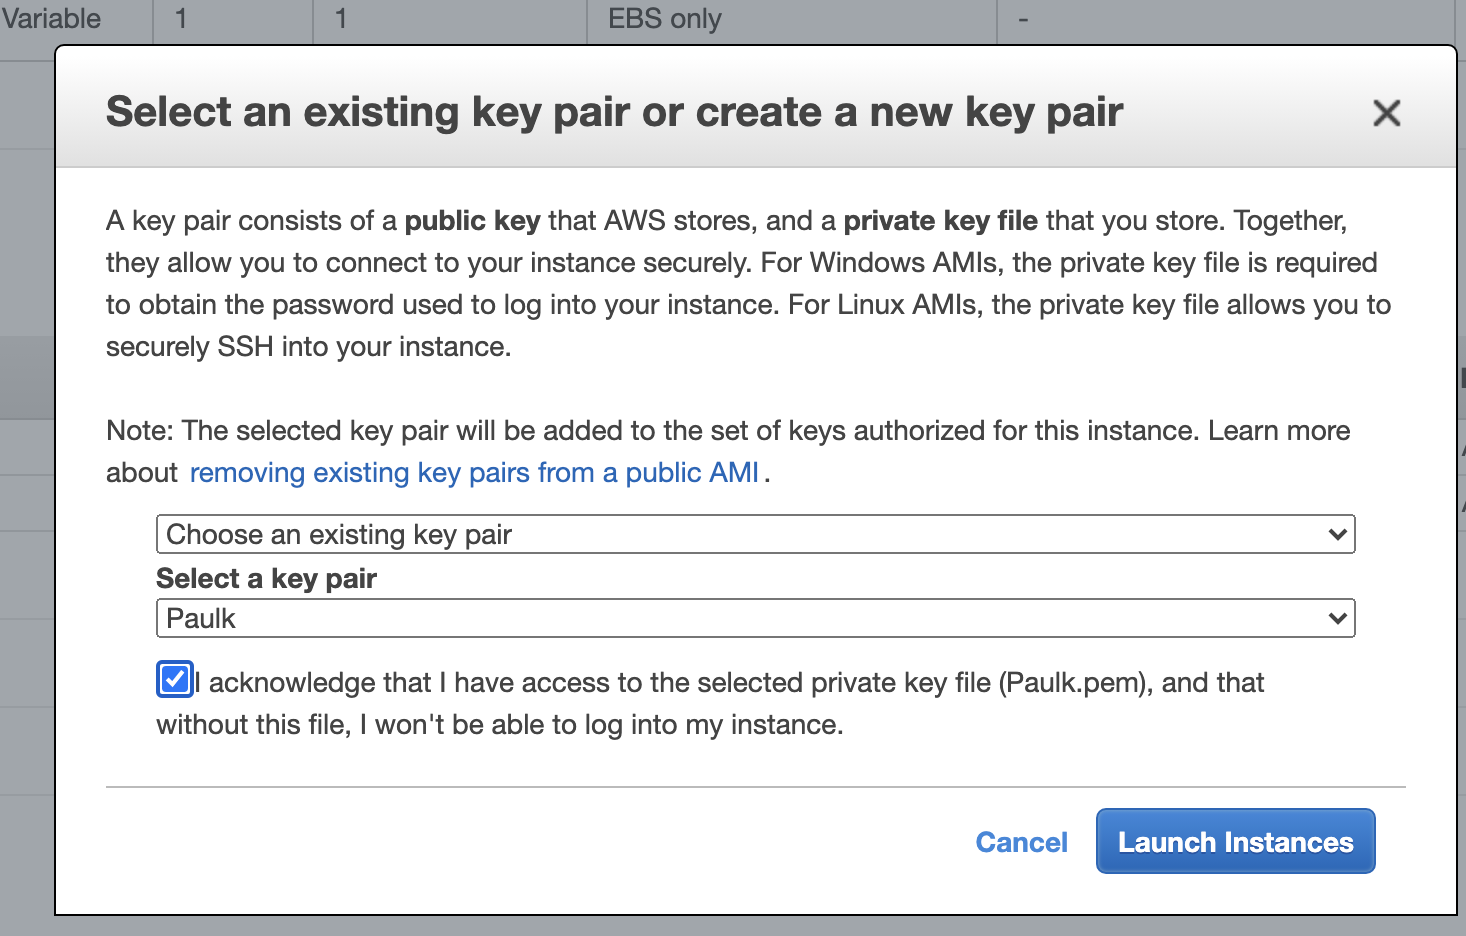
Select or create a new pem file, you will need this to ssh to the instance.
This will launch the ec2 instance, once launched it will run the jenking install steps and in a minute or 2 you will be able to browse to the public ip address like so http://{publicip}:8080 This shows that Jenkins is up and running. Port 8080 is fine over a private link without ssl but it may not work in some enviroments hence the Applicaiton Load Balancer (ALB) use case. On top of that I will remove non-ssl access and apply a ssl certificate for a domain I have. Restricting the IP address will provide some level of protection however I still reccomend not using non SSL over the public internet.
We will now create and setup the security group for the Load Balancer. Return to the EC2 Dashboard and click “Security Groups” under “Networking & Security” on the left hand menu, then click “Create Security Group” or just click here
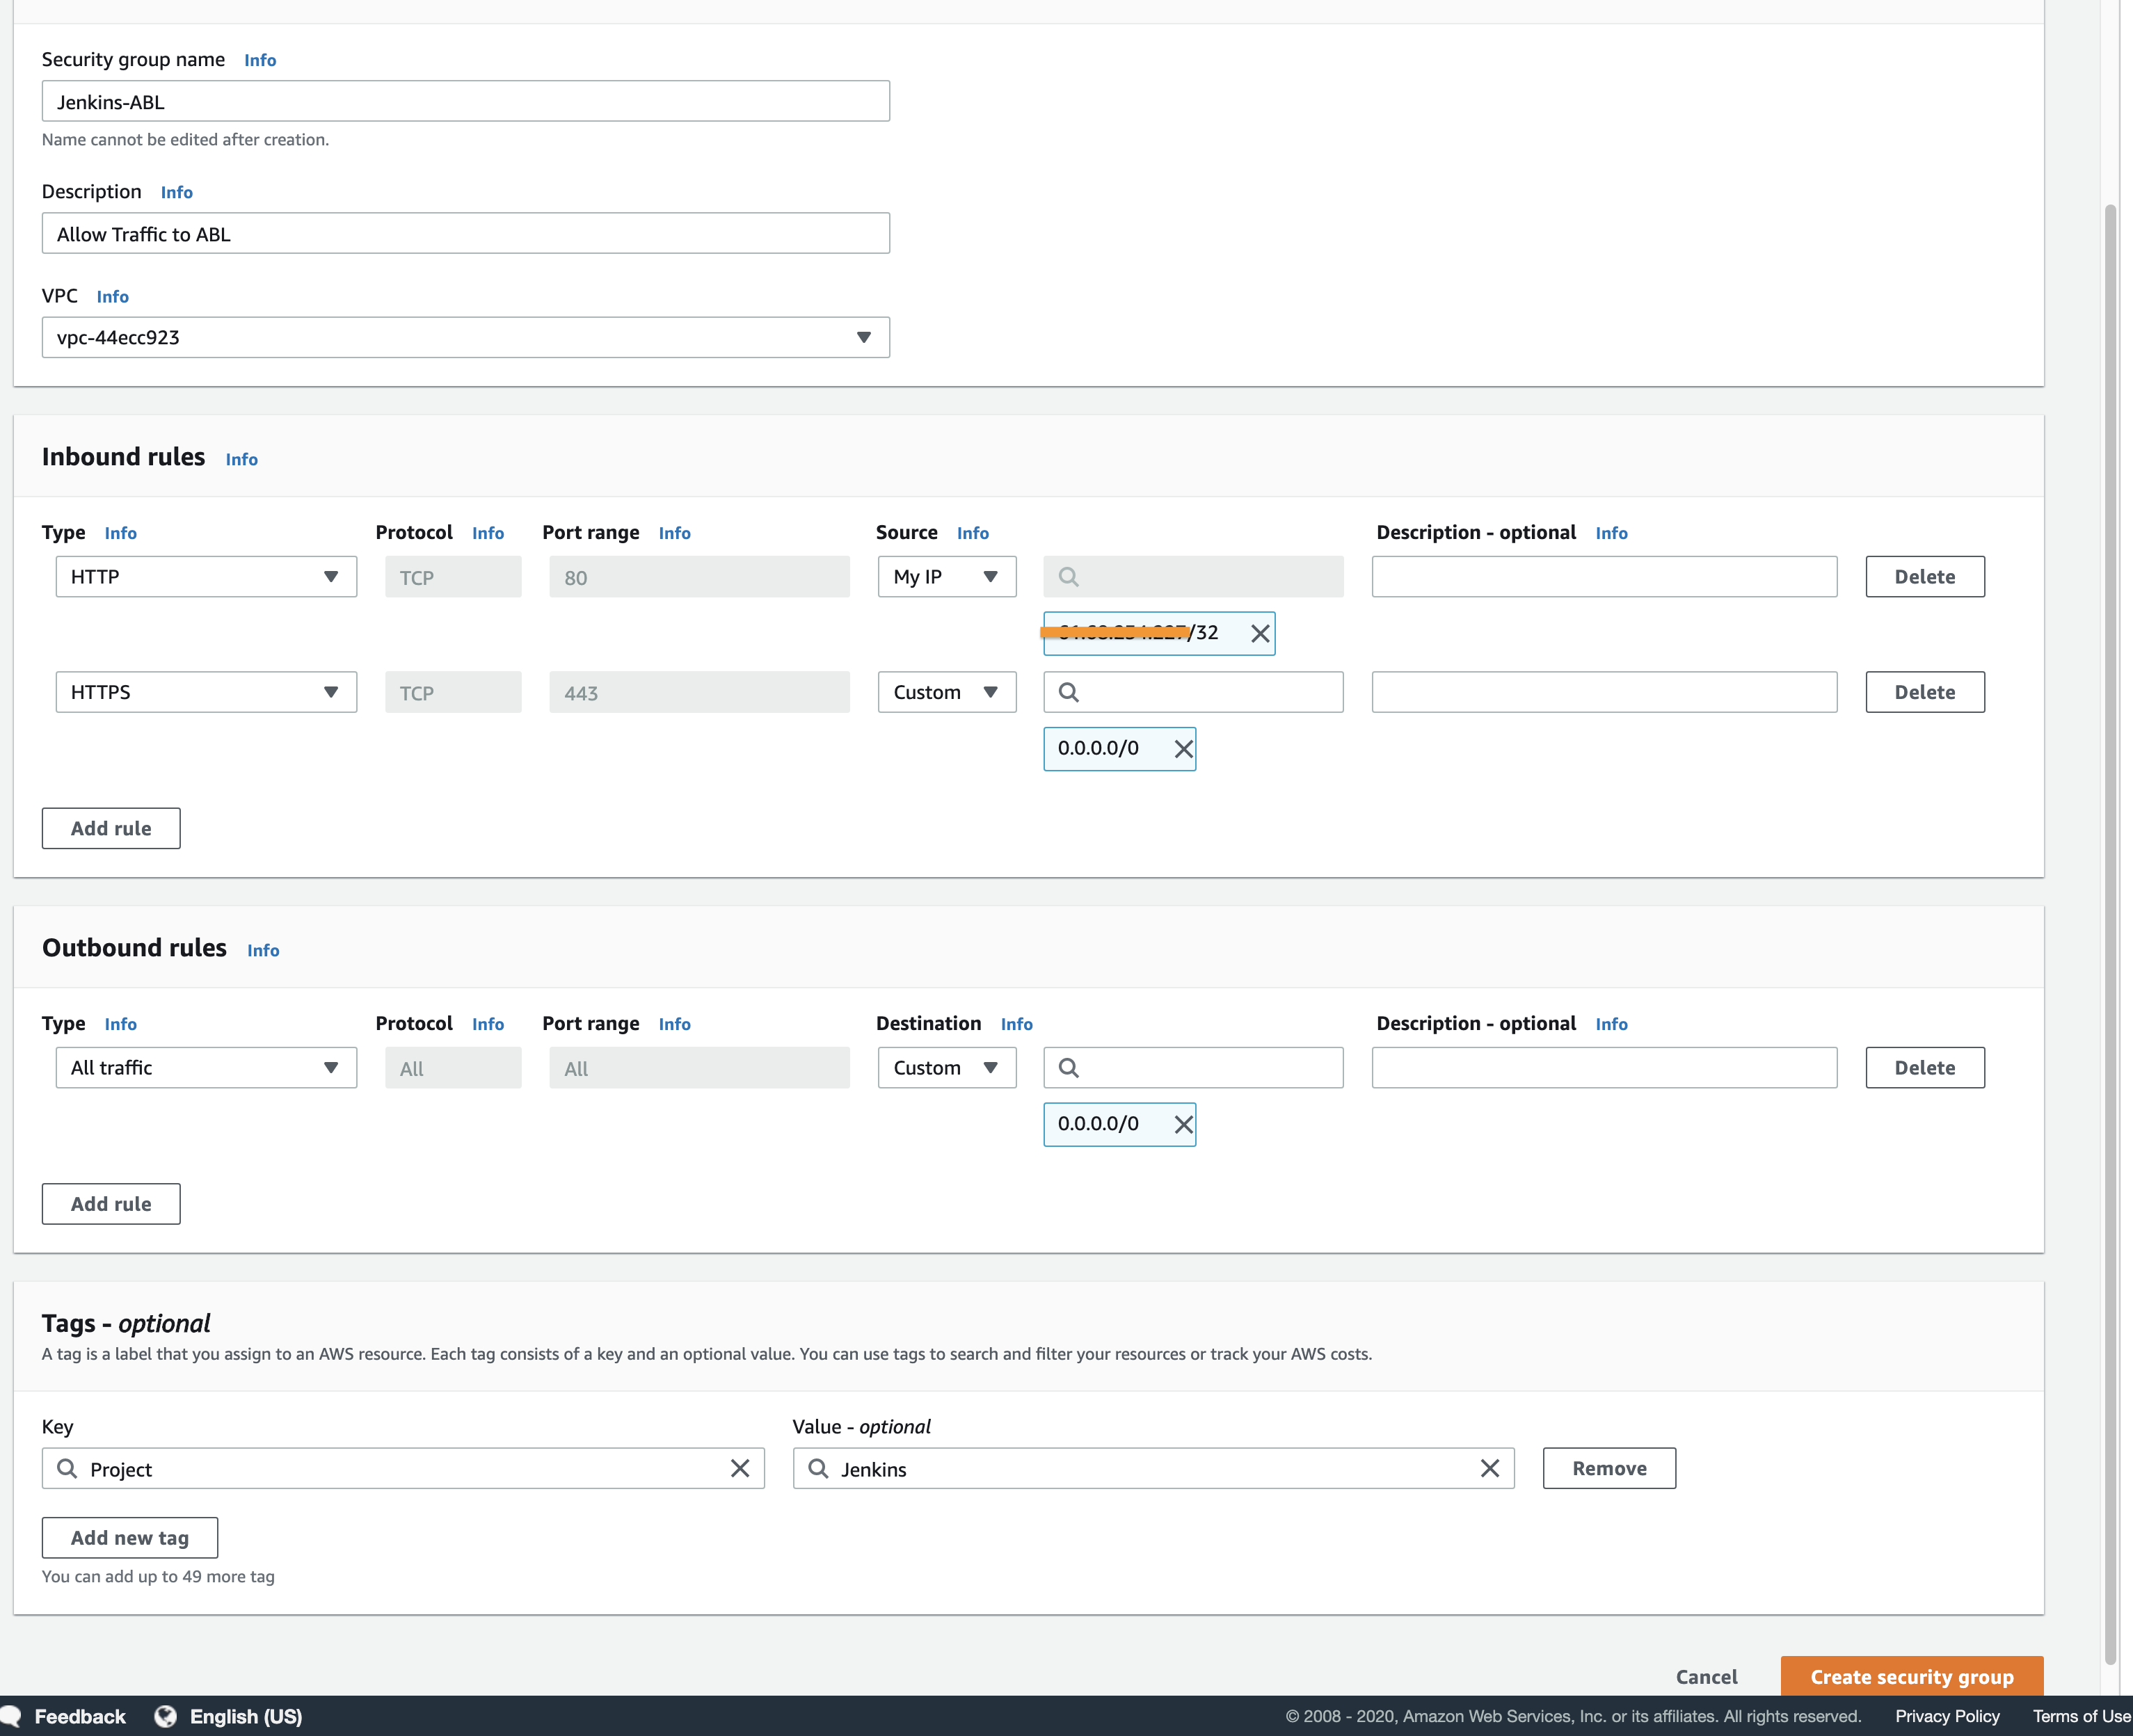
We will allow all traffic in on port 443 and port 80, port 80 I have only allowed traffic in from my home IP and I will remove this later, this is here for testing only. Once ready click “Create Security group” take not of the security group id as we will use this shortly.
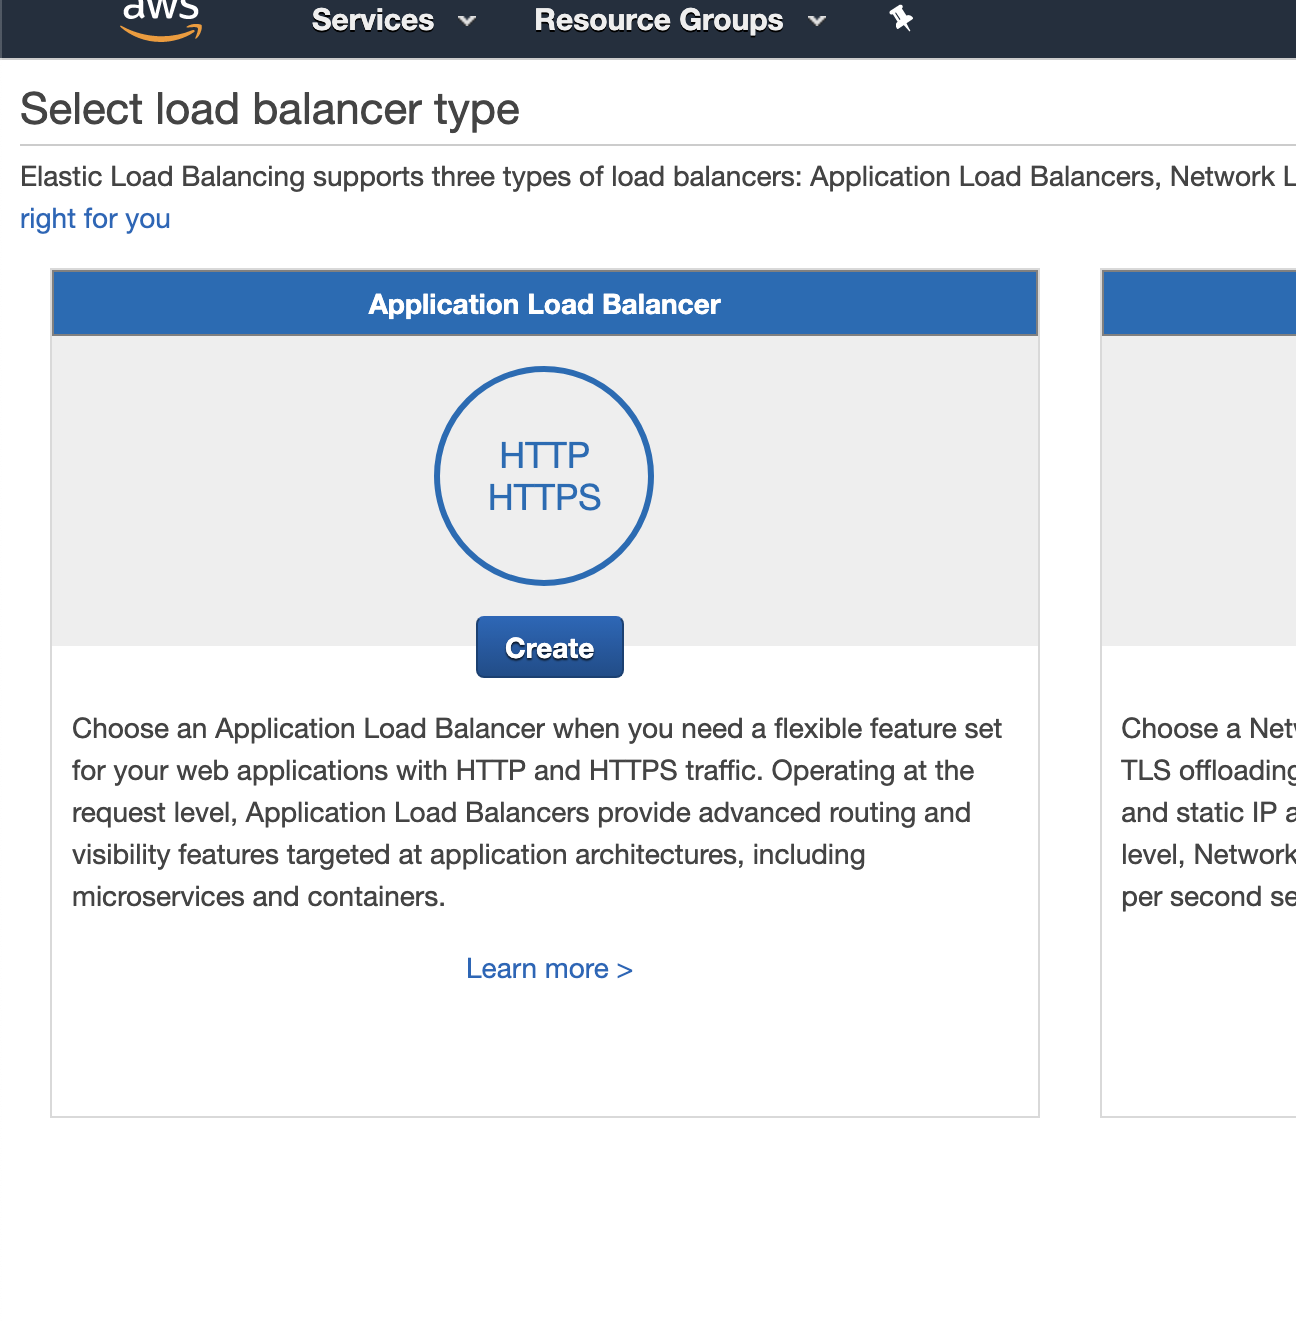
Now return to the EC2 Dashboard, click “Load Balancers” under “Load Balancing” there are 3 options, we will use an ALB. Click “Create”
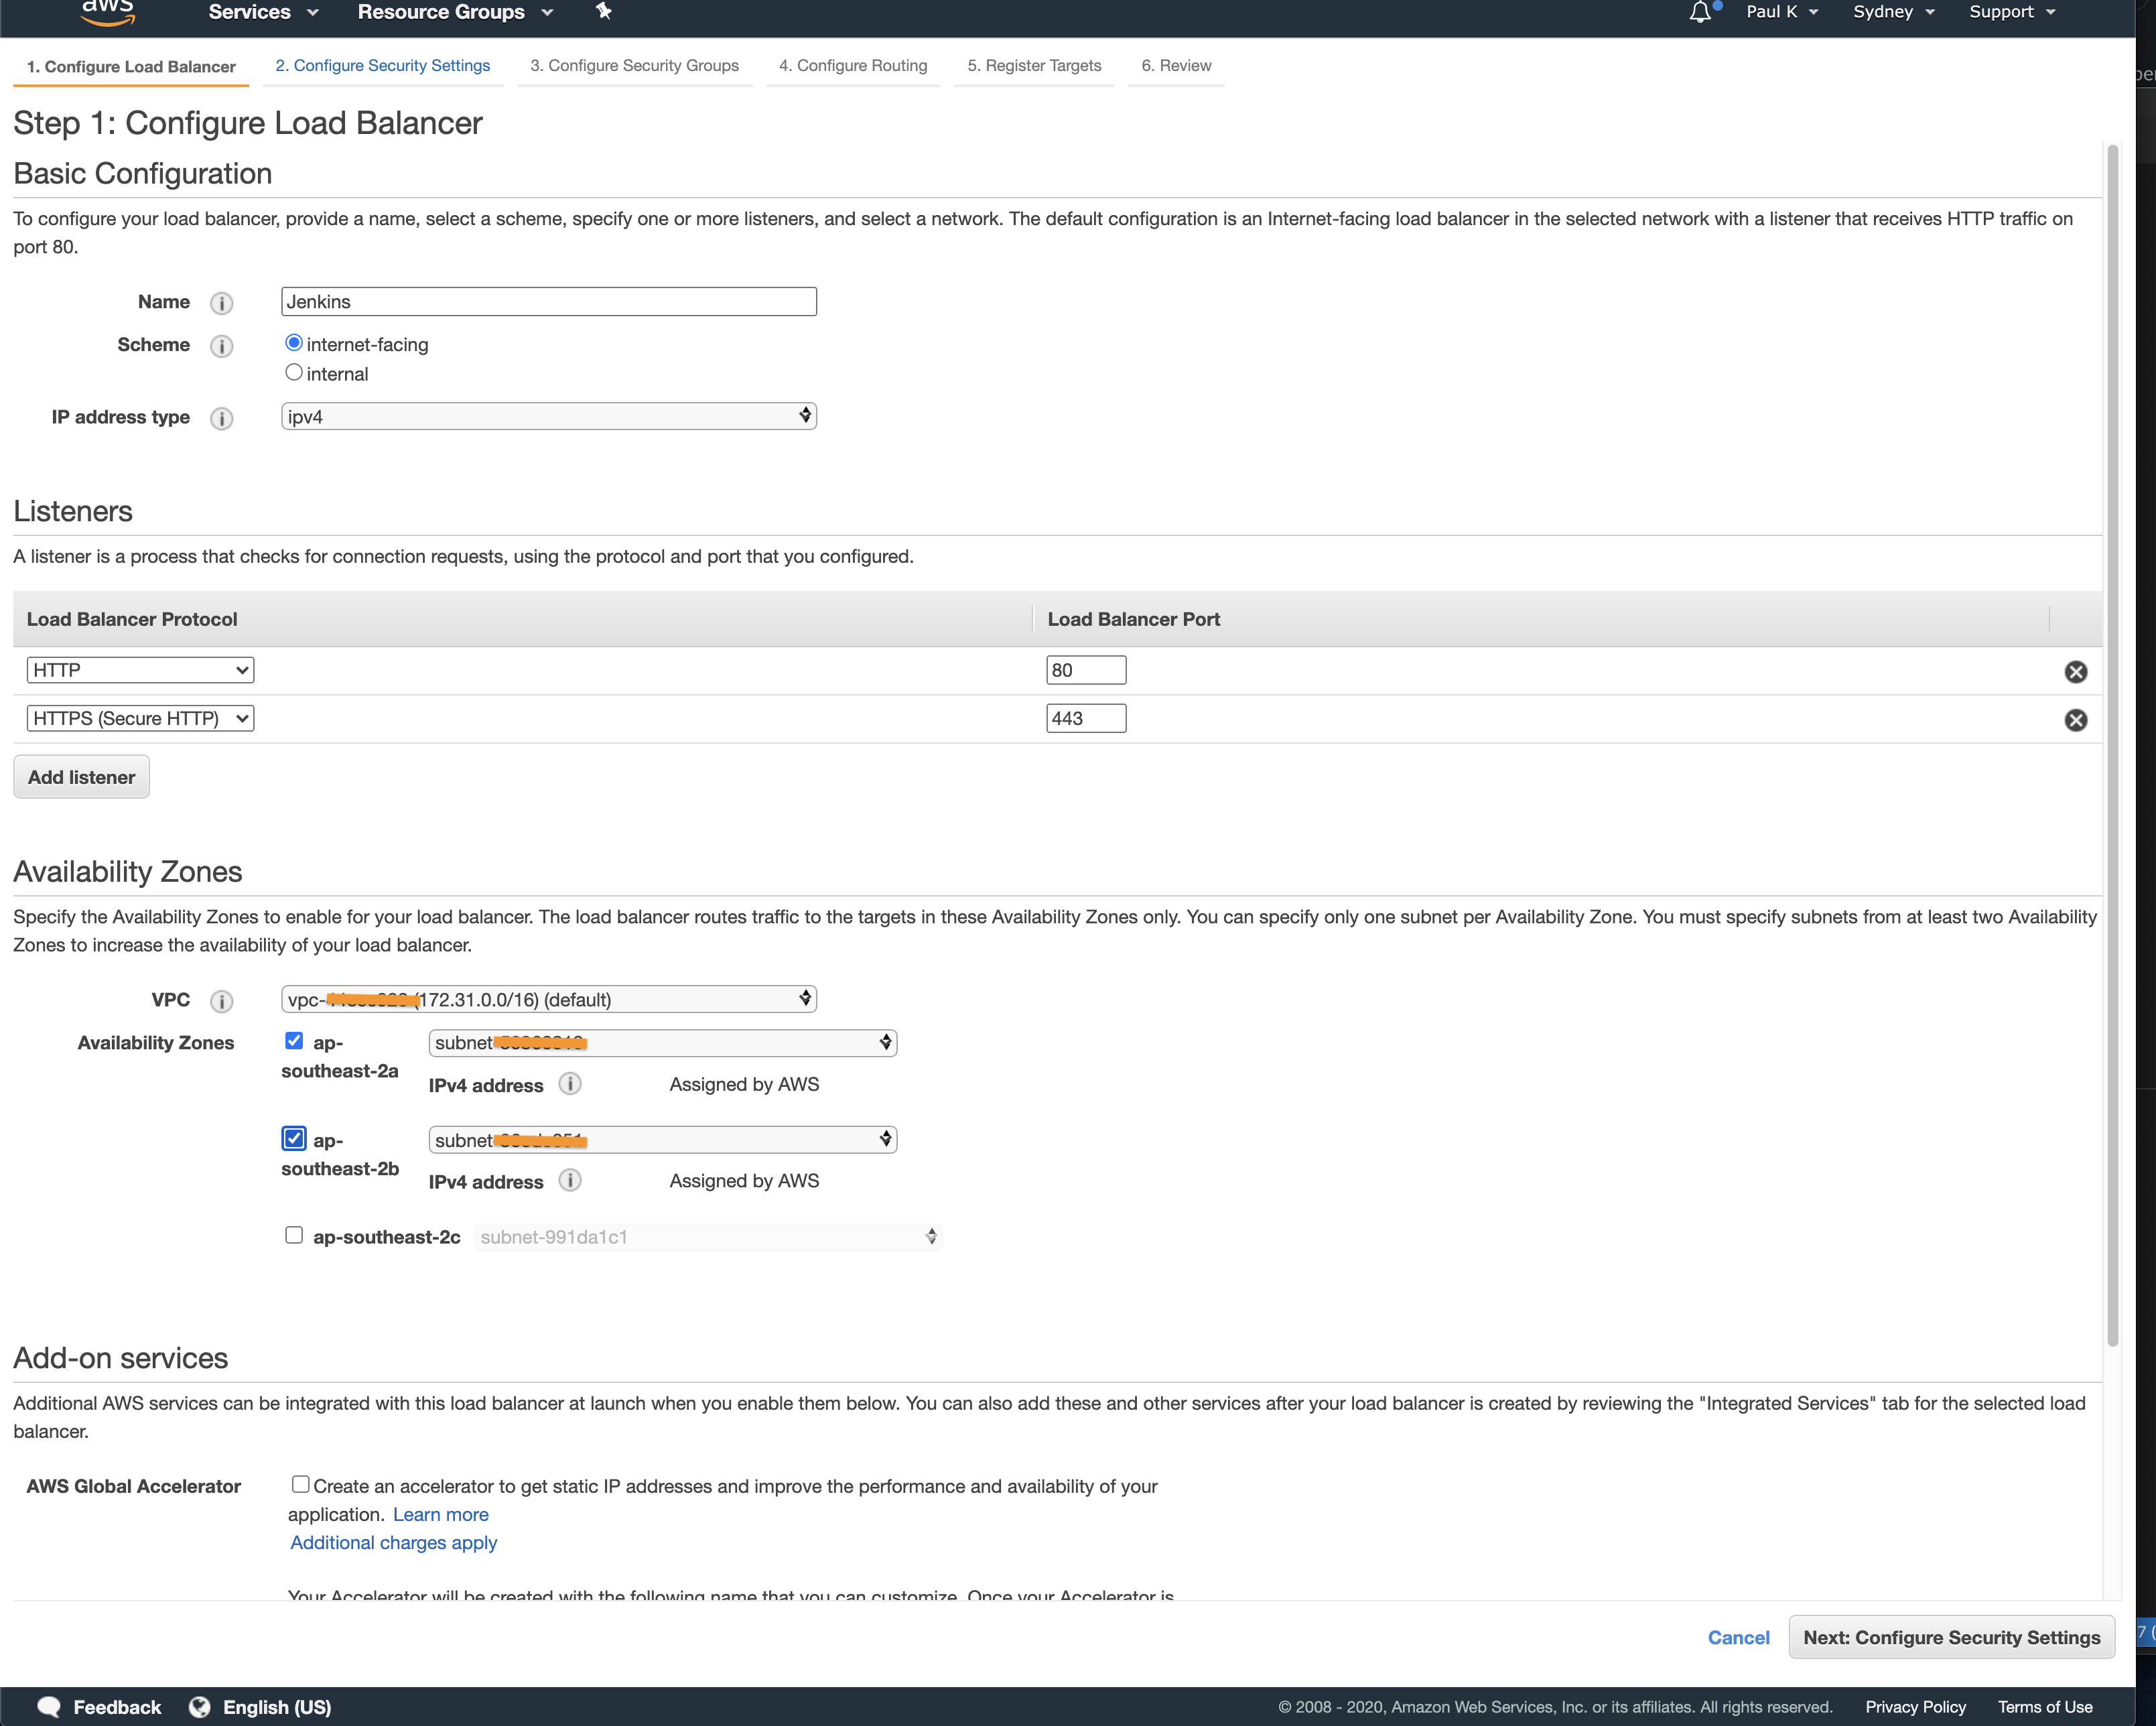
We will add 2 listeners on the ALB, port 80 and 443. Remember port 80 is just for testing or if you do not have a SSL certificate. Click “Next: Configure Security Settings”
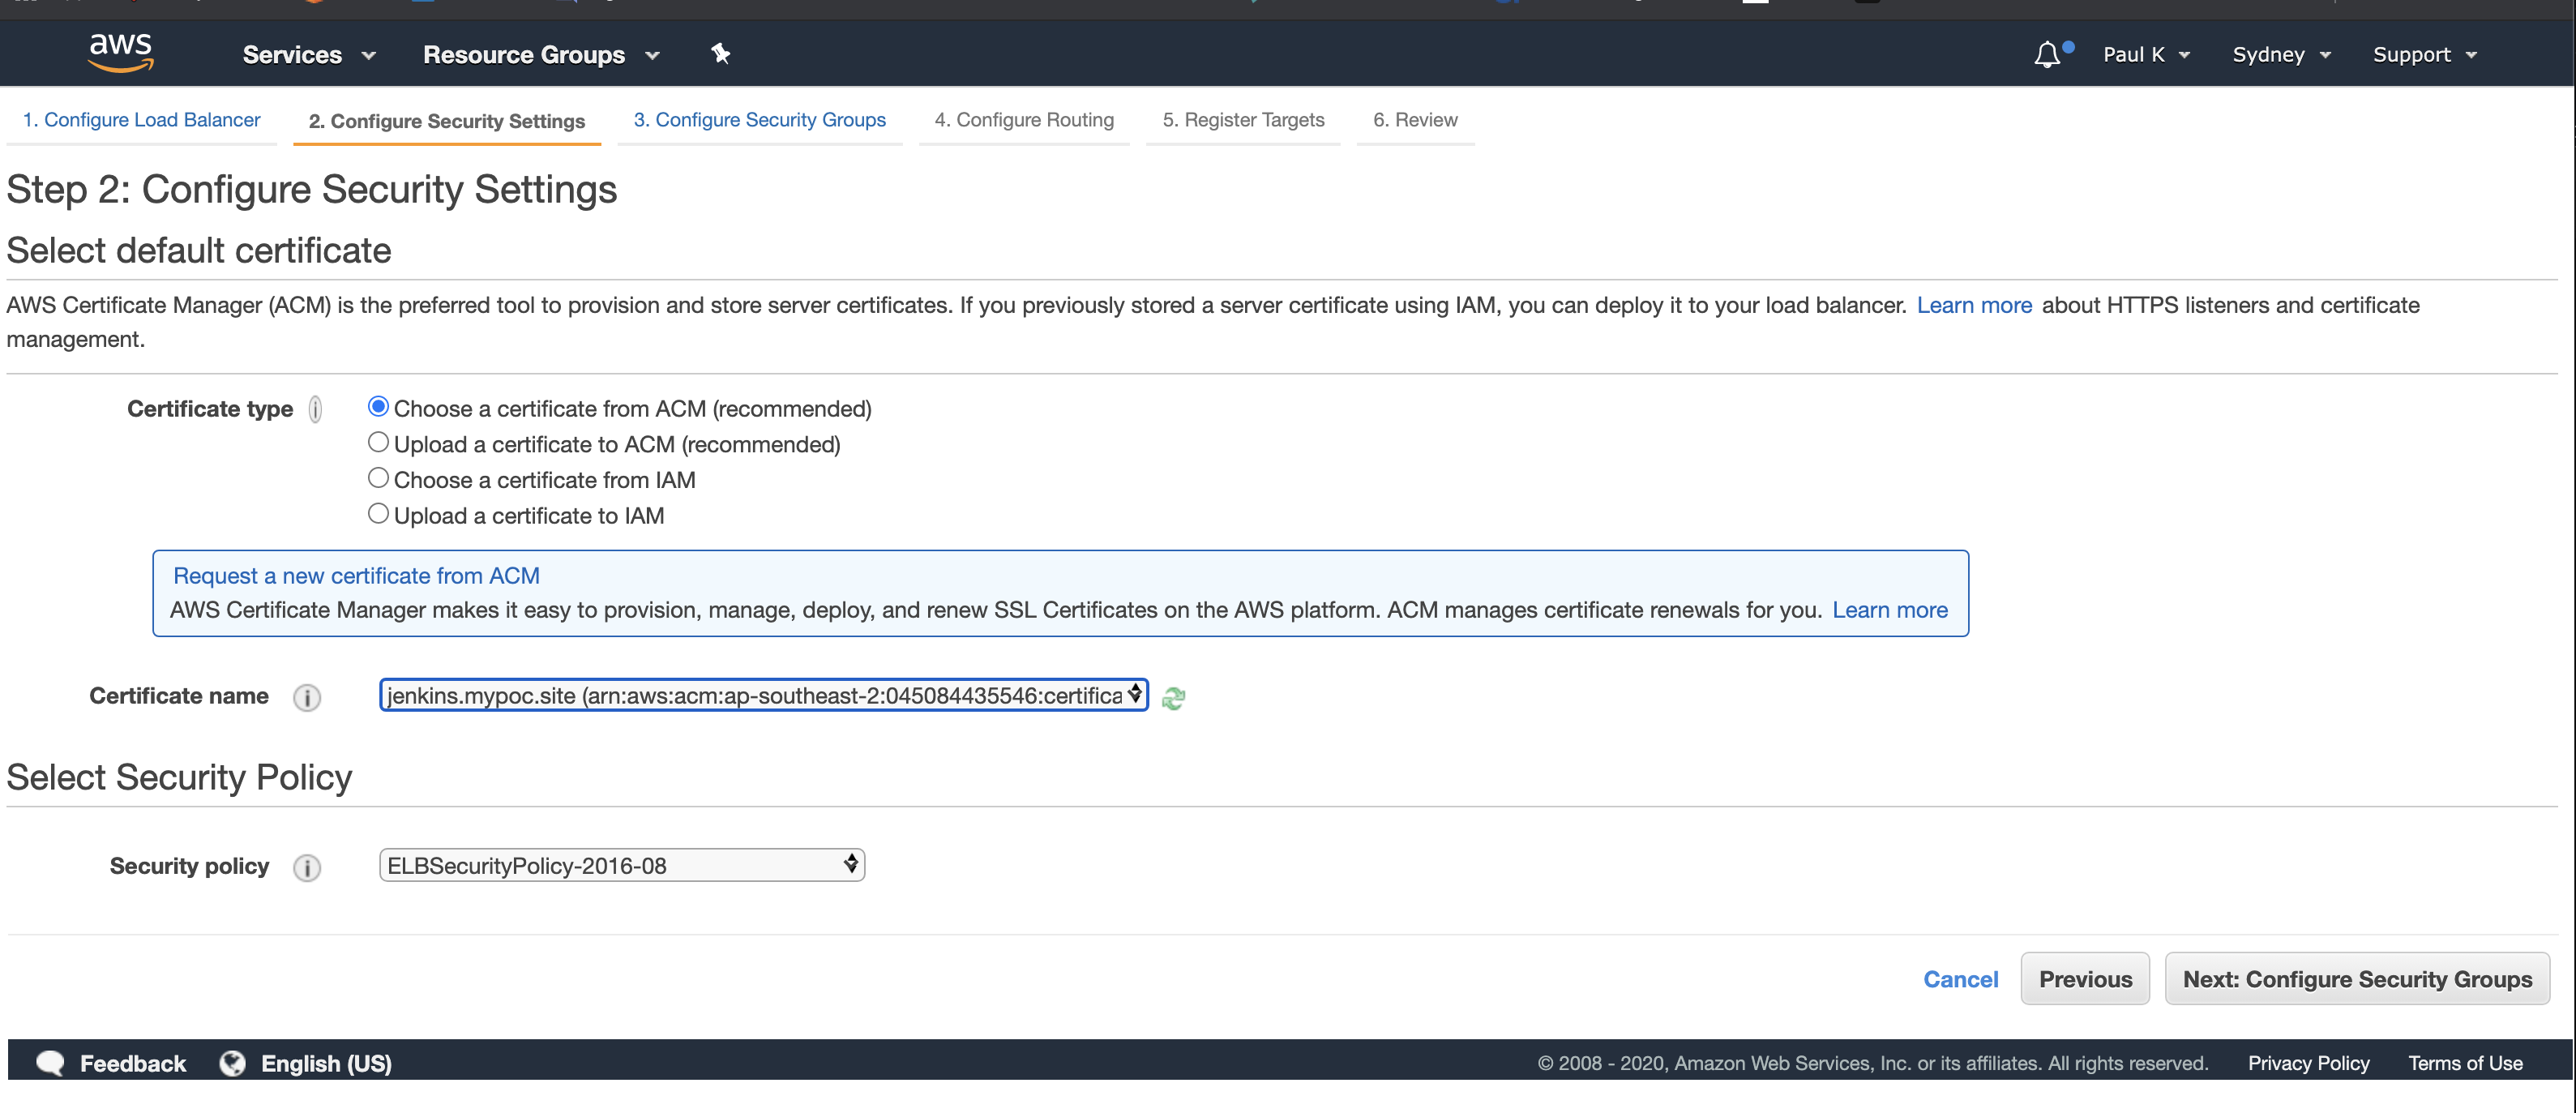
If you have a certificate, select it. If I have people comment on how to create a certificate for there domain I will add a new post on this topic, for this example I will presume you don’t want a SSL certificate or know how to create one with ACM. Click “Next: Configure Security Groups”
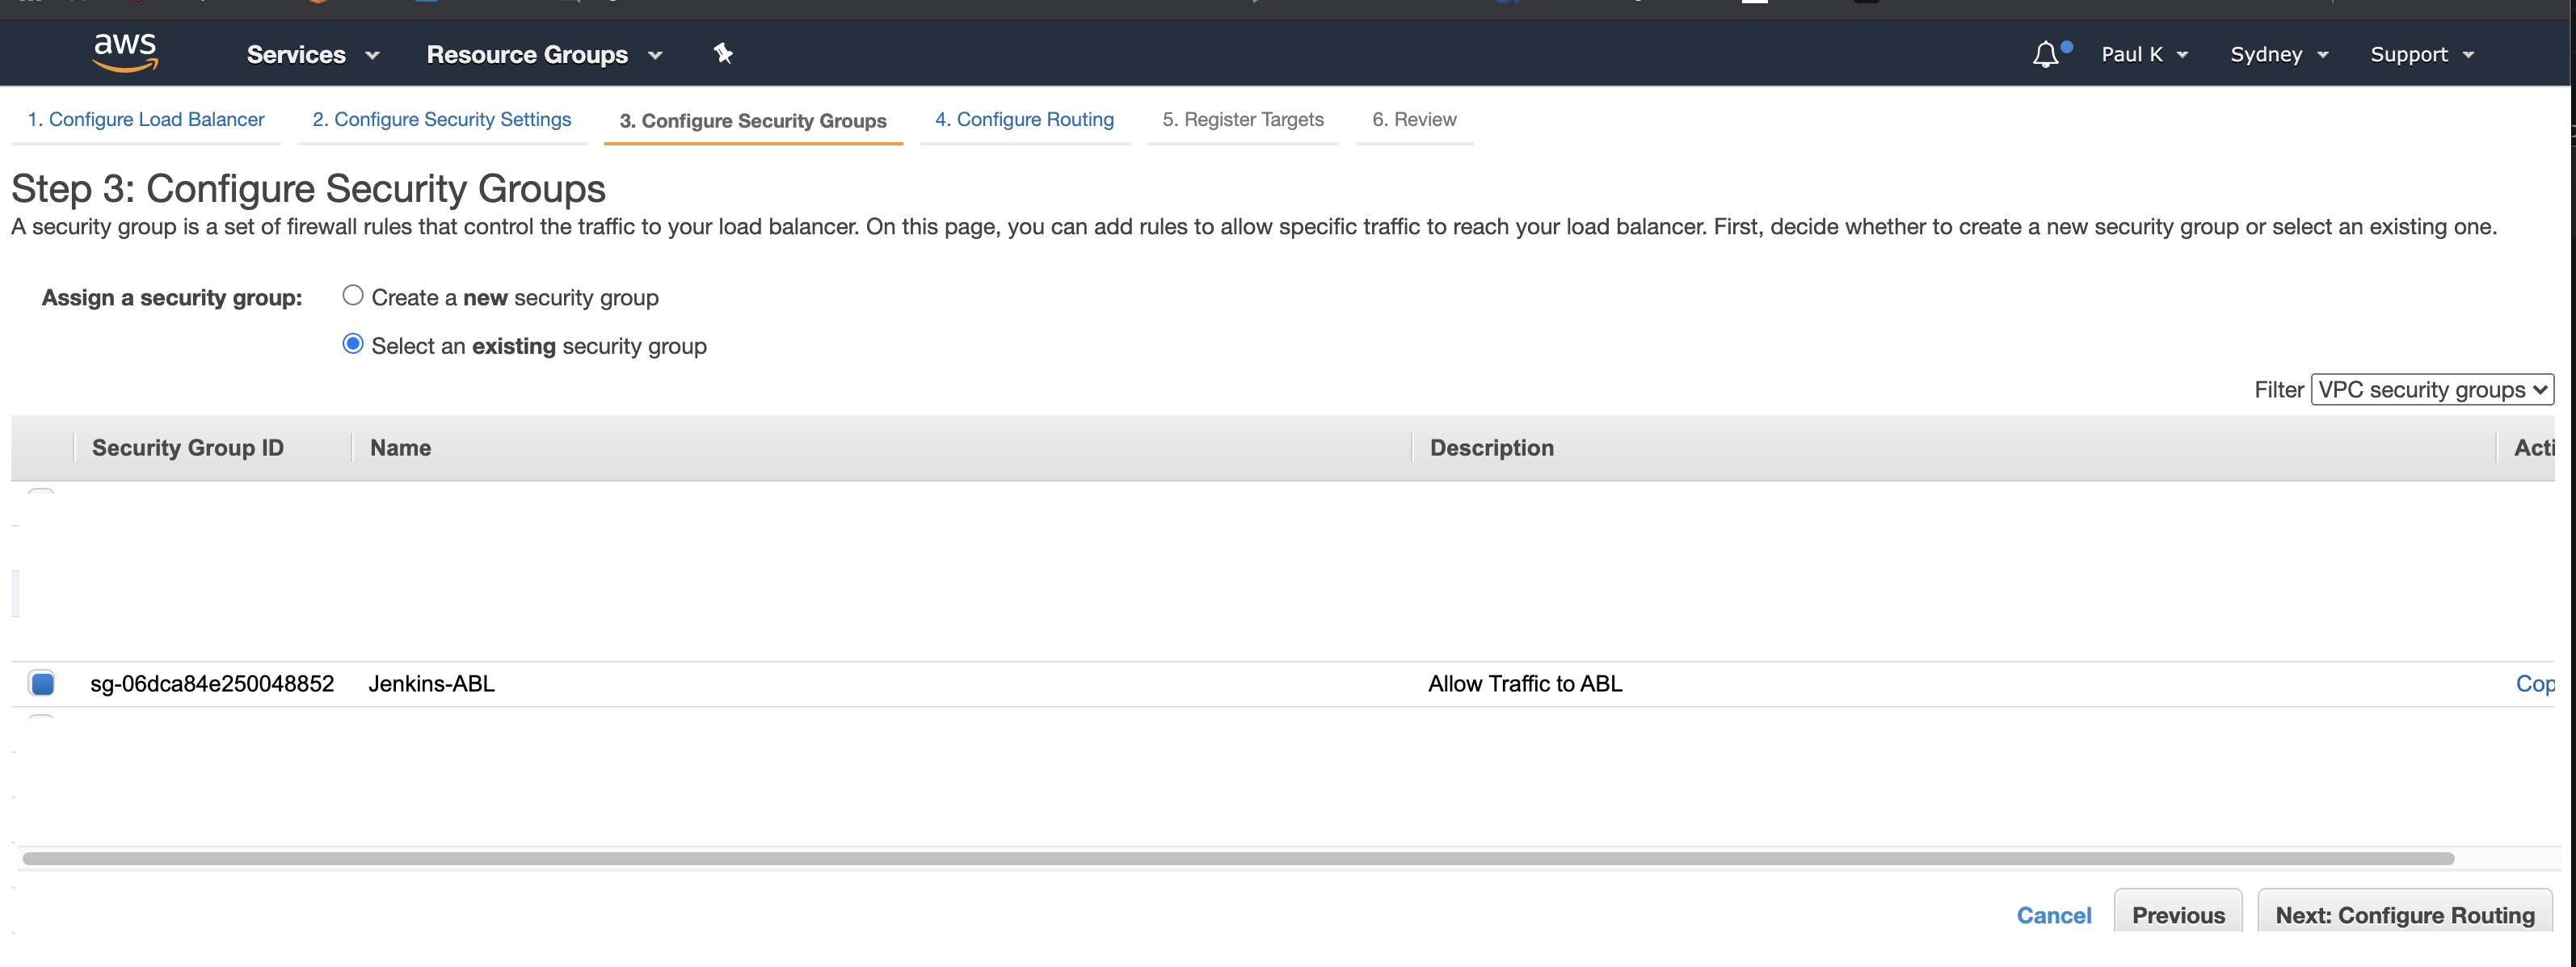
Here we will select the security group we created for the ALB. Click “Next Configure Routing”
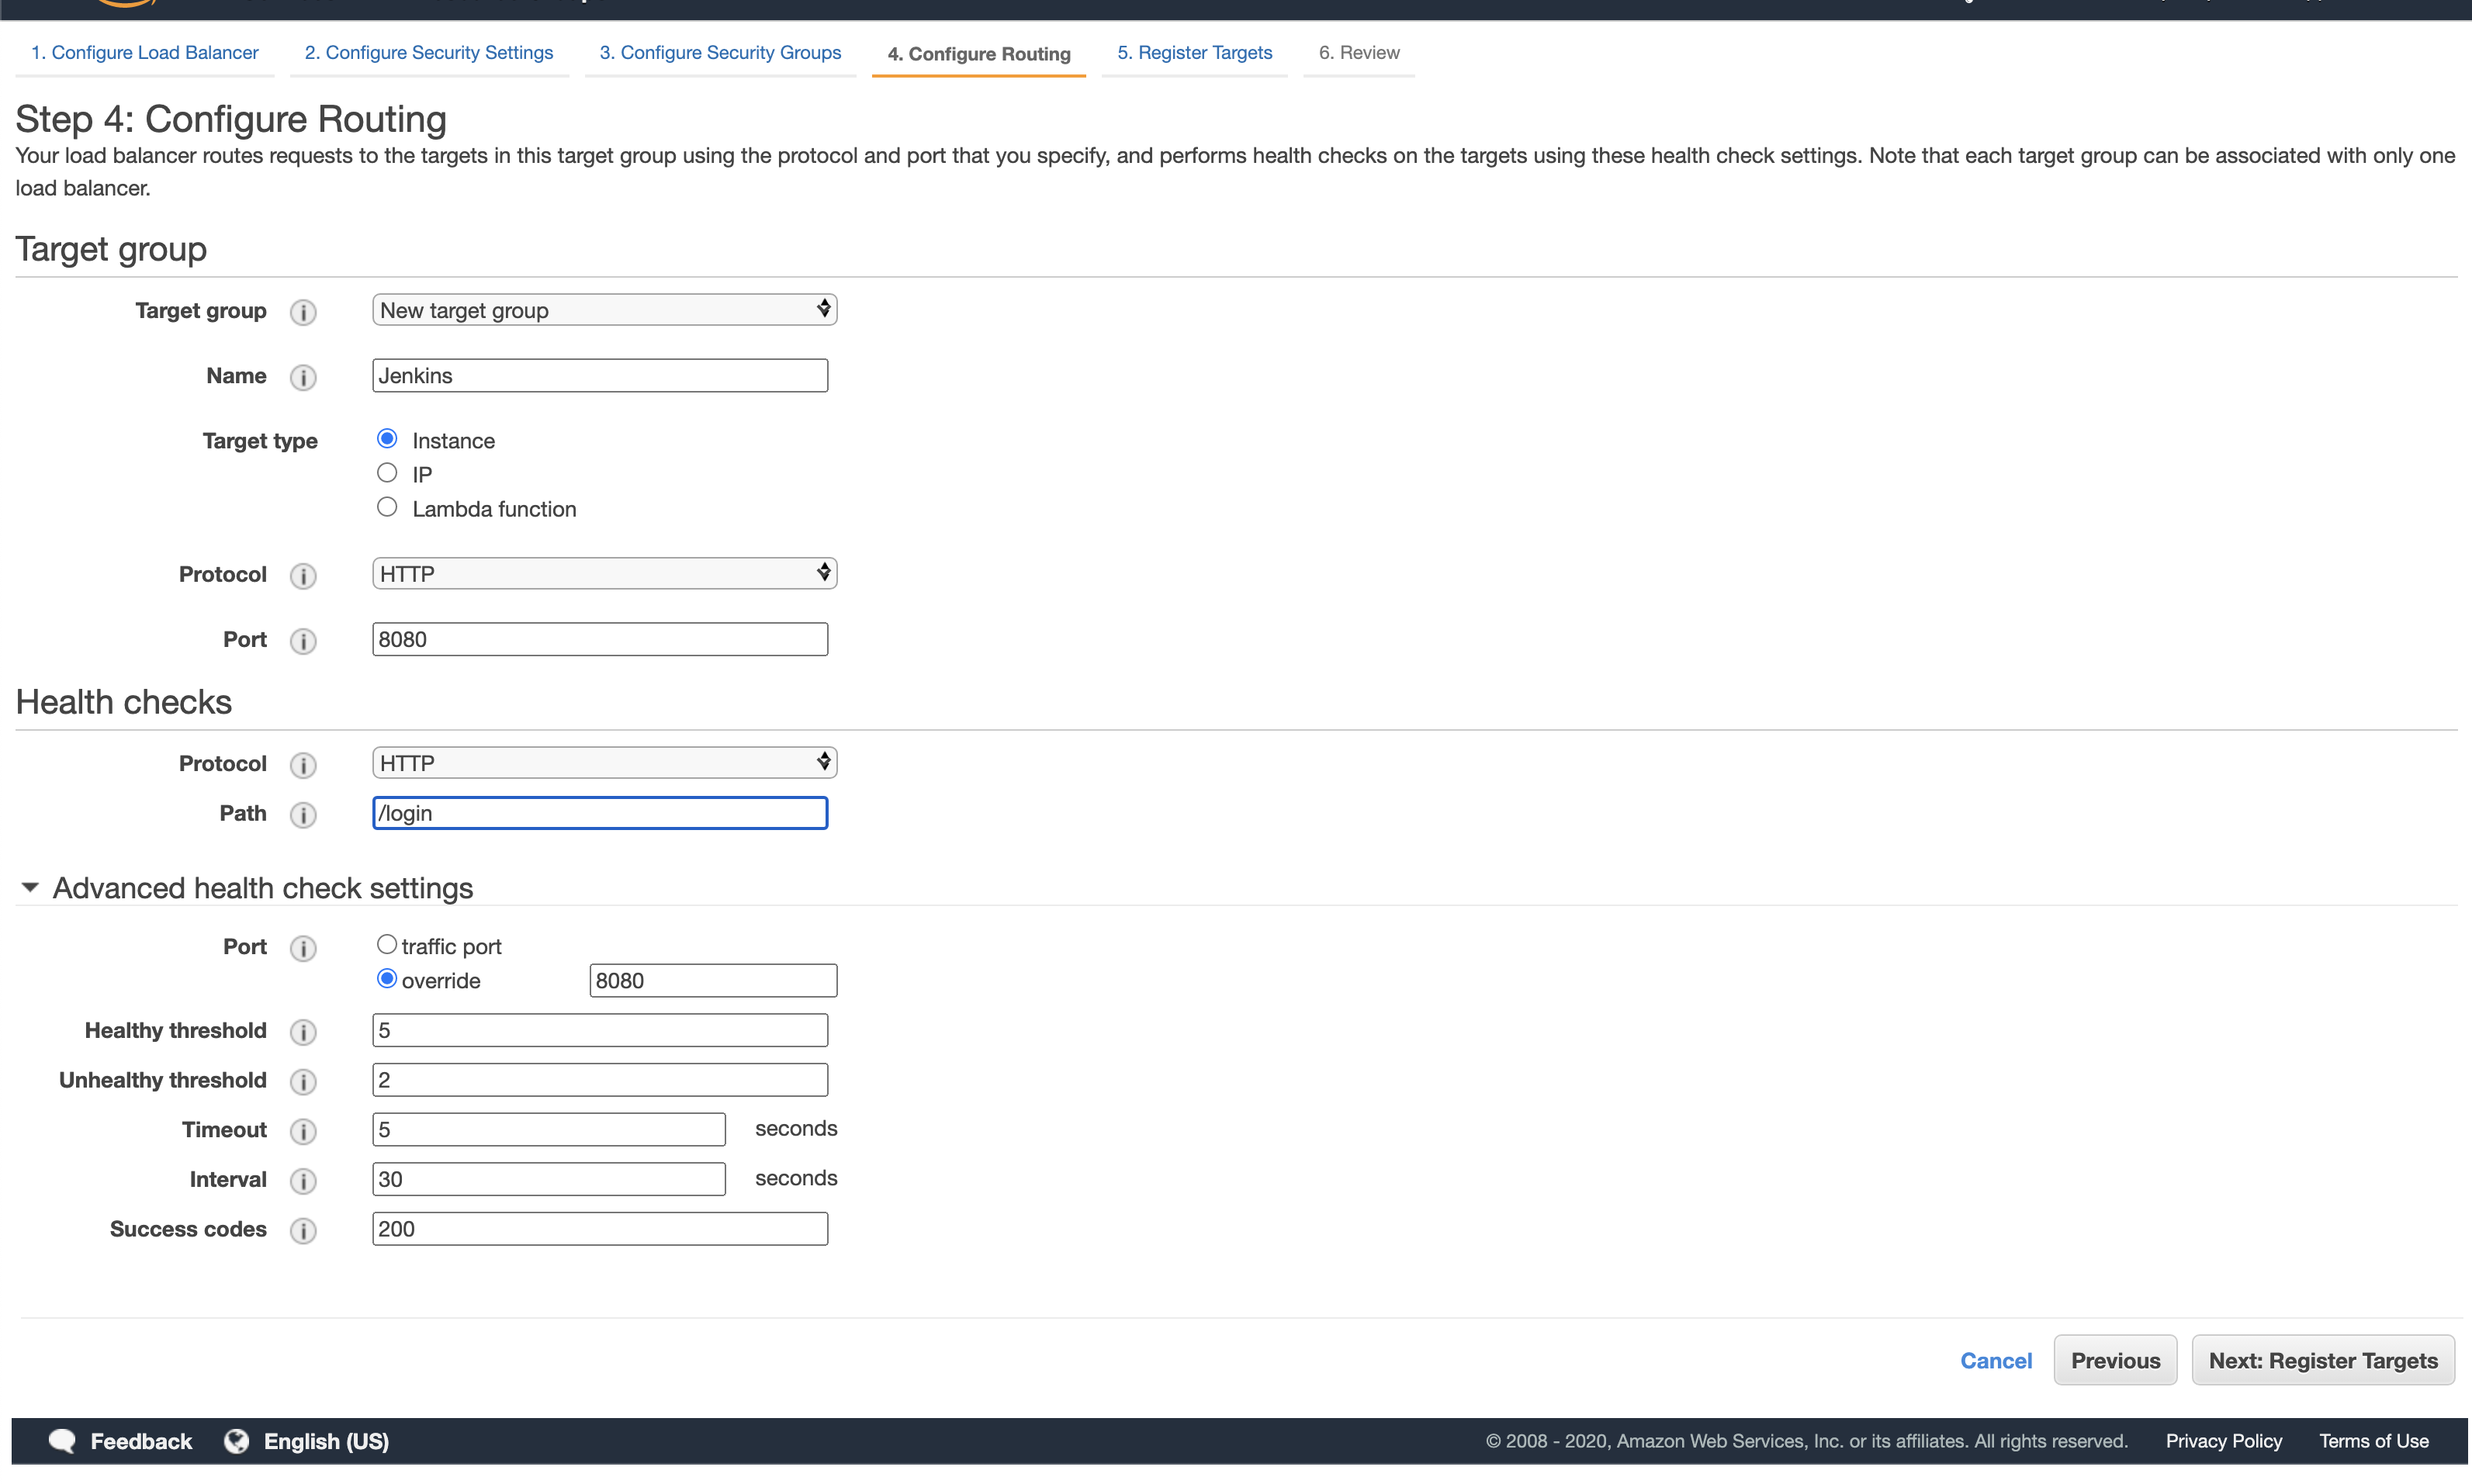
Here we will configure the Target group, this will listen on port 8080. Ensure the health check is set to the correct port aswell 8080. The health check path can be /logon which is a publicly available path on Jenkins. Click “Next: Register Targets”
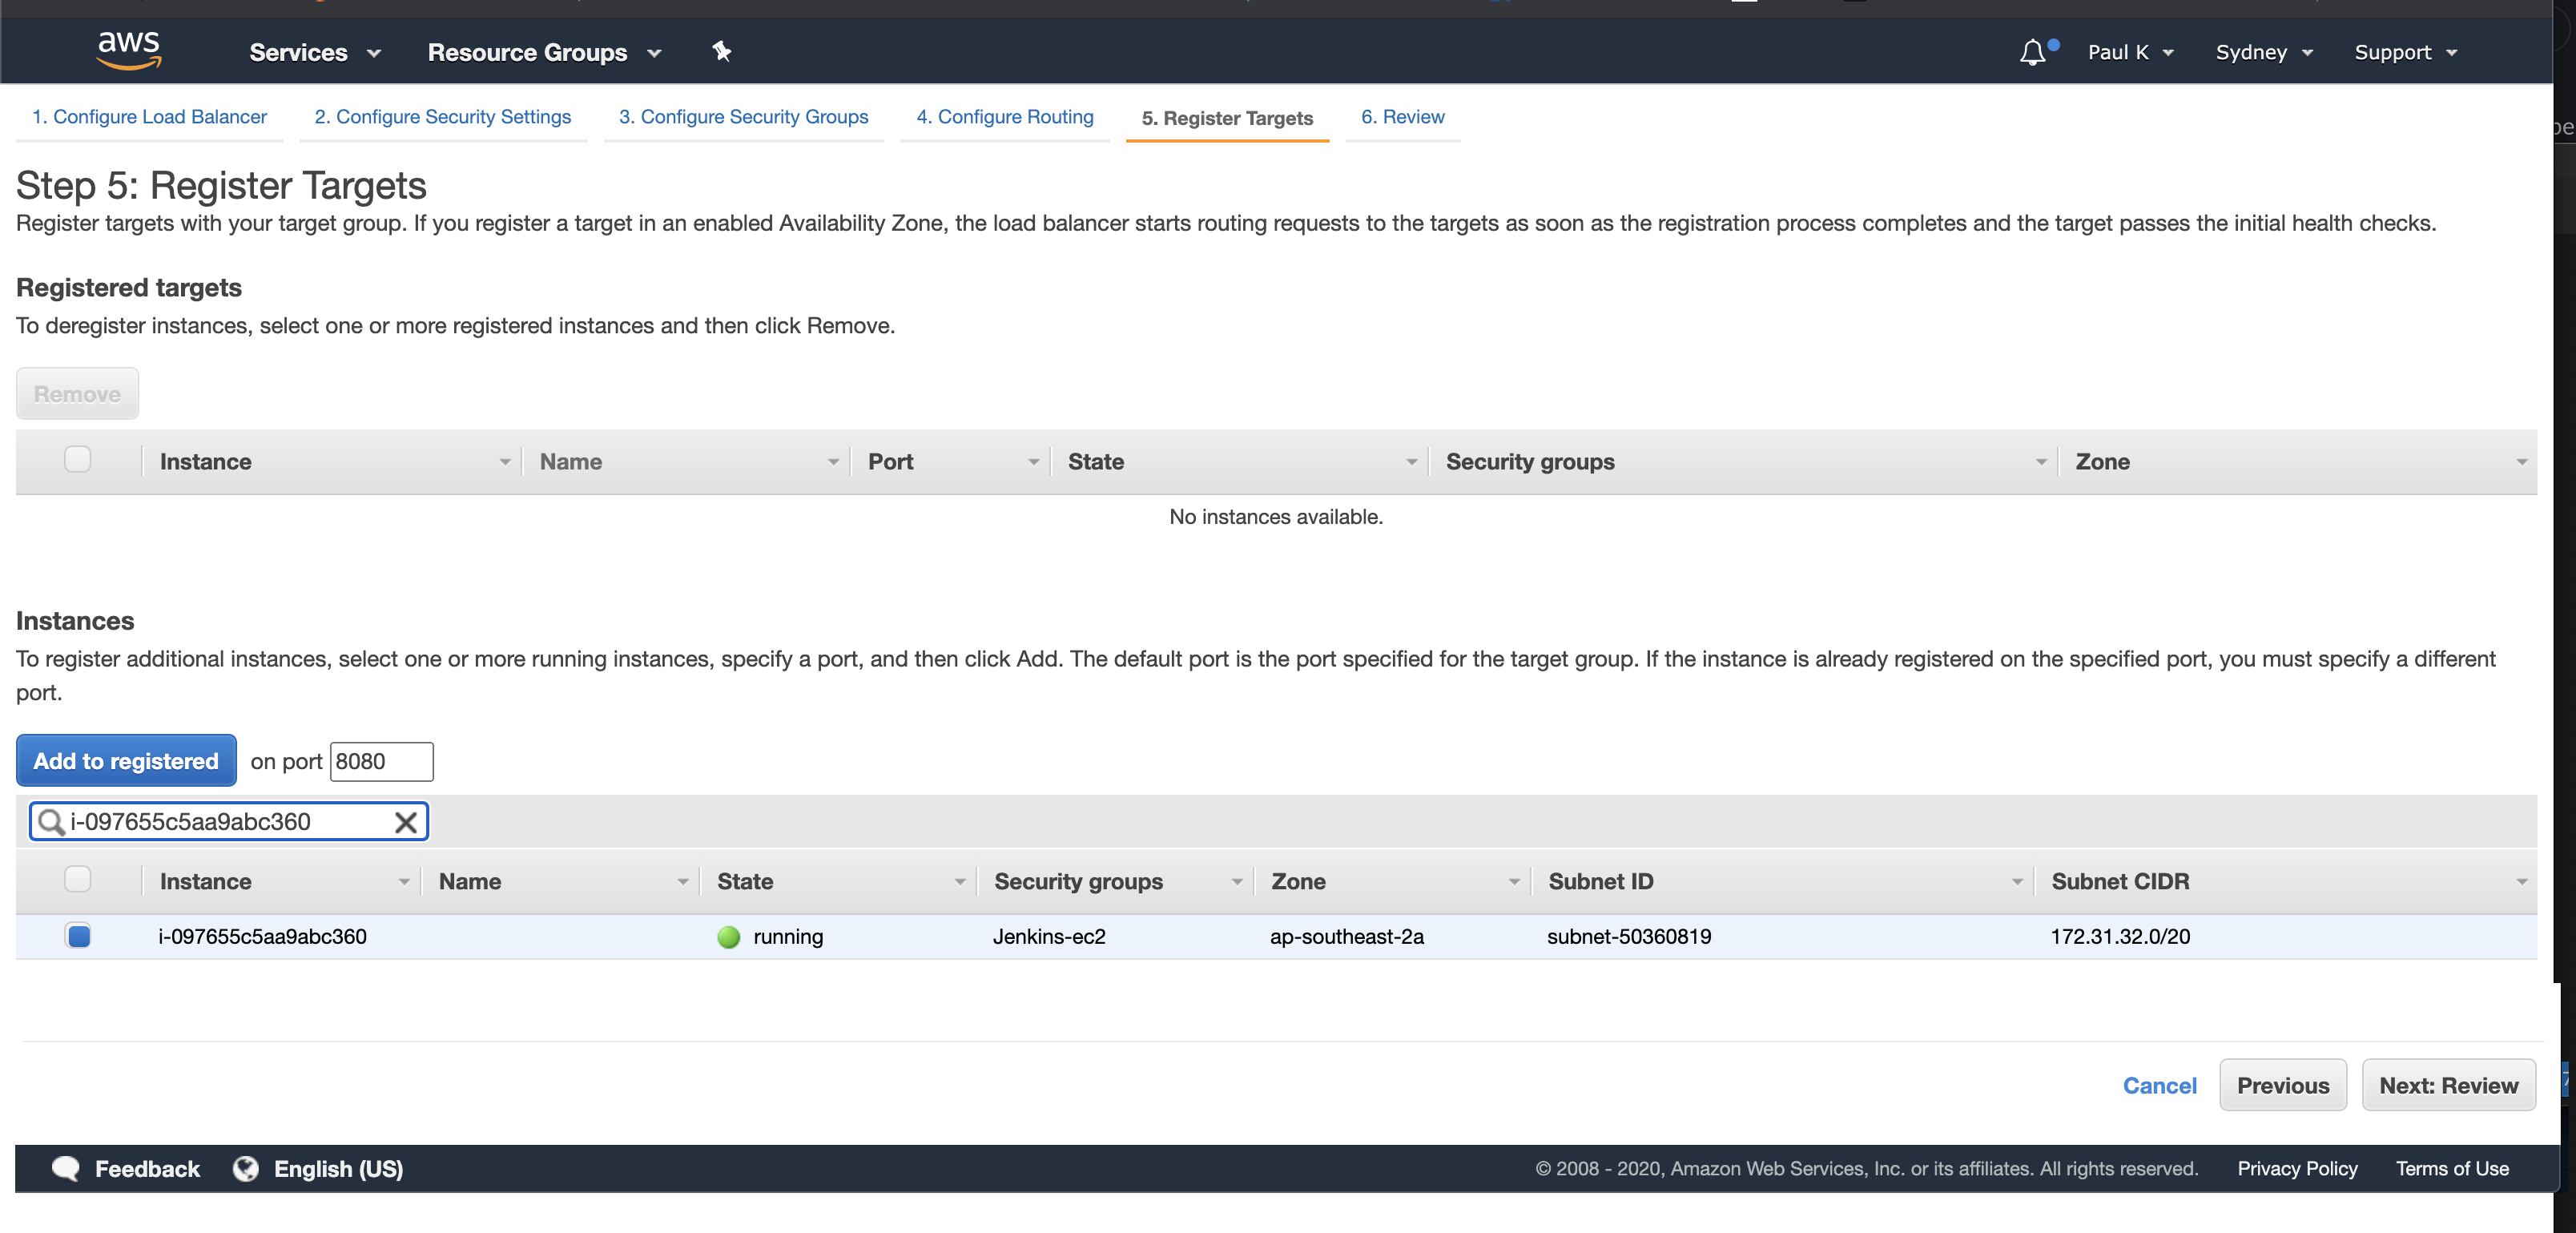
Here we will register the instance we just created, select the instance and click “Add to registered” then click “Next: Review”
Review the settings and click “Create”
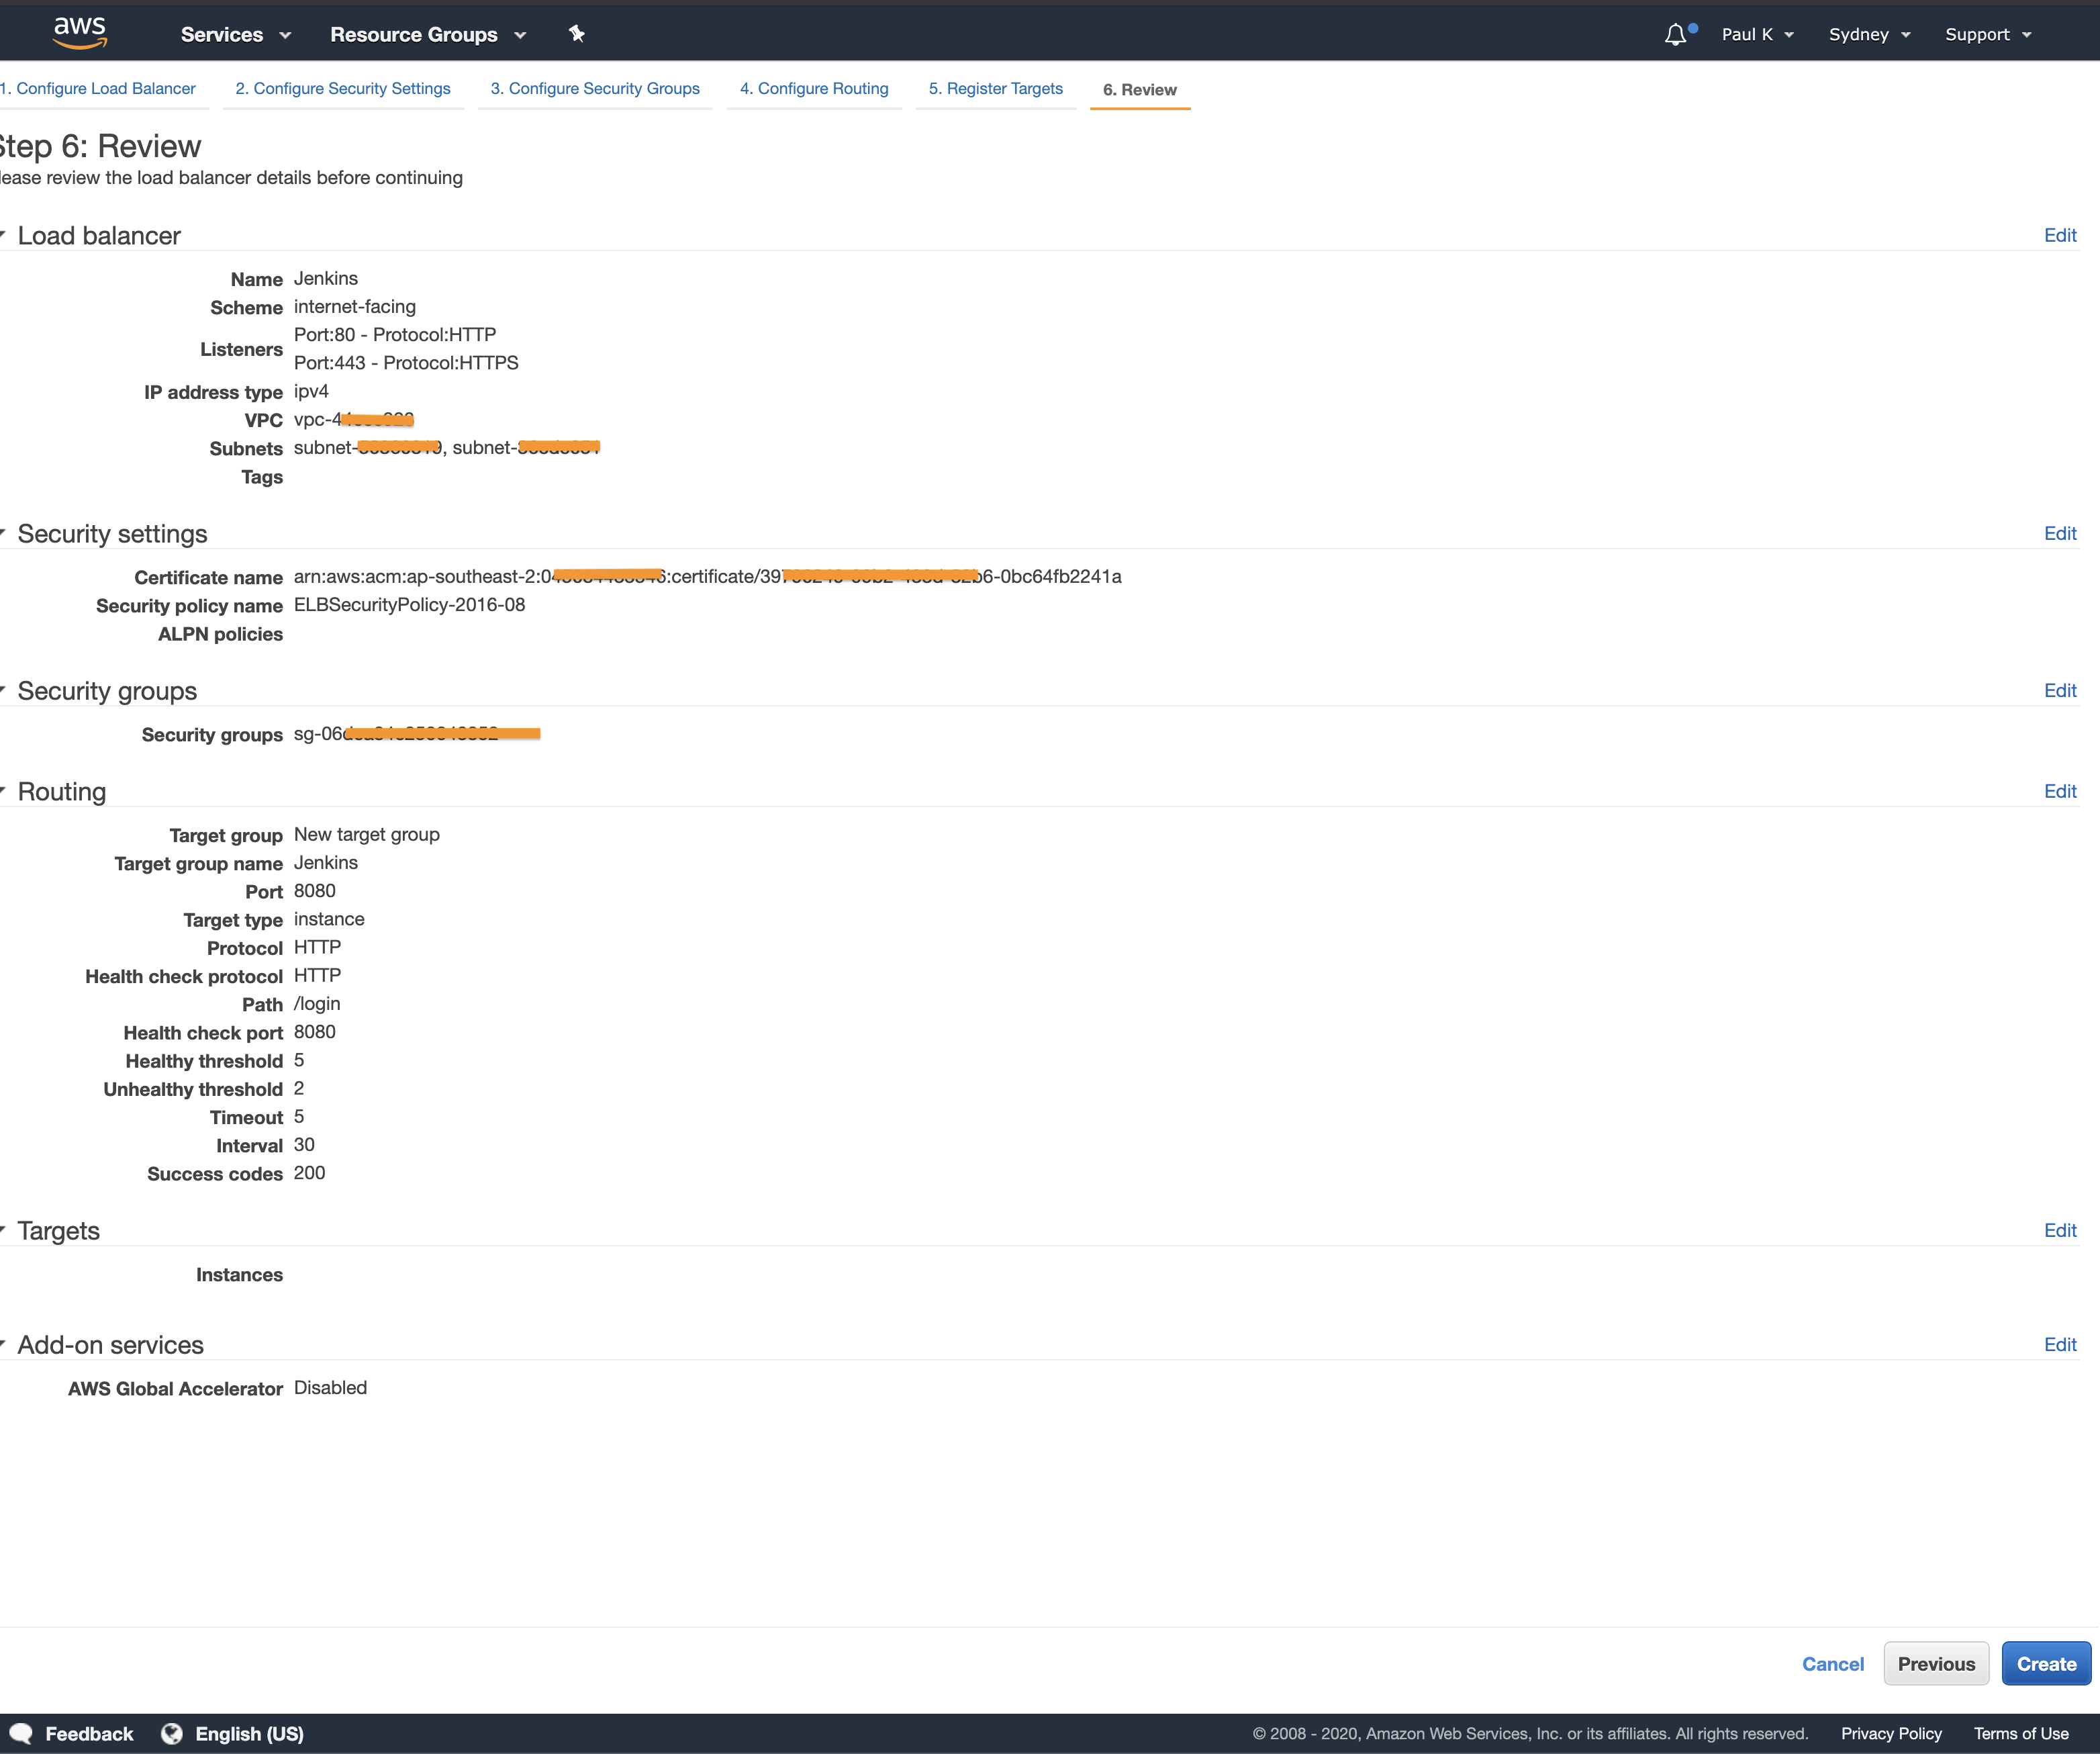
This will create the target group:

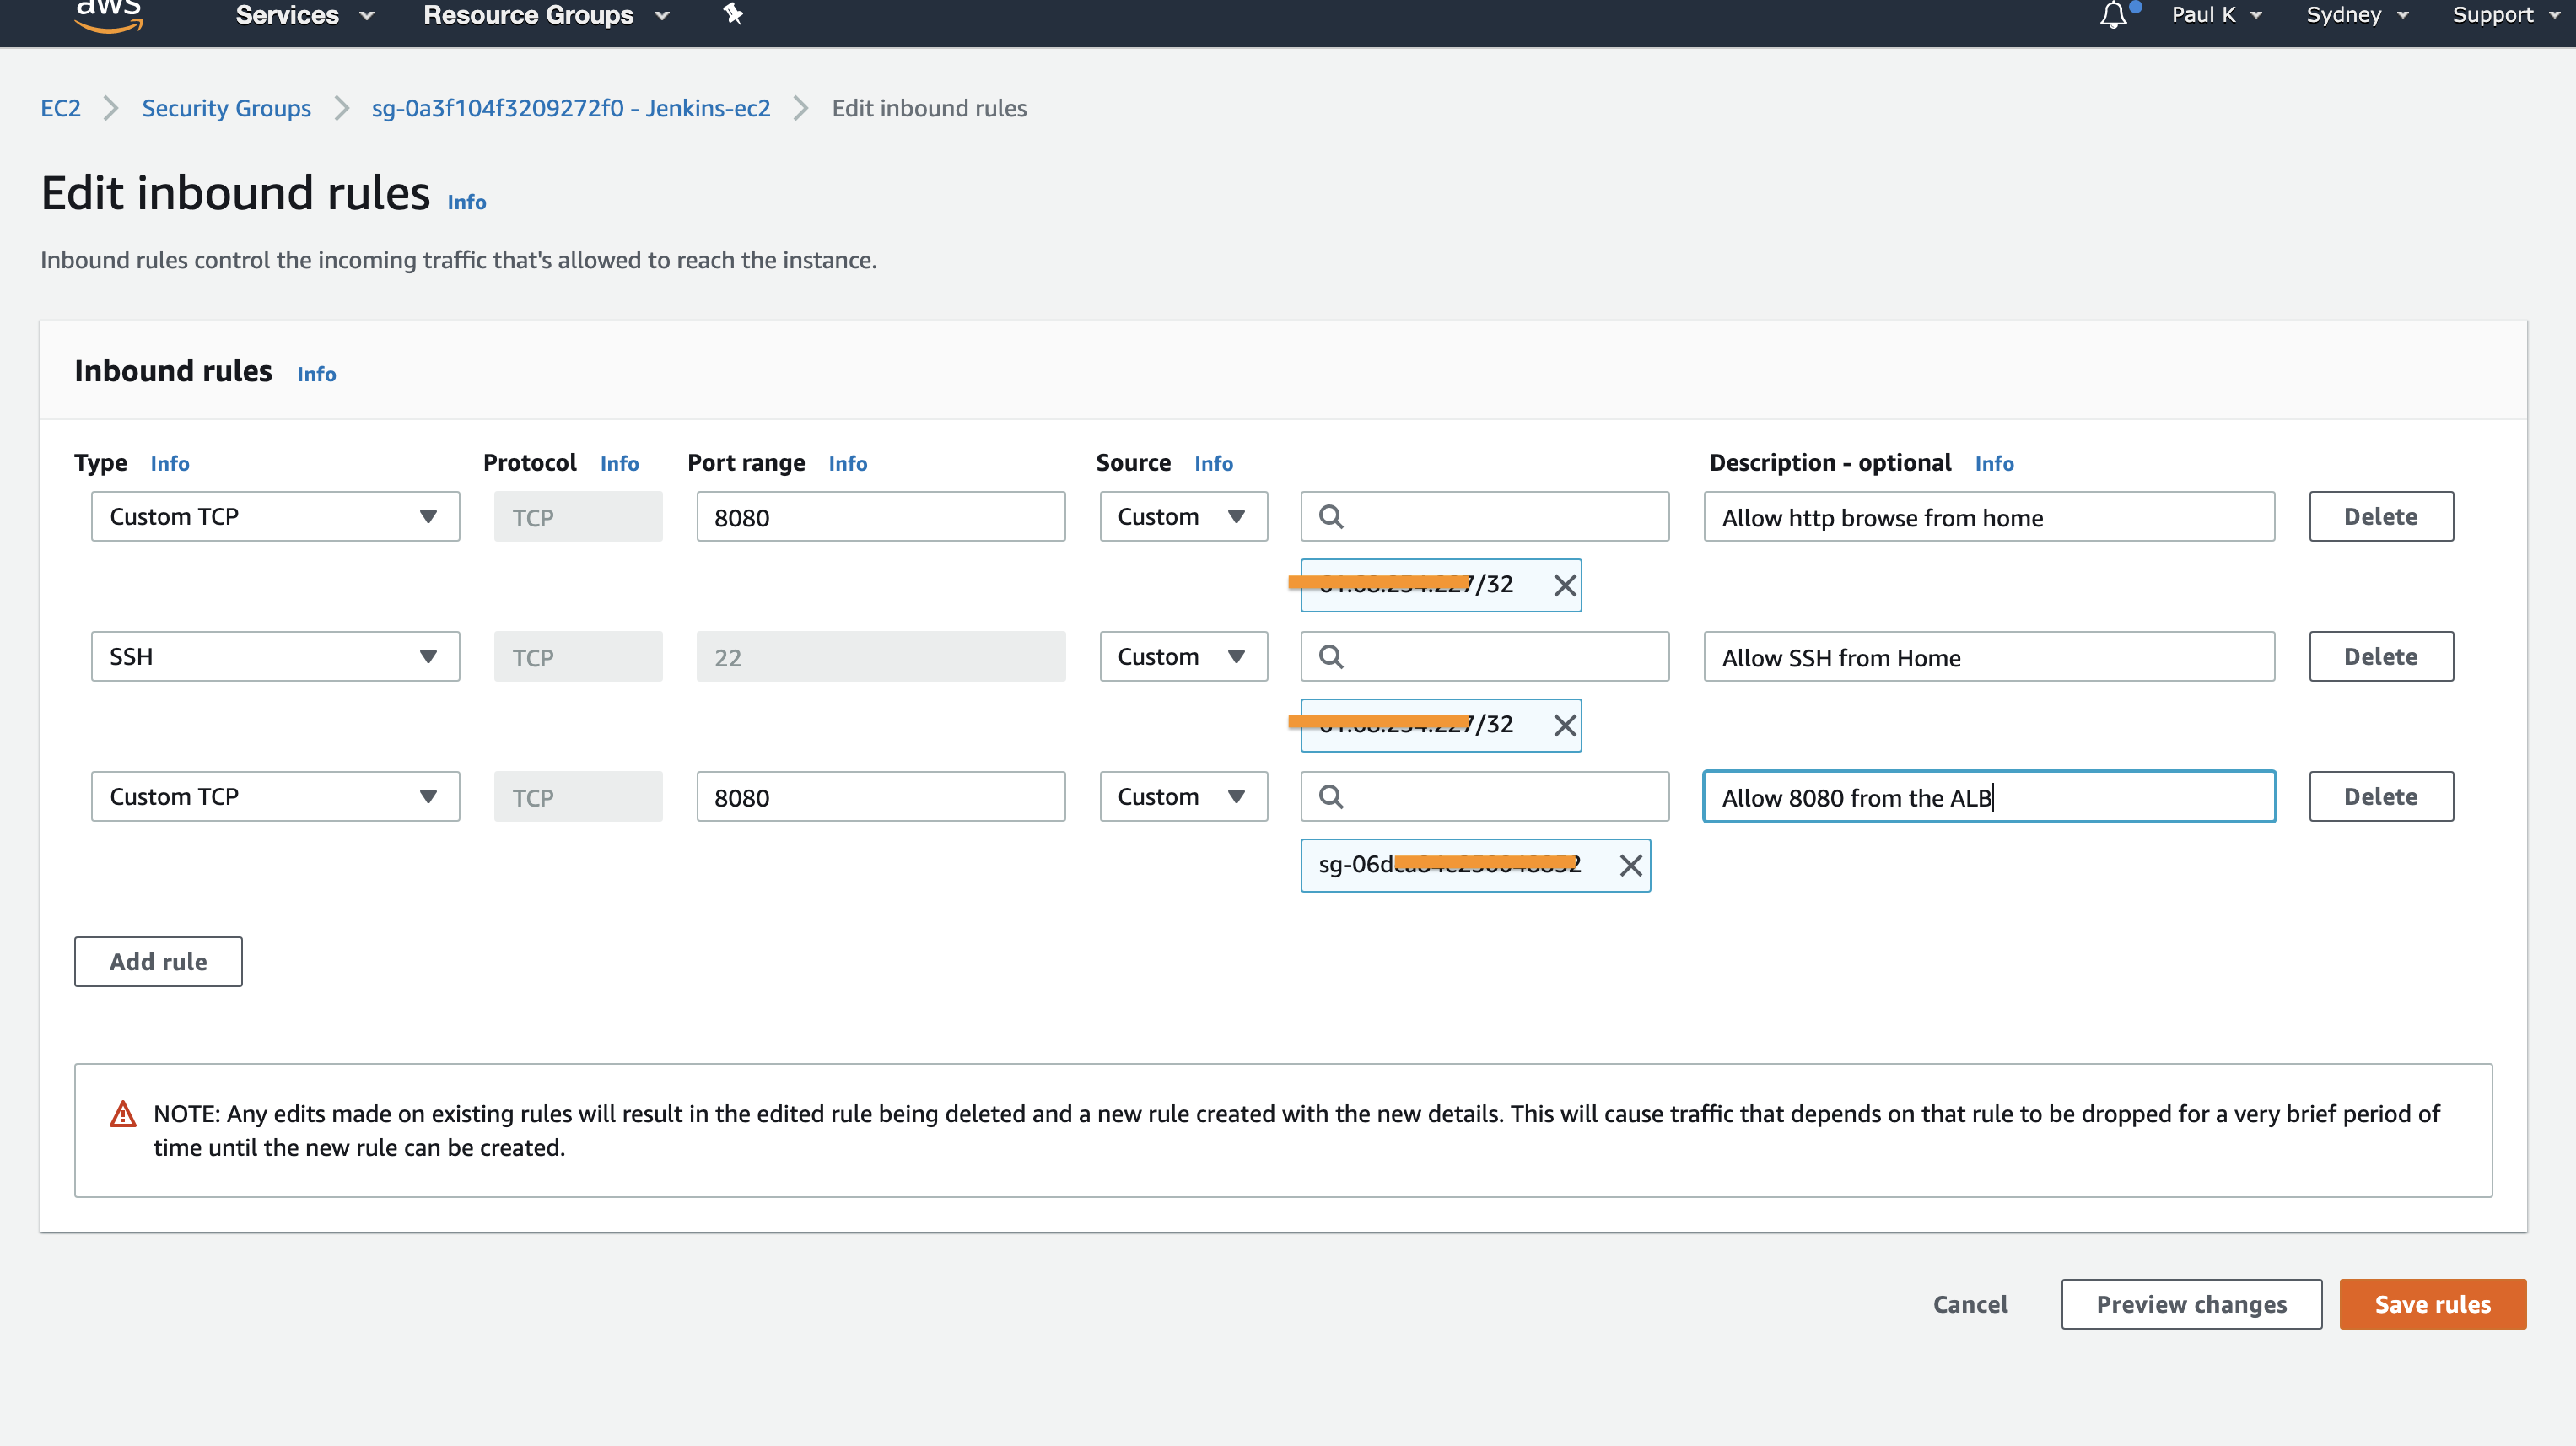
We will now revisit the original security group, Return to the Ec2 Dashboard and click “Security Groups” under “Networking & Security” on the left hand menu, or just click here click on the secutity group we created for the EC2 instance.

Here we will add a rule that allows the security group of the ALB to access the Instance. At this point I could remove the 8080 rule from my IP address ( only as I will use the load balancer ). We still need SSH to retrieve the Jenkins password so leave that for now. Click “Save rules”
At this point you will be able to browse to your jenkins instance with:
- The public IP address of the EC2
- The DNS entry of the ALB on port 80
- The DNS entry of the ALB on port 443 ( this will gev an ssl error as it will not match teh certificate )
- If you have your own domain create an alias record to the ALB and the site will load as: https://jenkins.yoursite.com
You now have public access to the Jenkins instance.

If you now want to use a loadbalancer but with port 80 I will show these steps in part 2.