Build your own PHP Lambda layer in AWS Cloud-9

We have had custom layers for a long time in Lambda, I have used them for a few mini app I have personally as well as professionally. Then along comes this official AWS Post on the (L)ambda(A)piGateway(M)ySQL(P)hp stack. I host a few Wordpress sites one of which is DevCOP ( click here to join it’s free on Lightsail ). LightSail has served me incredibly well however it would be an interesting challenge to move the site to Lambda and Serverless Aurora.
But first things first how can we create an deploy a PHP layer and some sample PHP code to run in lambda without using one of the pre-built packages and why would you want to do this. I suspect the main reason you might want to do this yourself is to well….do it yourself. It helps to understand what is happening and how the pieces come together.
In this example we will:
- Create a Cloud9 instance
- Install on that instance the development tools and compilers to build openSSL and PHP
- Install via composer vendor libraries require for the layer to execute PHP
- download a bootstrap file for lambda
- Zip up the PHP runtime
- Zip up the PHP vendor layer
- Deploy both layers using the AWS CLI
- Create a Lambda function that leverages these new layers
- Create a simple php program to add 2 numbers together
- Deploy as an API
- Deploy a simple front-end application to consume the API to demonstrate PHP in Lambda as an invokable endpoint.
Requirements:
- An AWS account
This example can be completed 100% in the AWS Console, via click ops and cli commands.
The front end ( sample app ) you can run locally as a html file or deploy for free with Netlify, I’ll step through that as-well in part 2.
Step 1:
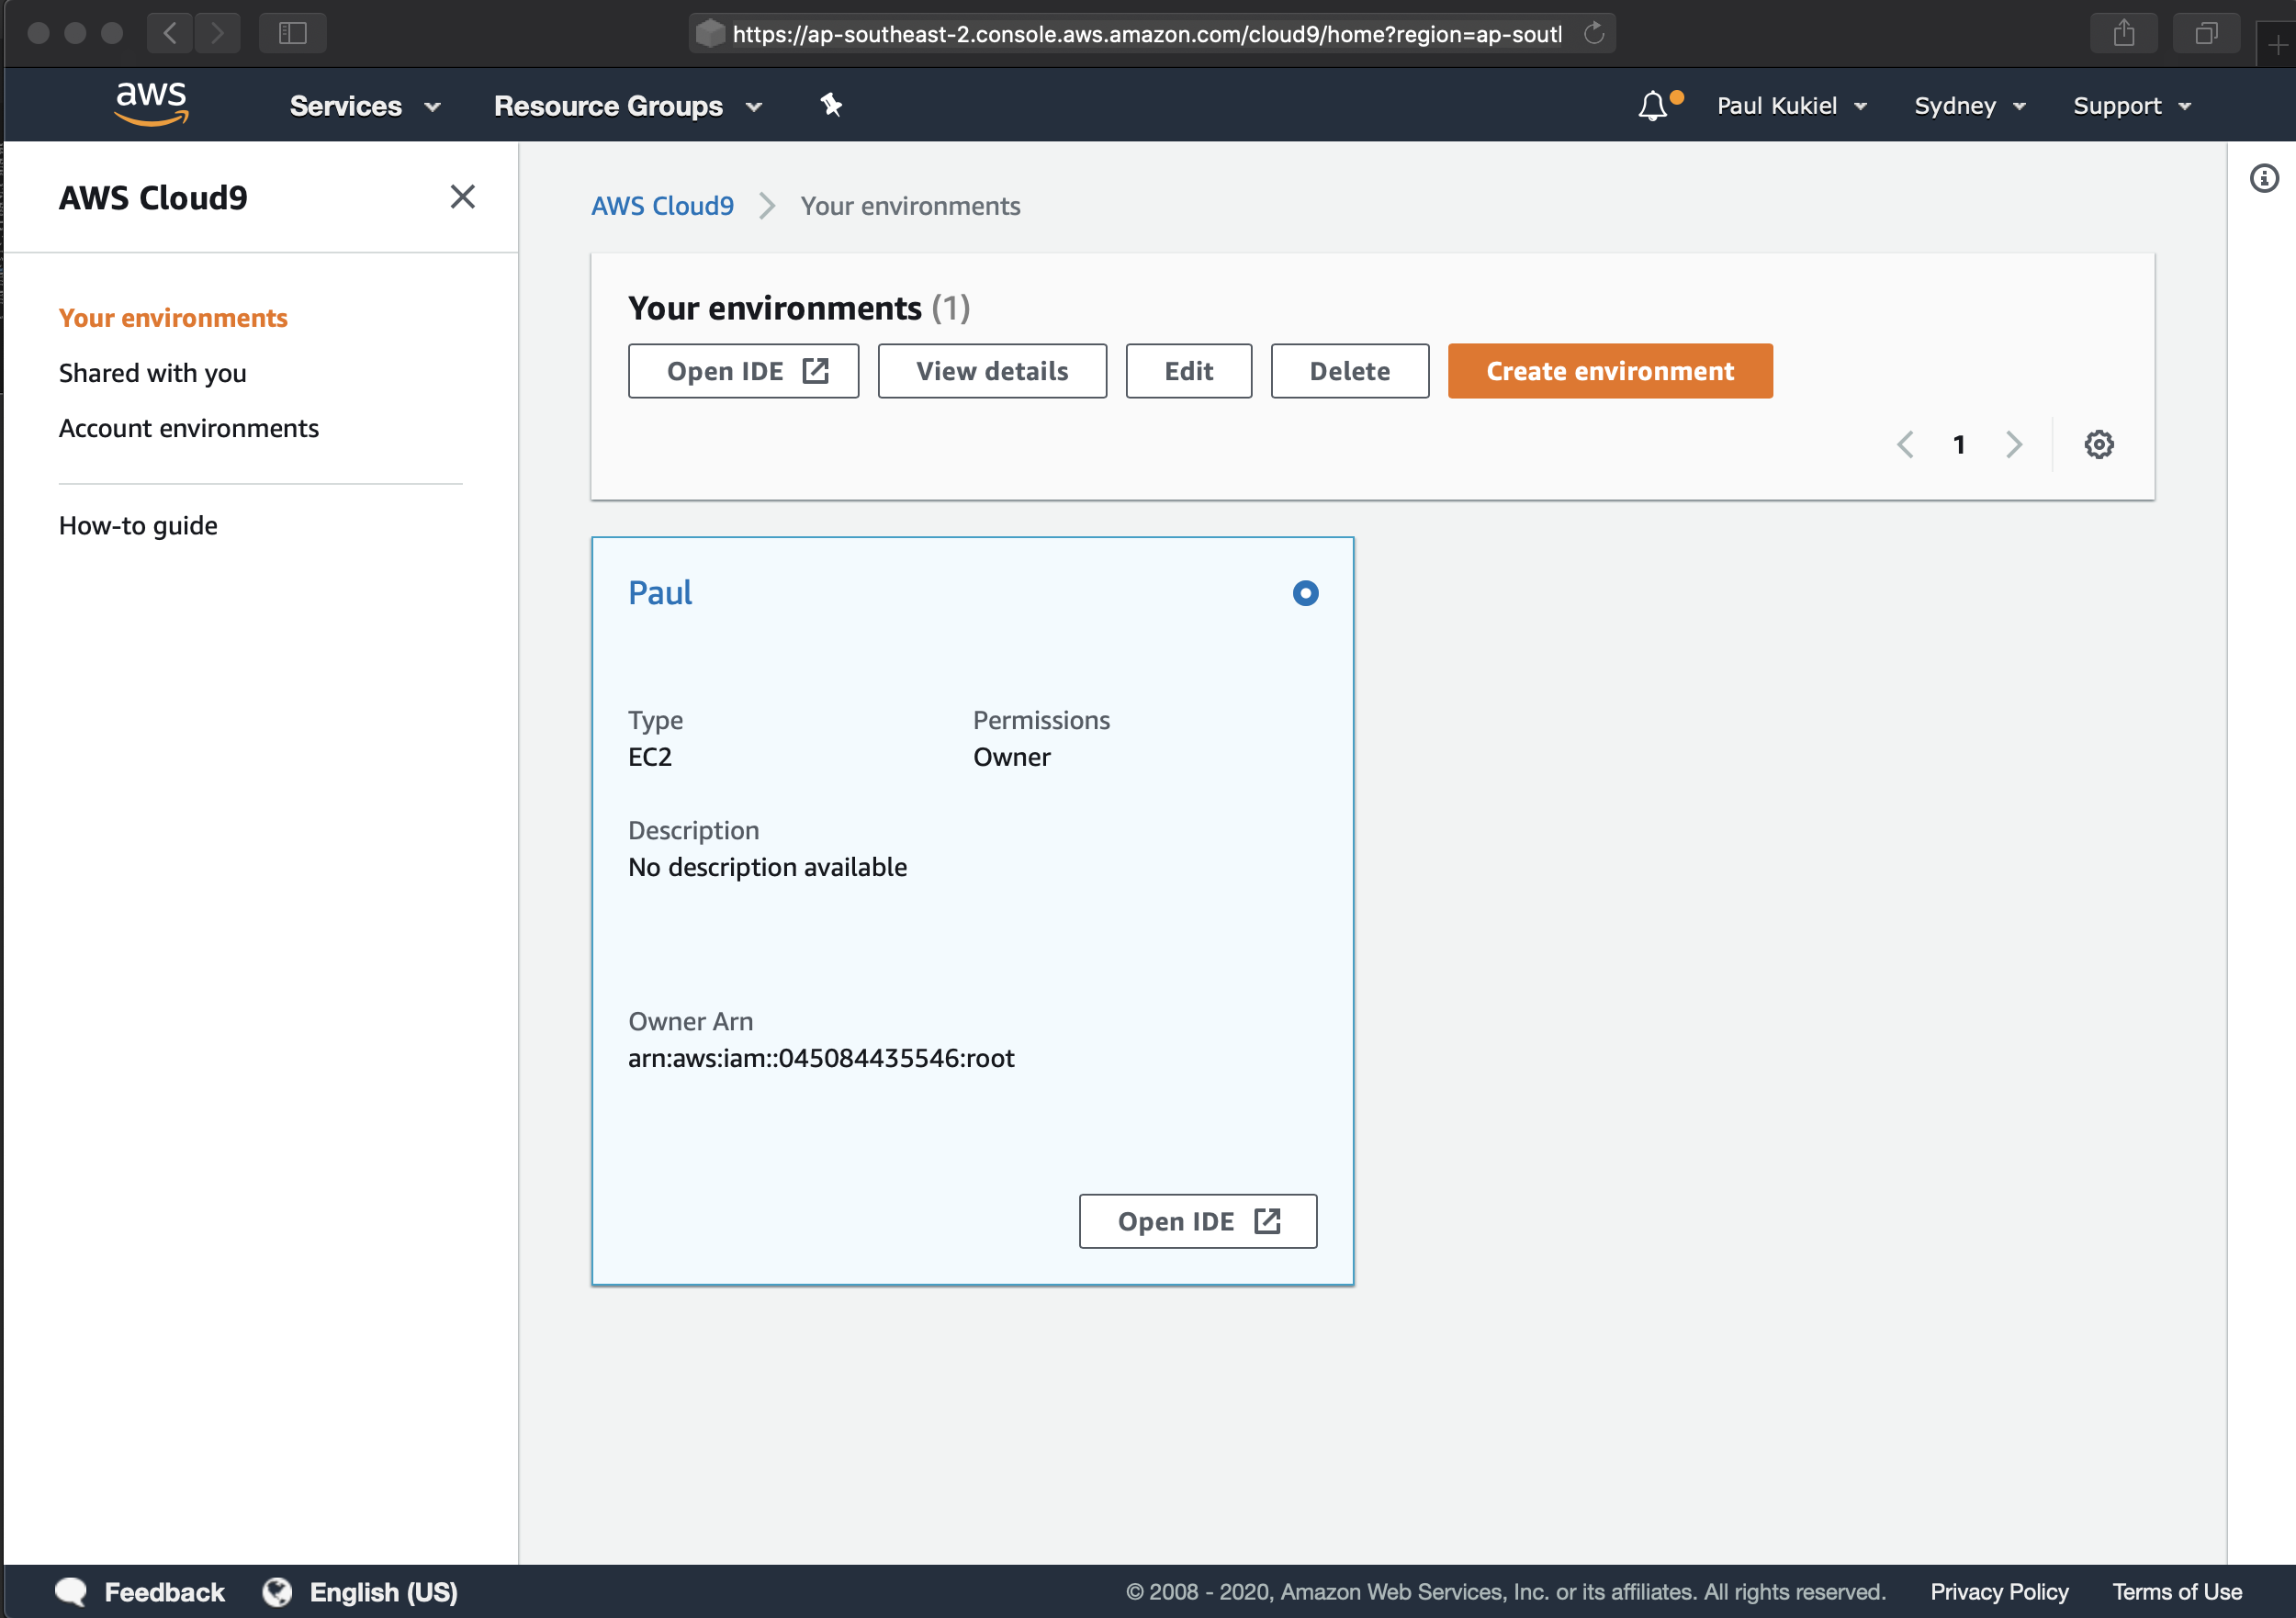
Create a Cloud9 instance: Navagate to: https://ap-southeast-2.console.aws.amazon.com/cloud9/home?region=ap-southeast-2
Click “Create Environment”
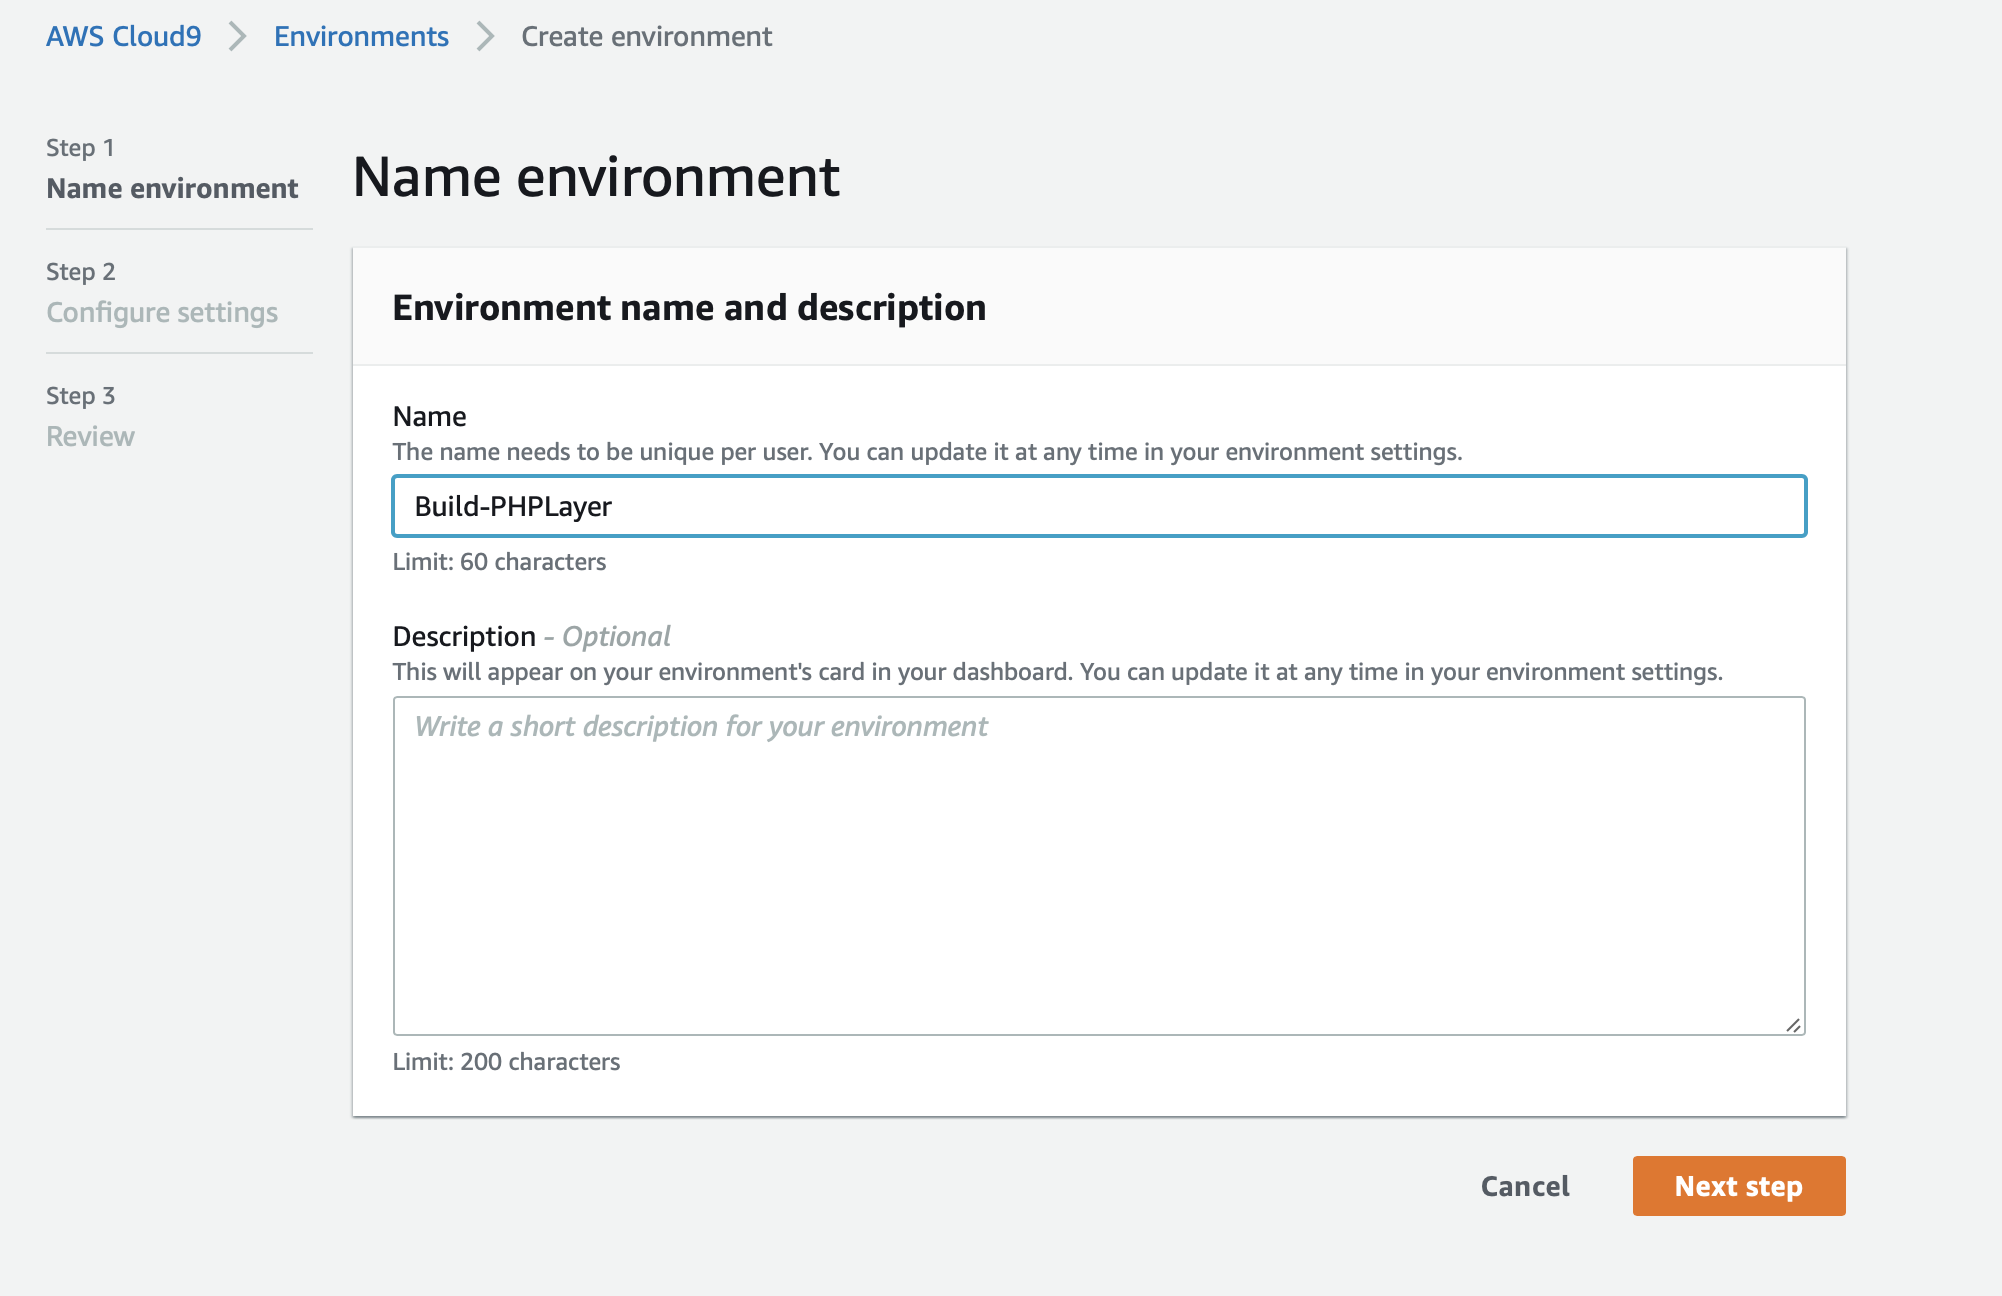
Name the environment:
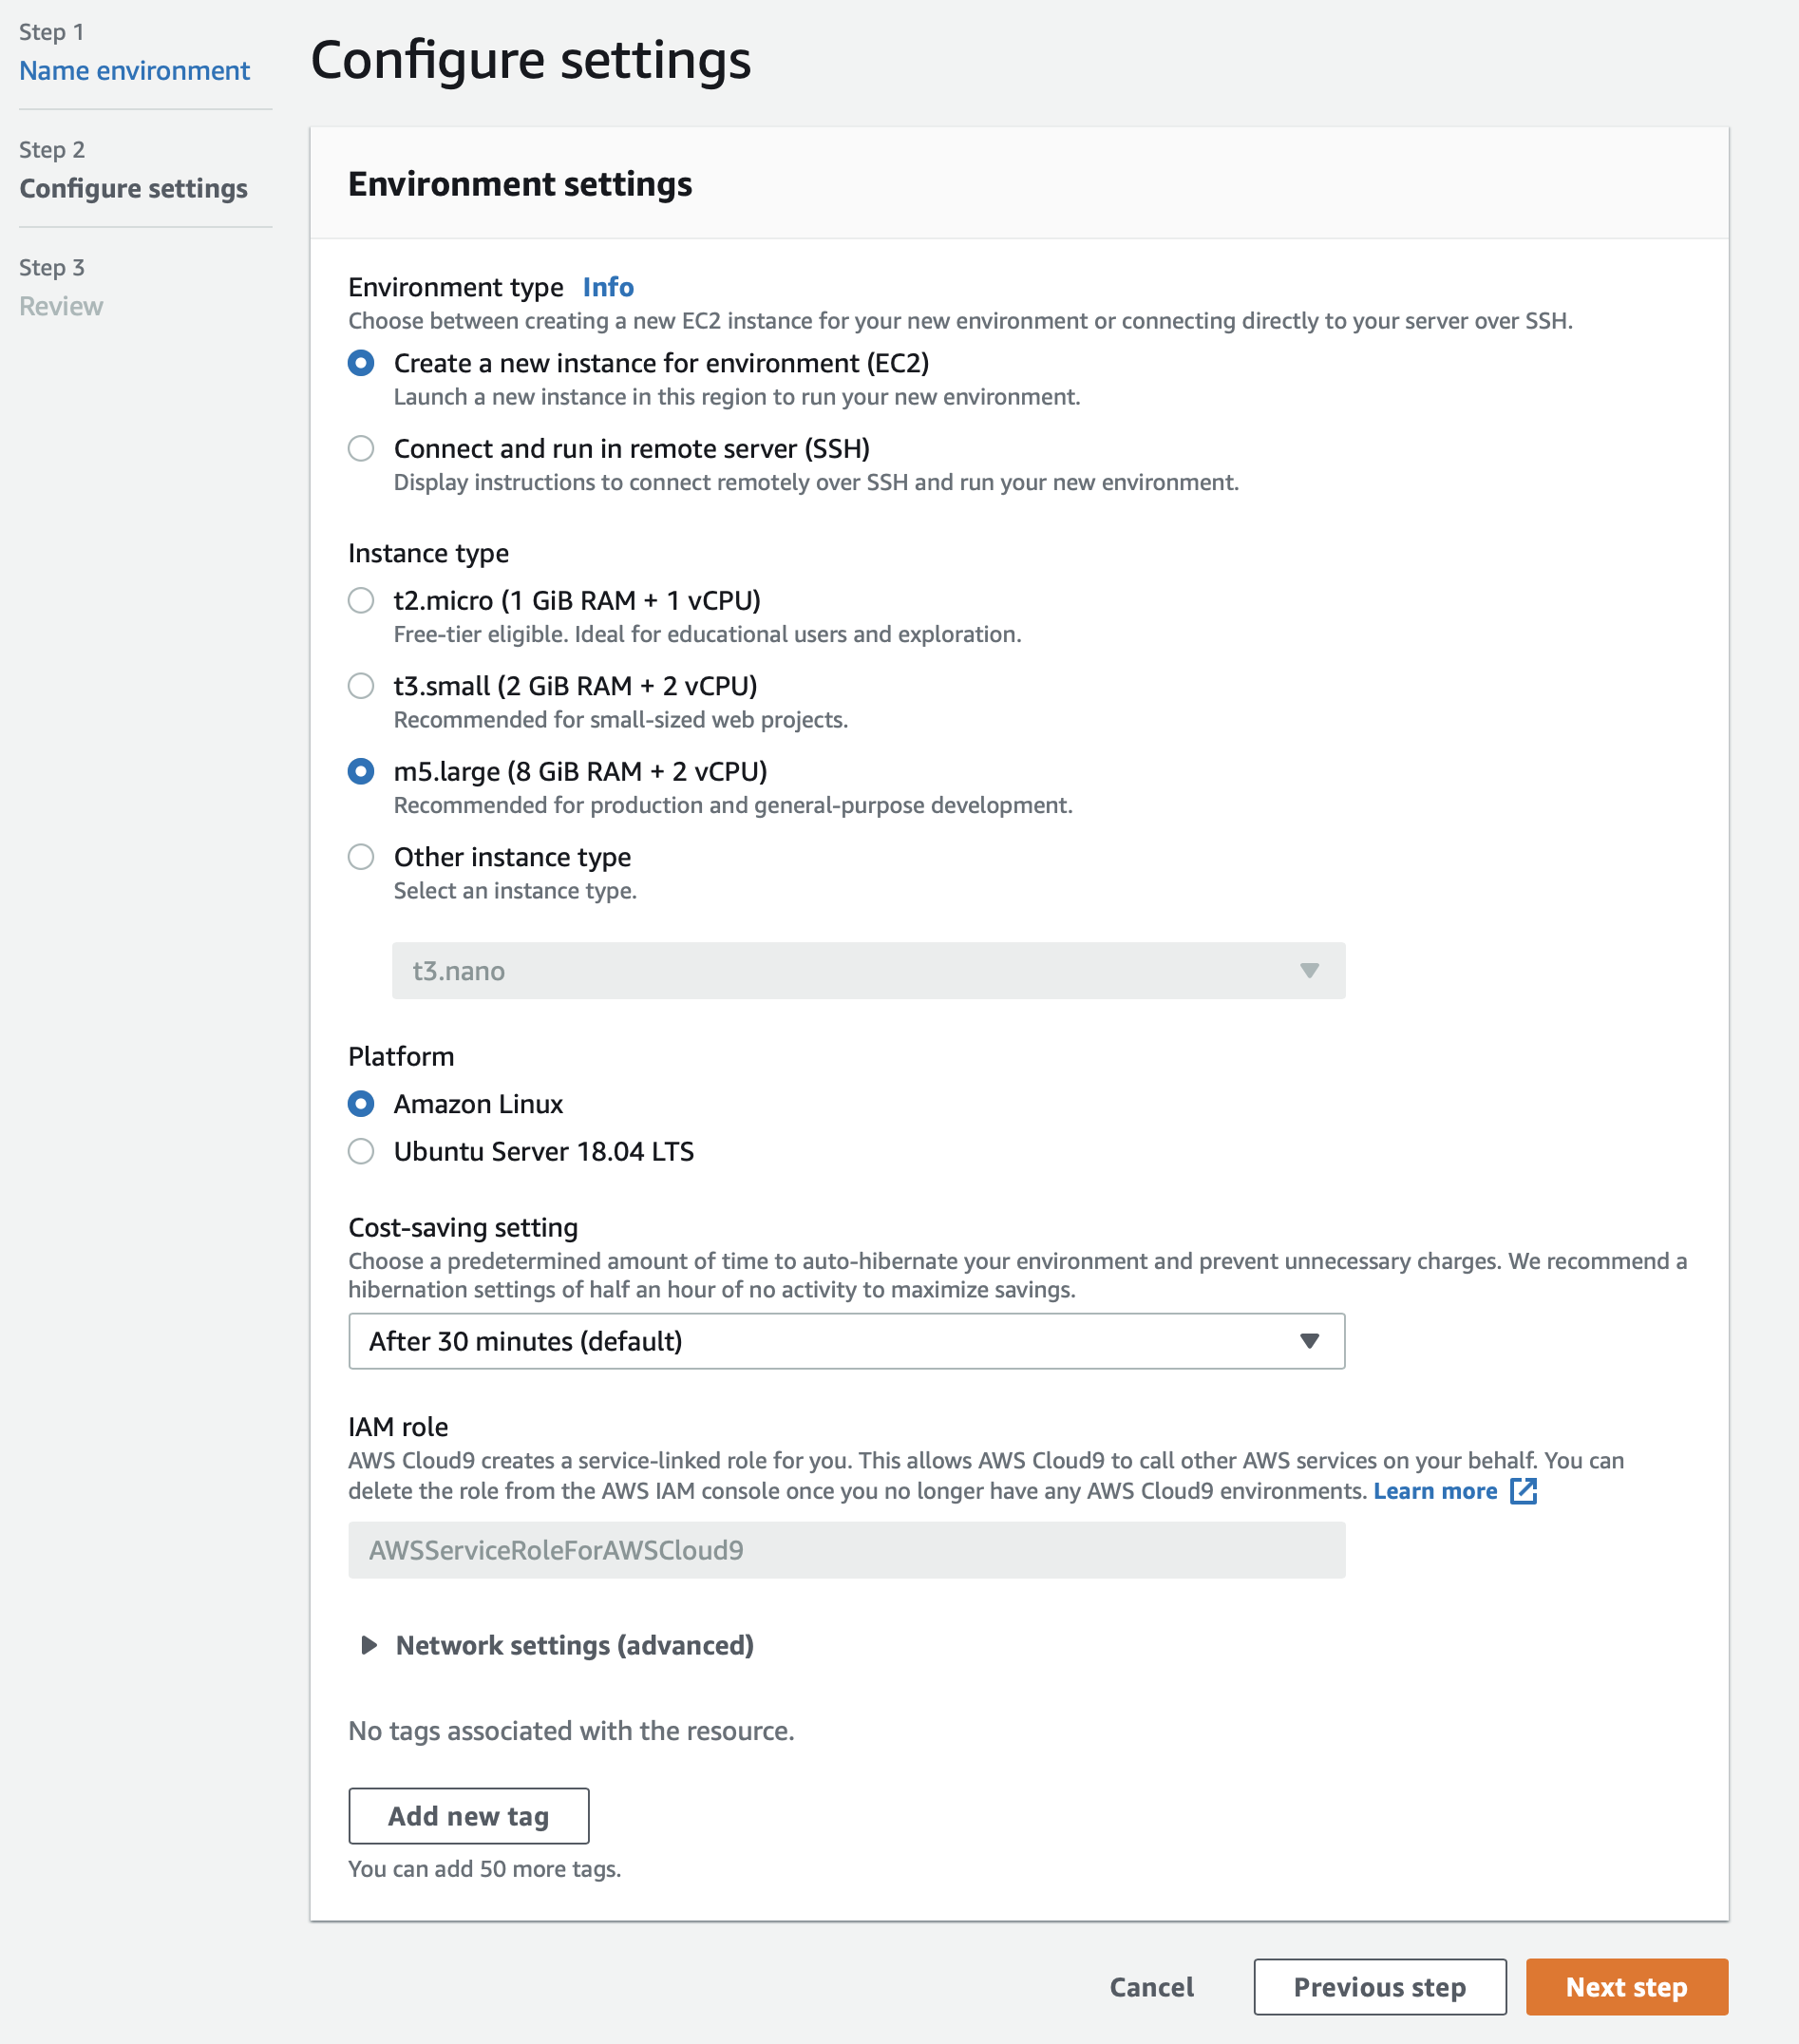
We are going to use this instance to compile source code, it will compile just fine with the smaller instance however it will take a little longer, as I will terminate this environment after this experiment I will use the biggest/fastest as it will only be active for less than 1 hour.
Confirm:
The steps we are going to run are taken from the AWS Announcement blog. It is hand y to copy/paste them to a file on the Cloud9 instance to avoided jumping between tabs. The full scrip is below. Open the REDME.md file in Cloud9, delete all the content and paste this in.
# Update packages and install needed compilation dependencies
sudo yum update -y
sudo yum install autoconf bison gcc gcc-c++ libcurl-devel libxml2-devel -y

# Compile OpenSSL v1.0.1 from source, as Amazon Linux uses a newer version than the Lambda Execution Environment, which
# would otherwise produce an incompatible binary.
curl -sL http://www.openssl.org/source/openssl-1.0.1k.tar.gz | tar -xvz
cd openssl-1.0.1k
./config && make && sudo make install
cd ~

# Download the PHP 7.3.0 source
mkdir -p ~/environment/php-7-bin
curl -sL https://github.com/php/php-src/archive/php-7.3.0.tar.gz | tar -xvz
cd php-src-php-7.3.0

# Compile PHP 7.3.0 with OpenSSL 1.0.1 support, and install to /home/ec2-user/php-7-bin
./buildconf --force
./configure --prefix=/home/ec2-user/environment/php-7-bin/ --with-openssl=/usr/local/ssl --with-curl --with-zlib
make install

# CD to the directory we compiled the PHP source code to, here we can view the binaries:

cd /home/ec2-user/environment/php-7-bin
ls -la

# We need a sample bootstrap for lambda, this is a executable script and is the entry point for the custom run time.
wget https://raw.githubusercontent.com/aws-samples/php-examples-for-aws-lambda/master/bootstrap

# ensure the bootstrap is executable
chmod +x bootstrap

# zip up the ./bin folder and files and the bootstrap.  This is now ready  to deploy.
zip -r runtime.zip bin bootstrap

# The bootstrap uses a few other php utilities to operate.  If we look inside the bootstrap file we can see where this is used.  These 2 layers could be just one, but this allows us to keep the PHP runtime separate to the vendor layer in case there is a update to the vendor layer we only need to rebuild/deploy that layer.
# This command will download composer ( a php dependency manager ) and then use that to install the guzzlehttp/guzzle packages.

curl -sS https://getcomposer.org/installer | ./bin/php

./bin/php composer.phar require guzzlehttp/guzzle

# zip up the ./vendor folder and files.  This is now ready to deploy.  There is no bootstrap file required for this layer, this layer is dependent on the PHP runtime that already contains the entry point.

zip -r vendor.zip vendor/

# In the example we will deploy to the same region that we launched Cloud9 in.  This command will call the metadata end point available on all AWS ec2 instances to get the region and save it to an environment variable:

AWS_REGION=$(curl -s http://169.254.169.254/latest/meta-data/placement/availability-zone | sed 's/\(.*\)[a-z]/\1/')

# For example purpose lets have a quick look, install a terminal web browser
sudo yum install w3m

# Open the URL in the browser, press q to exit, press y to conform then press enter.
w3m http://169.254.169.254/latest/meta-data/placement/availability-zone

# We can now deploy both the PHP runtime
aws lambda publish-layer-version \
    --layer-name PHP-73-runtime \
    --zip-file fileb://runtime.zip \
    --region $AWS_REGION

# And the vendor layer to AWS
aws lambda publish-layer-version \
    --layer-name PHP-73-vendor \
    --zip-file fileb://vendor.zip \
    --region $AWS_REGION
Once these steps are completed we now have the required lambda layers in our AWS account to run PHP. To confirm what have been created navigate to: https://ap-southeast-1.console.aws.amazon.com/lambda/home?region=ap-southeast-1#/layers Take note of the region in the URL and ensure this is the region you are operating in.
We will see 2 new layers:

Let’s now create a sample PHP lambda function. From the “Layers” interface click “Functions”, then “Create Function”. Give your function a name. For “Runtime” select “Provide you own bootstrap”. If you have a role for Lambda select that otherwise select “Create a new role with basic Lambda permissions”. Then click “Create Function”
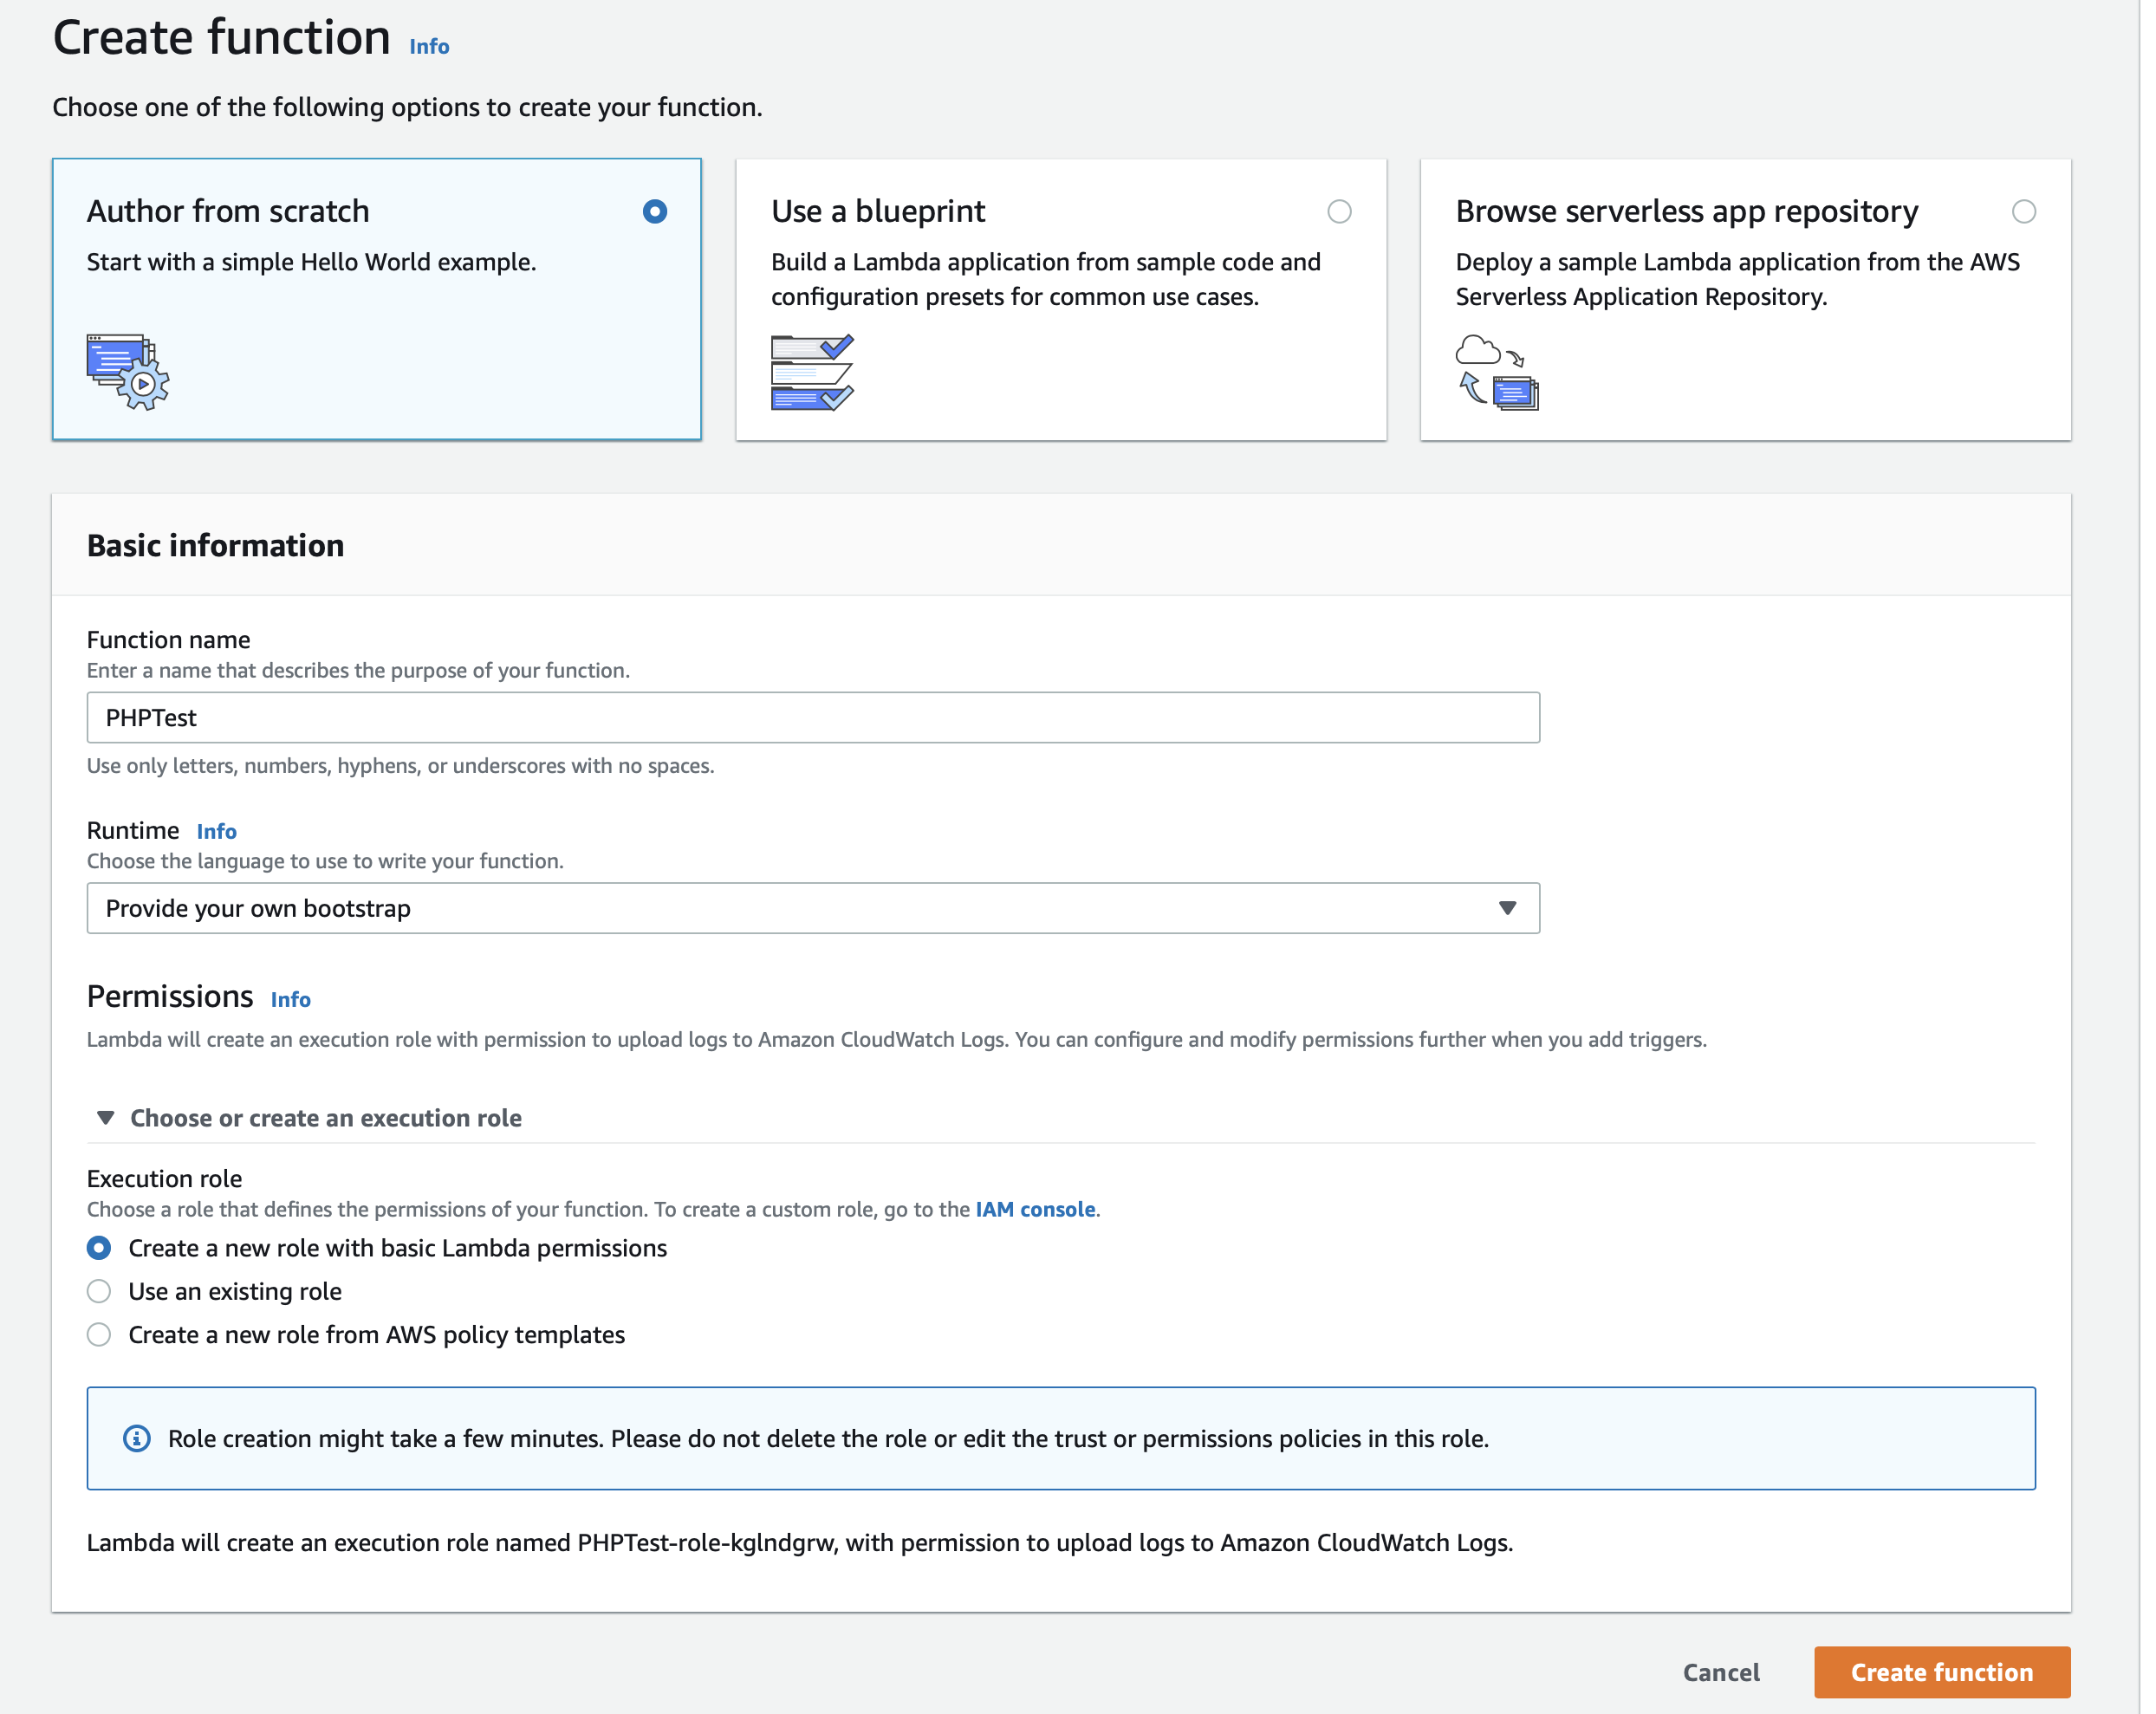
Once the function is created we need to add the 2 layers we created.
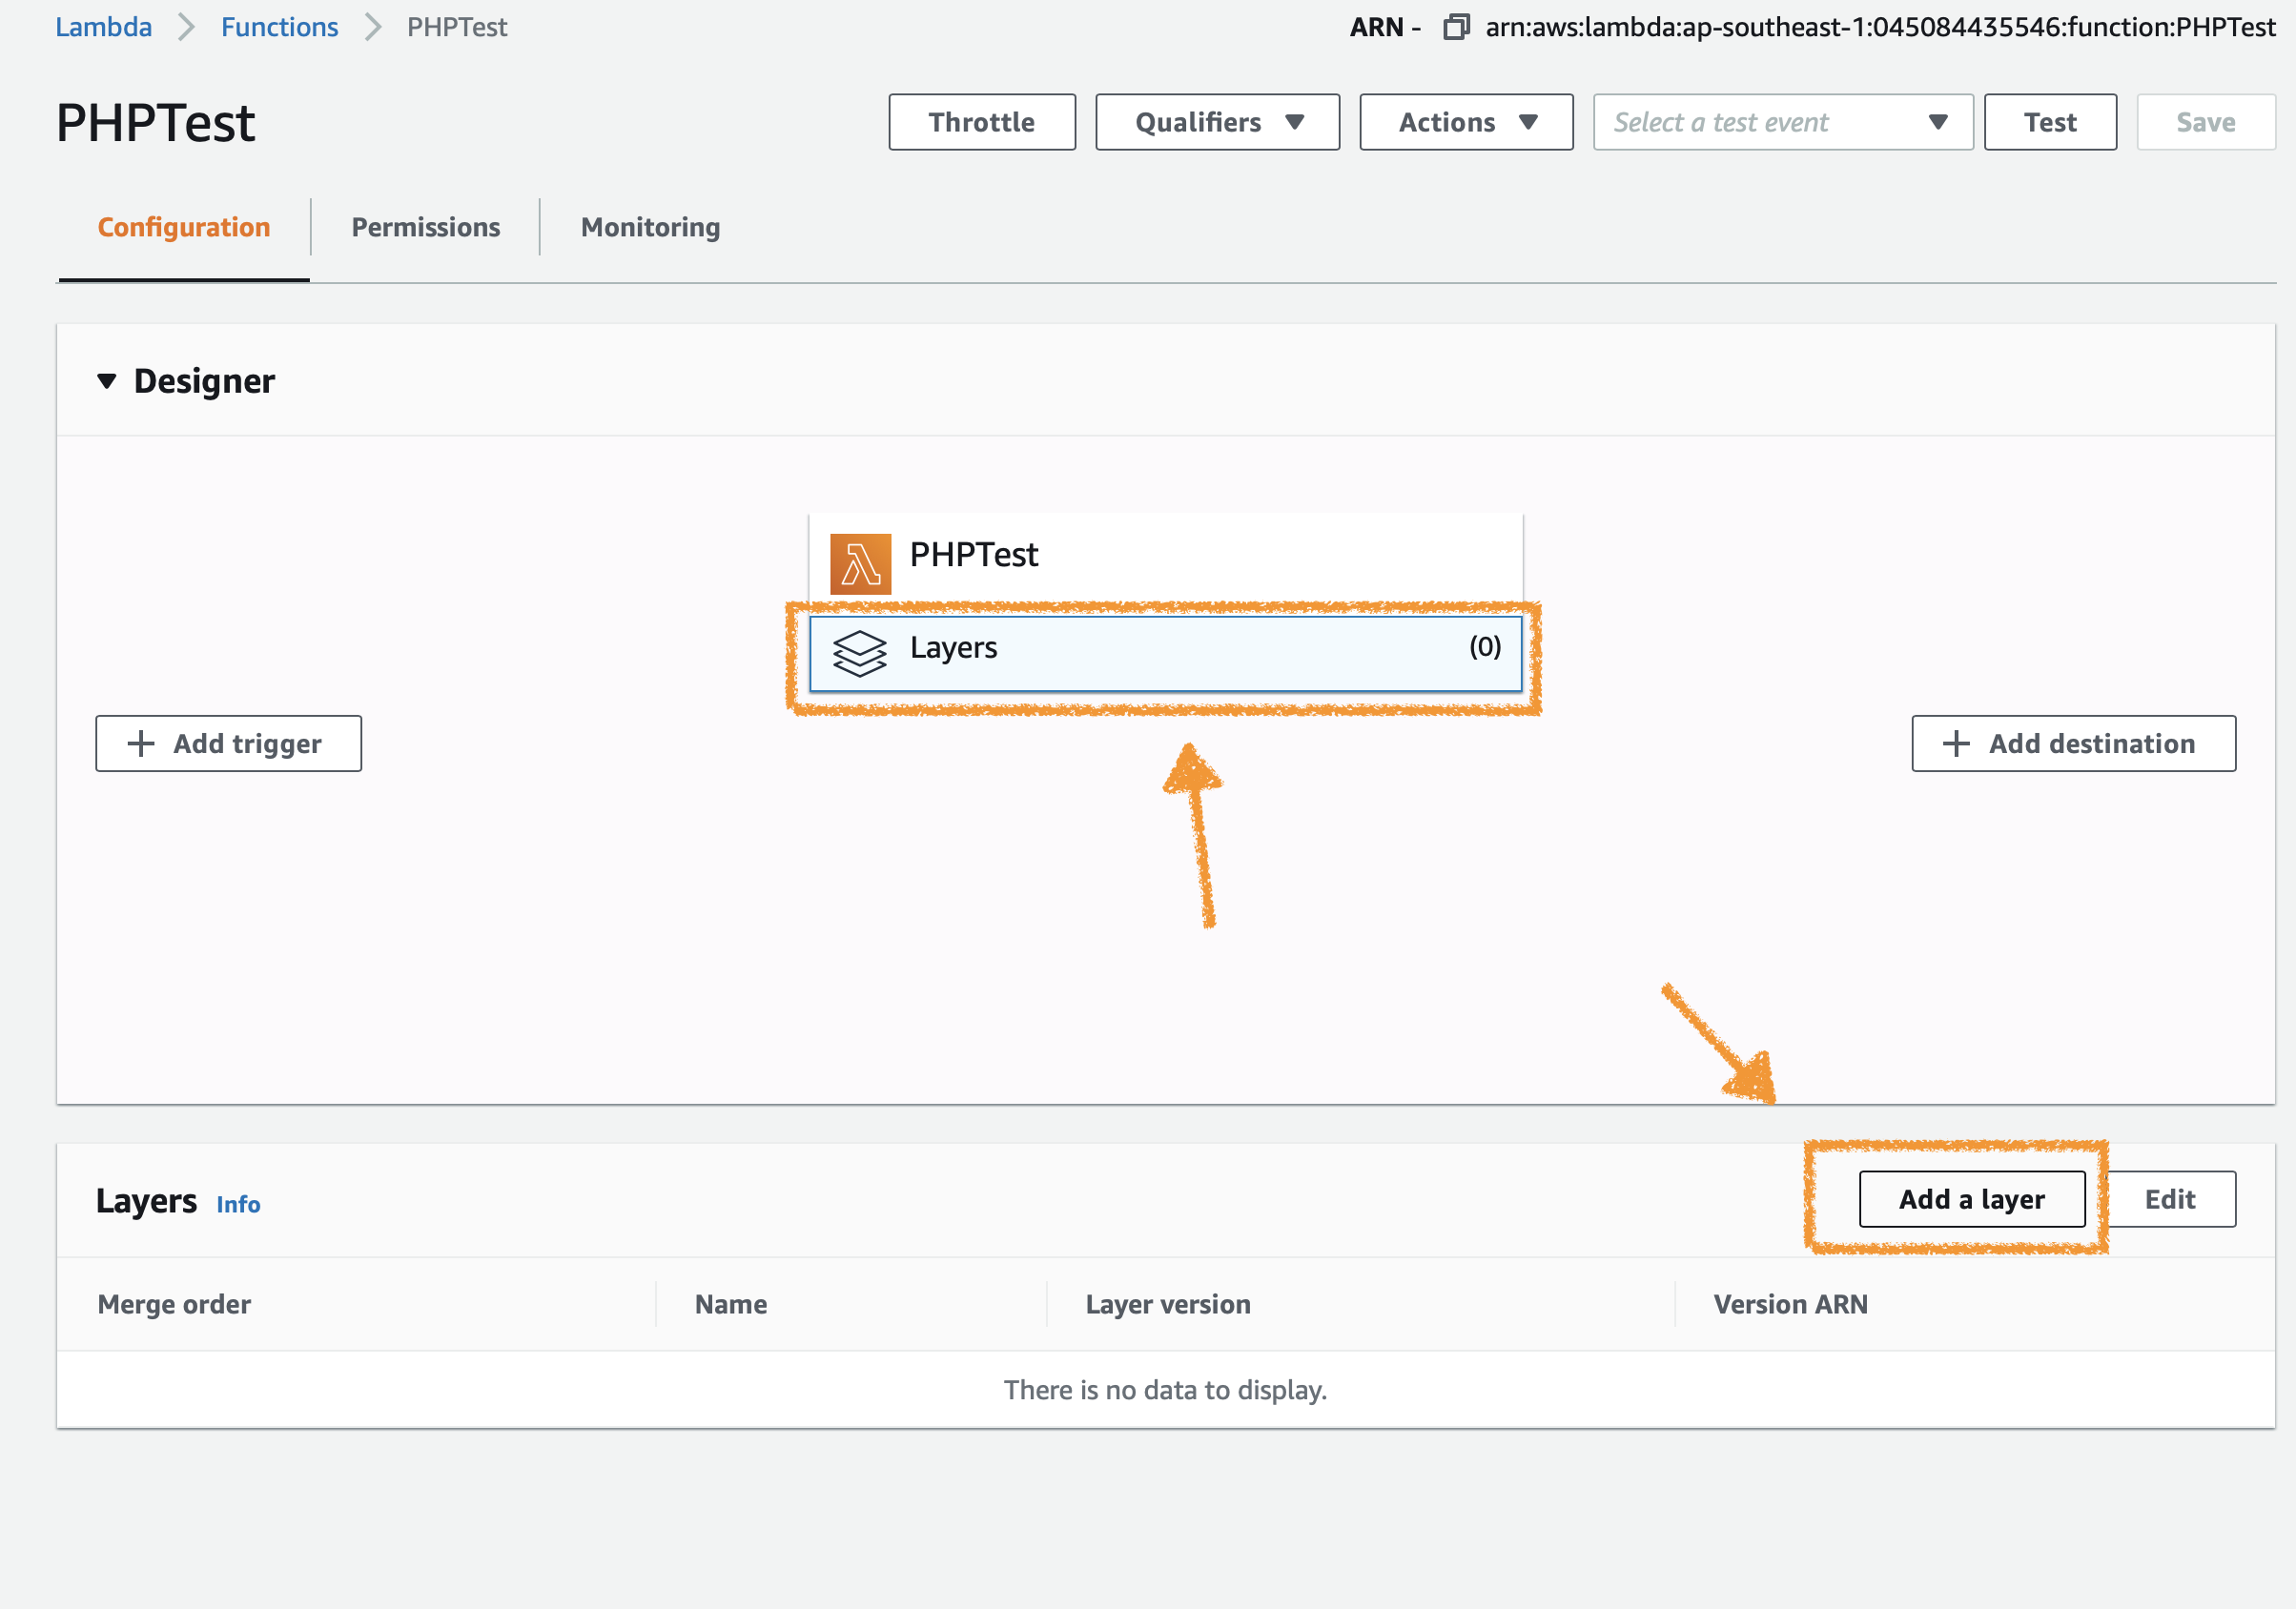
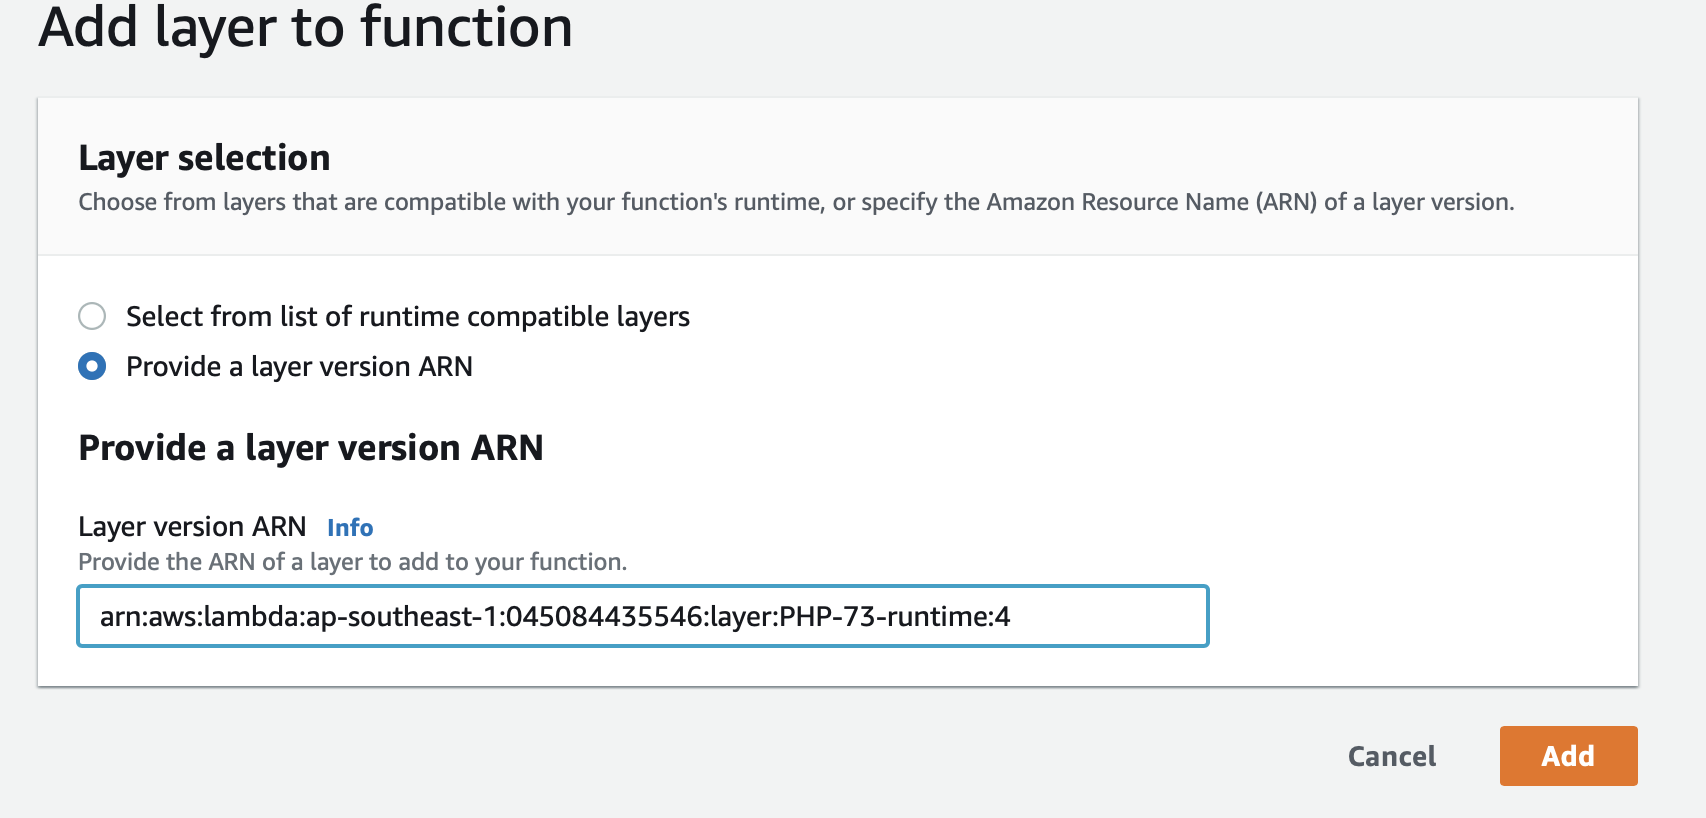
Add the layers in order, the PHP run time first then the vendor layer as below: Please not you will have to use the ARN of your layers not those in the image:
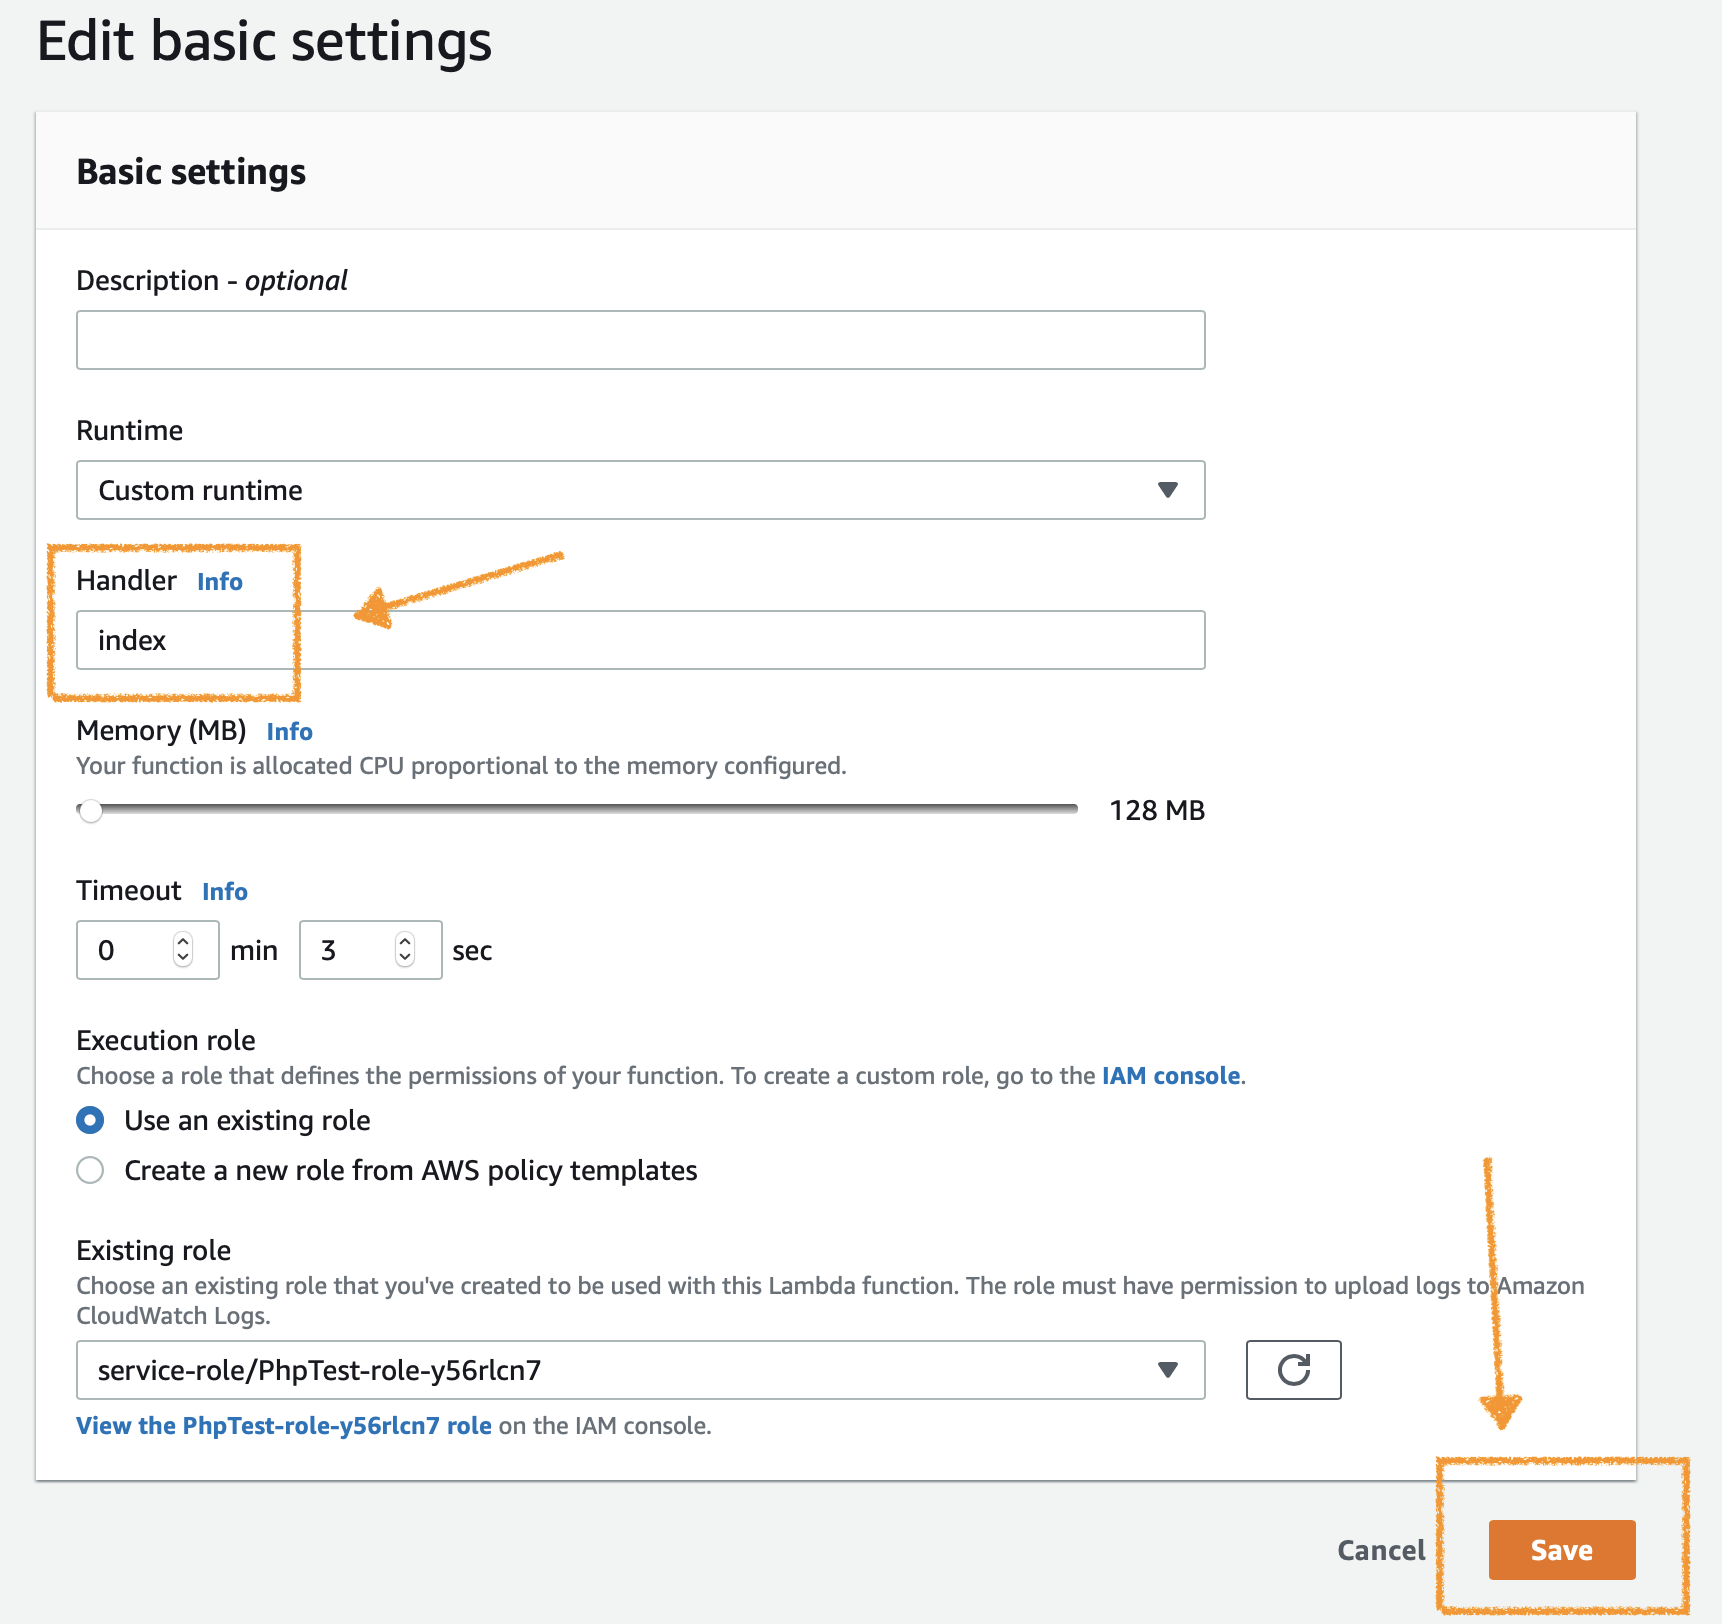
Once both layers are added scroll down until you see “Basic Settings” click edit.

We will change the handler to simply say “index”:
We are now ready for some php code! We will use the in page editor, remove the existing 3 files ( right click and delete ) create a folder “src”, in the source folder create a new file “index.php” This is the file called when we change the handler to “index”.

Writesome php code or just copy sand paste this sample.
<?php
   function  index($event) {
    $invokedBy = $event['user'];
    $output = " world!, function invoked by " . $invokedBy;
    return('Hello' . $output);
   }

;
Click “Save” then click “Test”.
We will have to create a test event, edit to provide a key “user” with the value “{yourname}:

Scroll up and click “Test”

And there you have it You own Run time, compiler, packaged and deploy by you running PHP in AWS Lambda.
In part 2 we will explore the bootstrap file and how to invoke the Lambda function with API Gateway.
Foe the full Vido walkthrough click and watch here:
